
First things first, Sorry for the bad quality of some of the photos, the only weather we’ve had here for the past few weeks is grey clouds and dullness.
Secondly, before we start on our baby nests, have you washed your fabric? If not, do that!
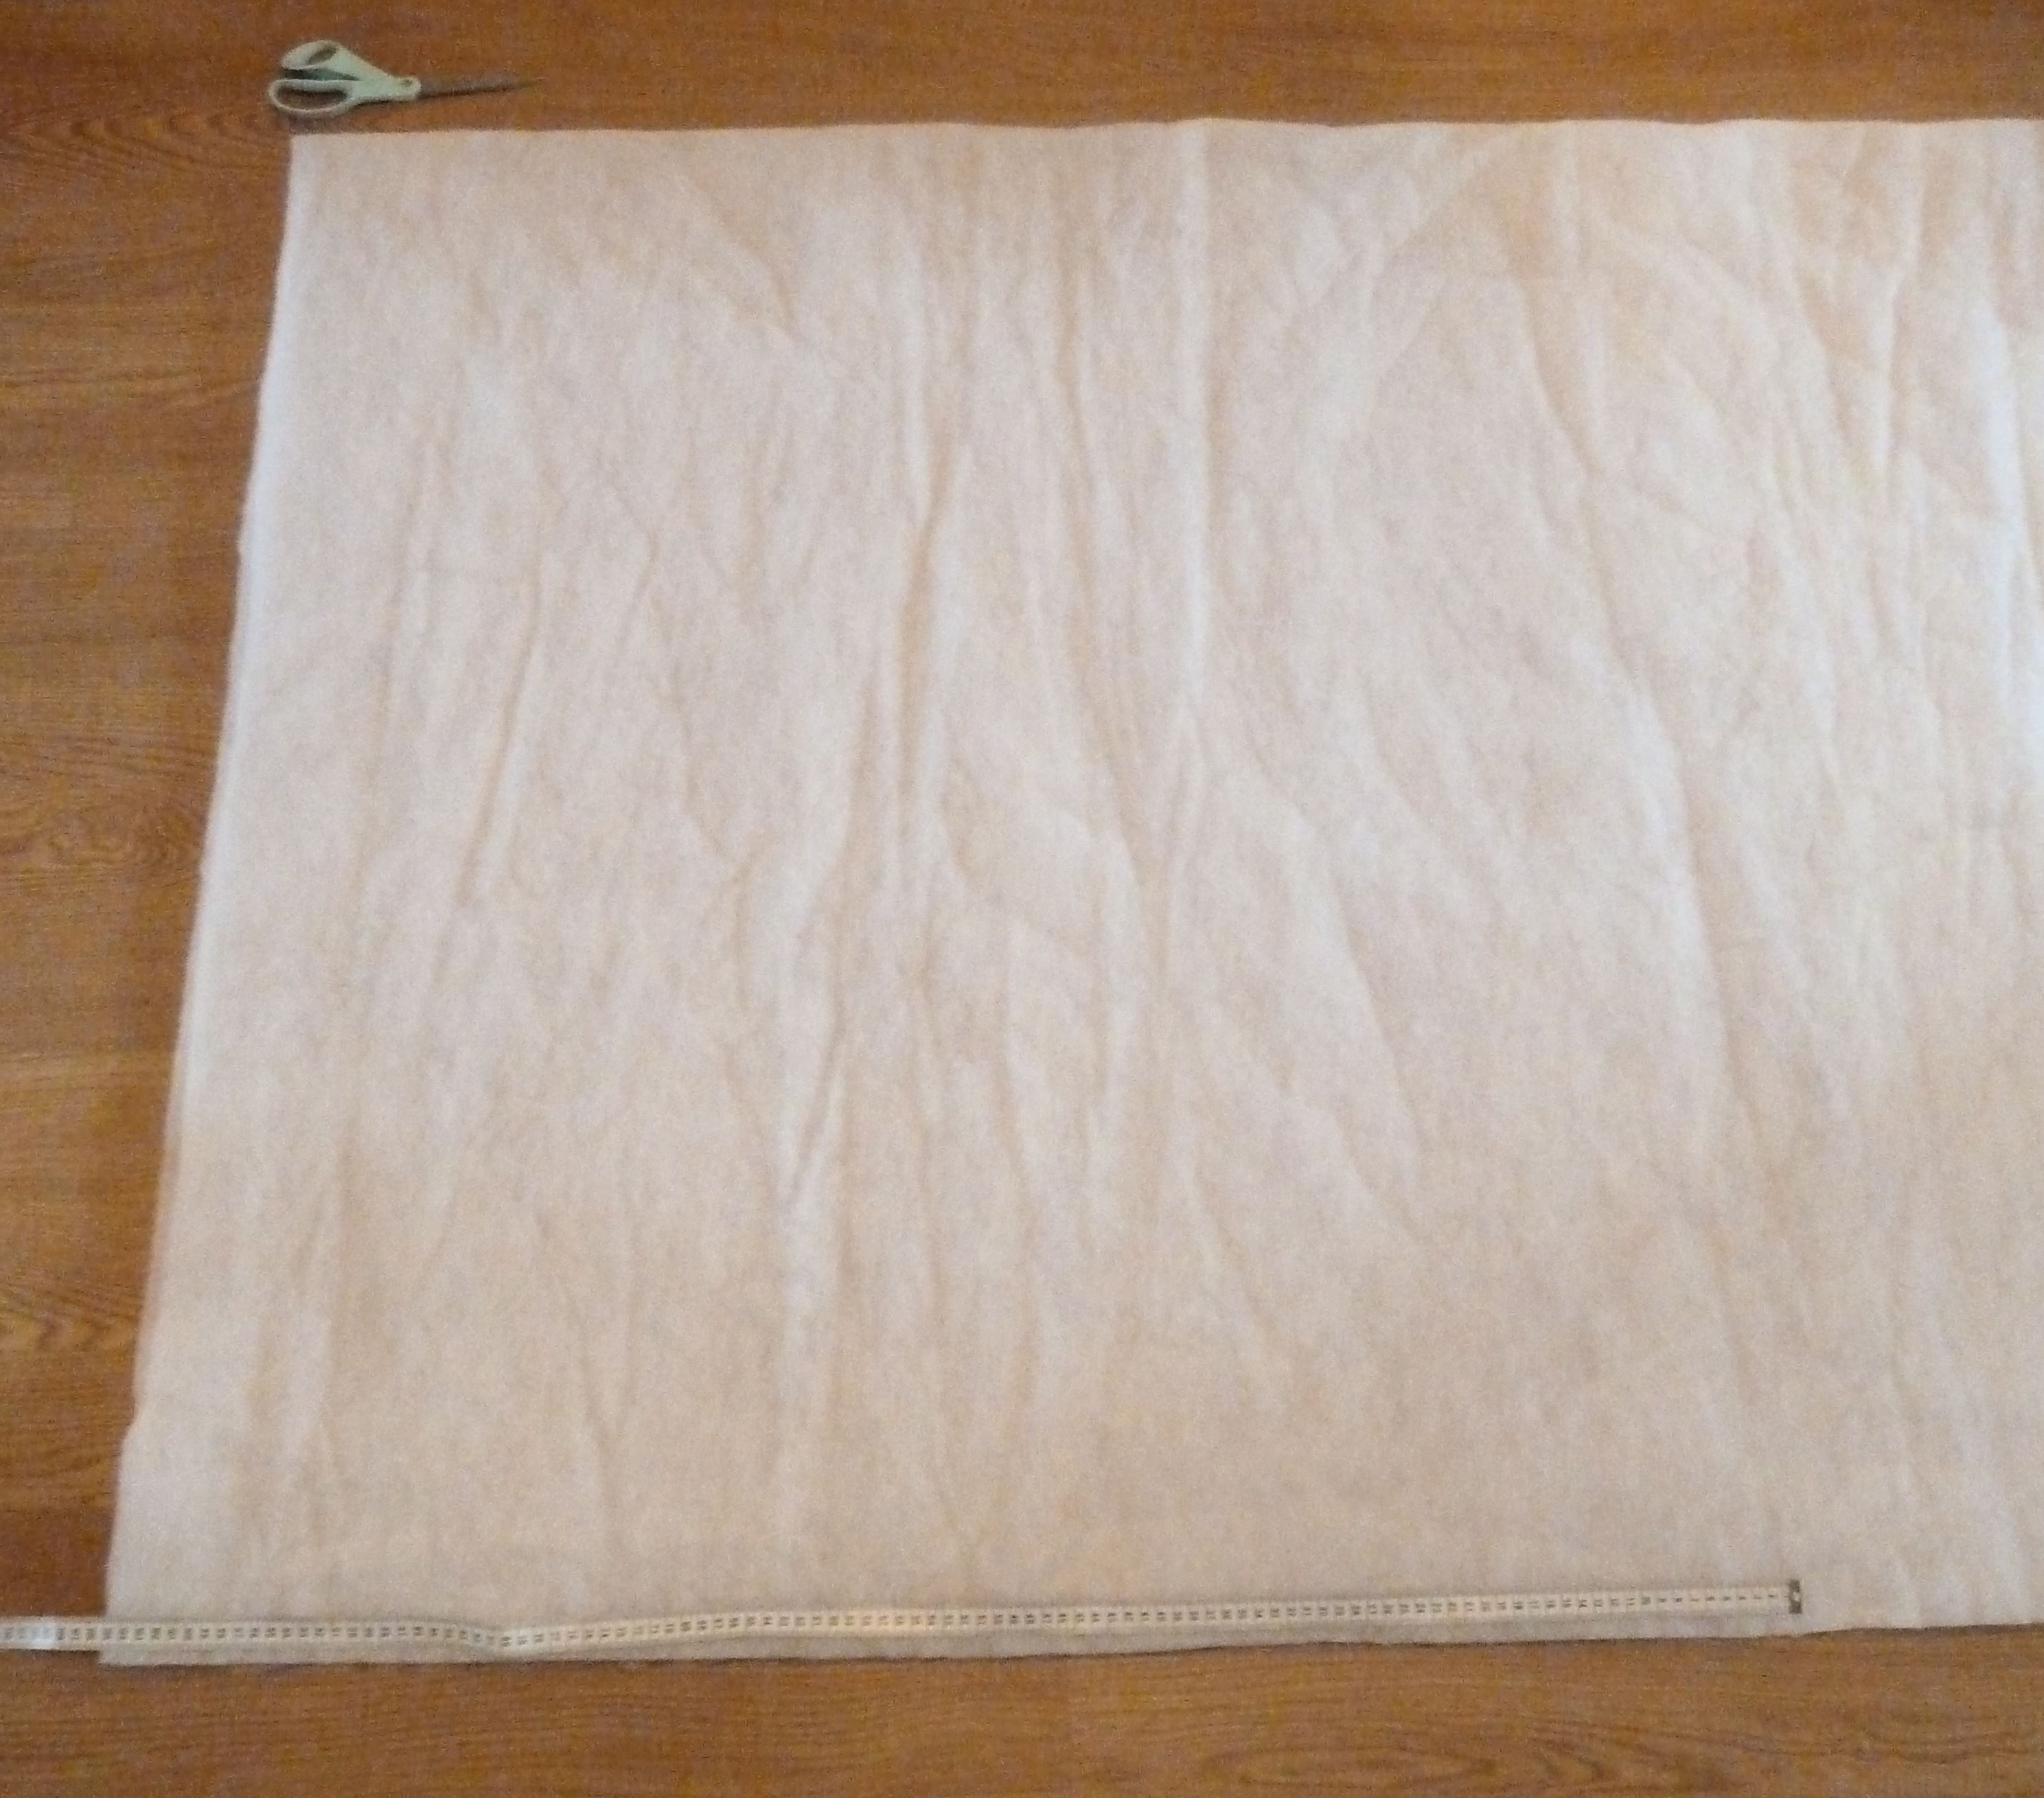
What we need today is: your Scandi Baby Nest pattern (cut out and ready to use), your pre-washed fabric, batting/wadding, pins, a pair of scissors and the marking tool of your choice.
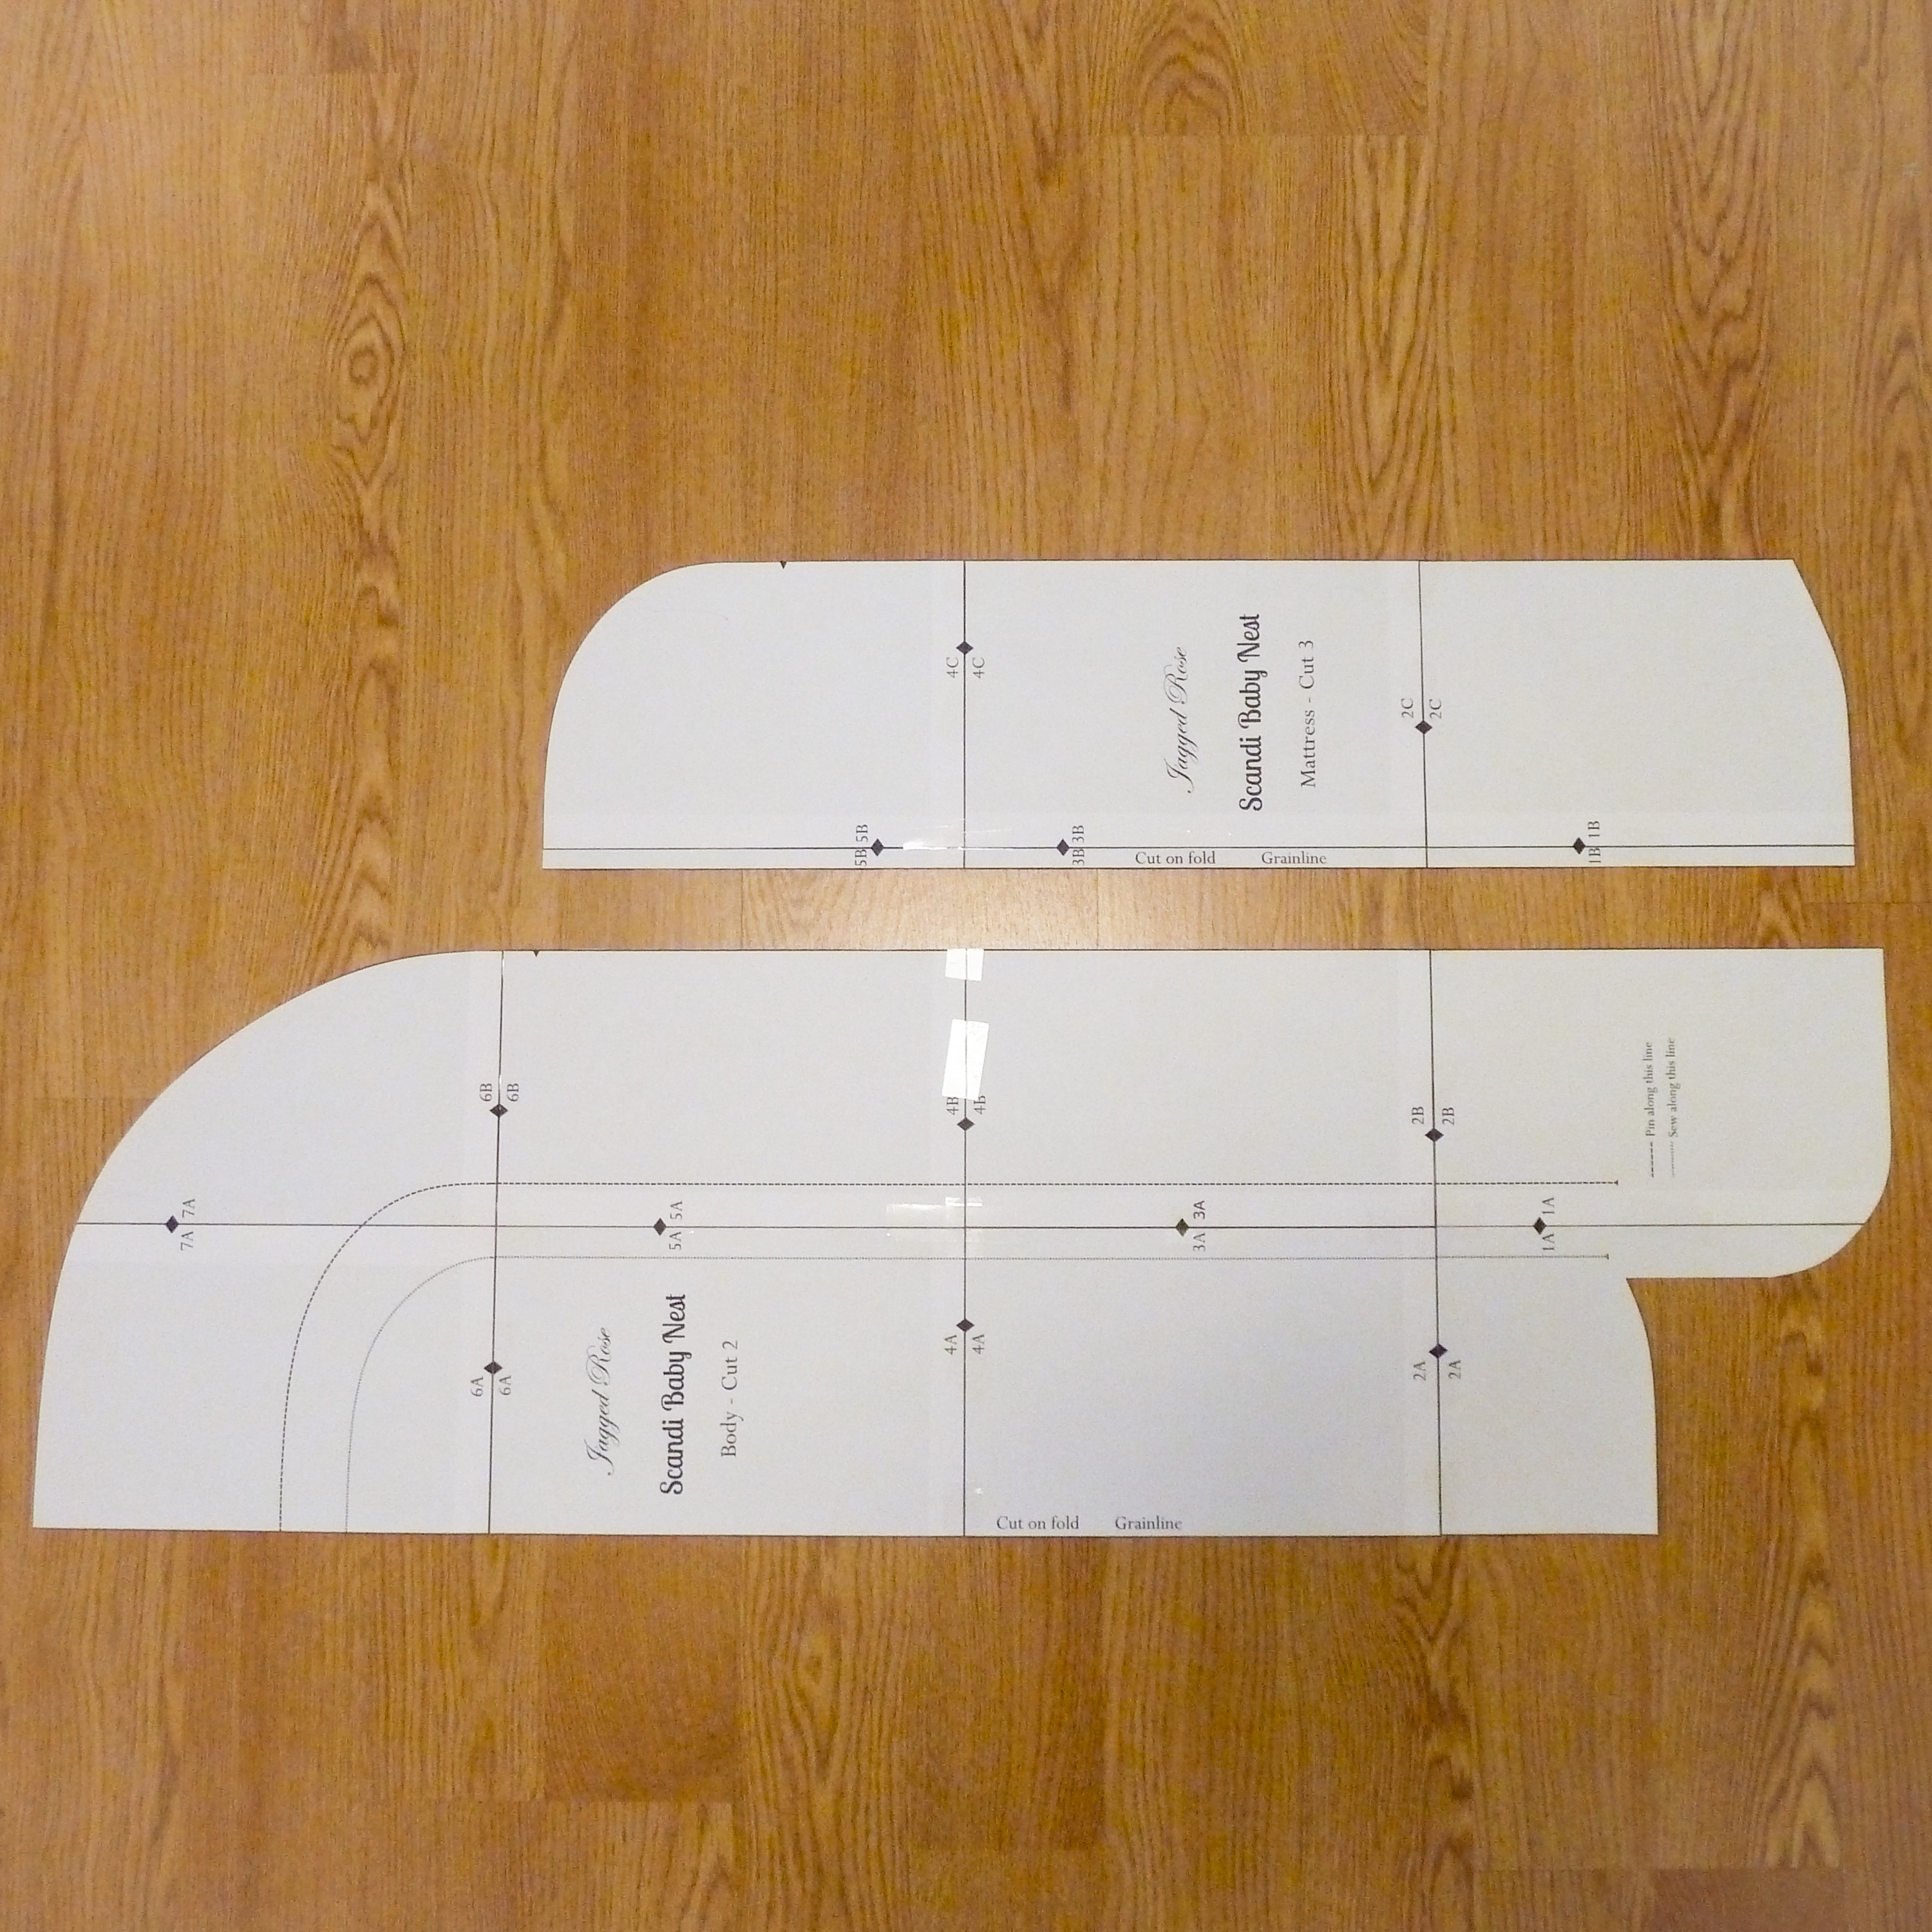
OK, let’s get started, pinning and cutting!
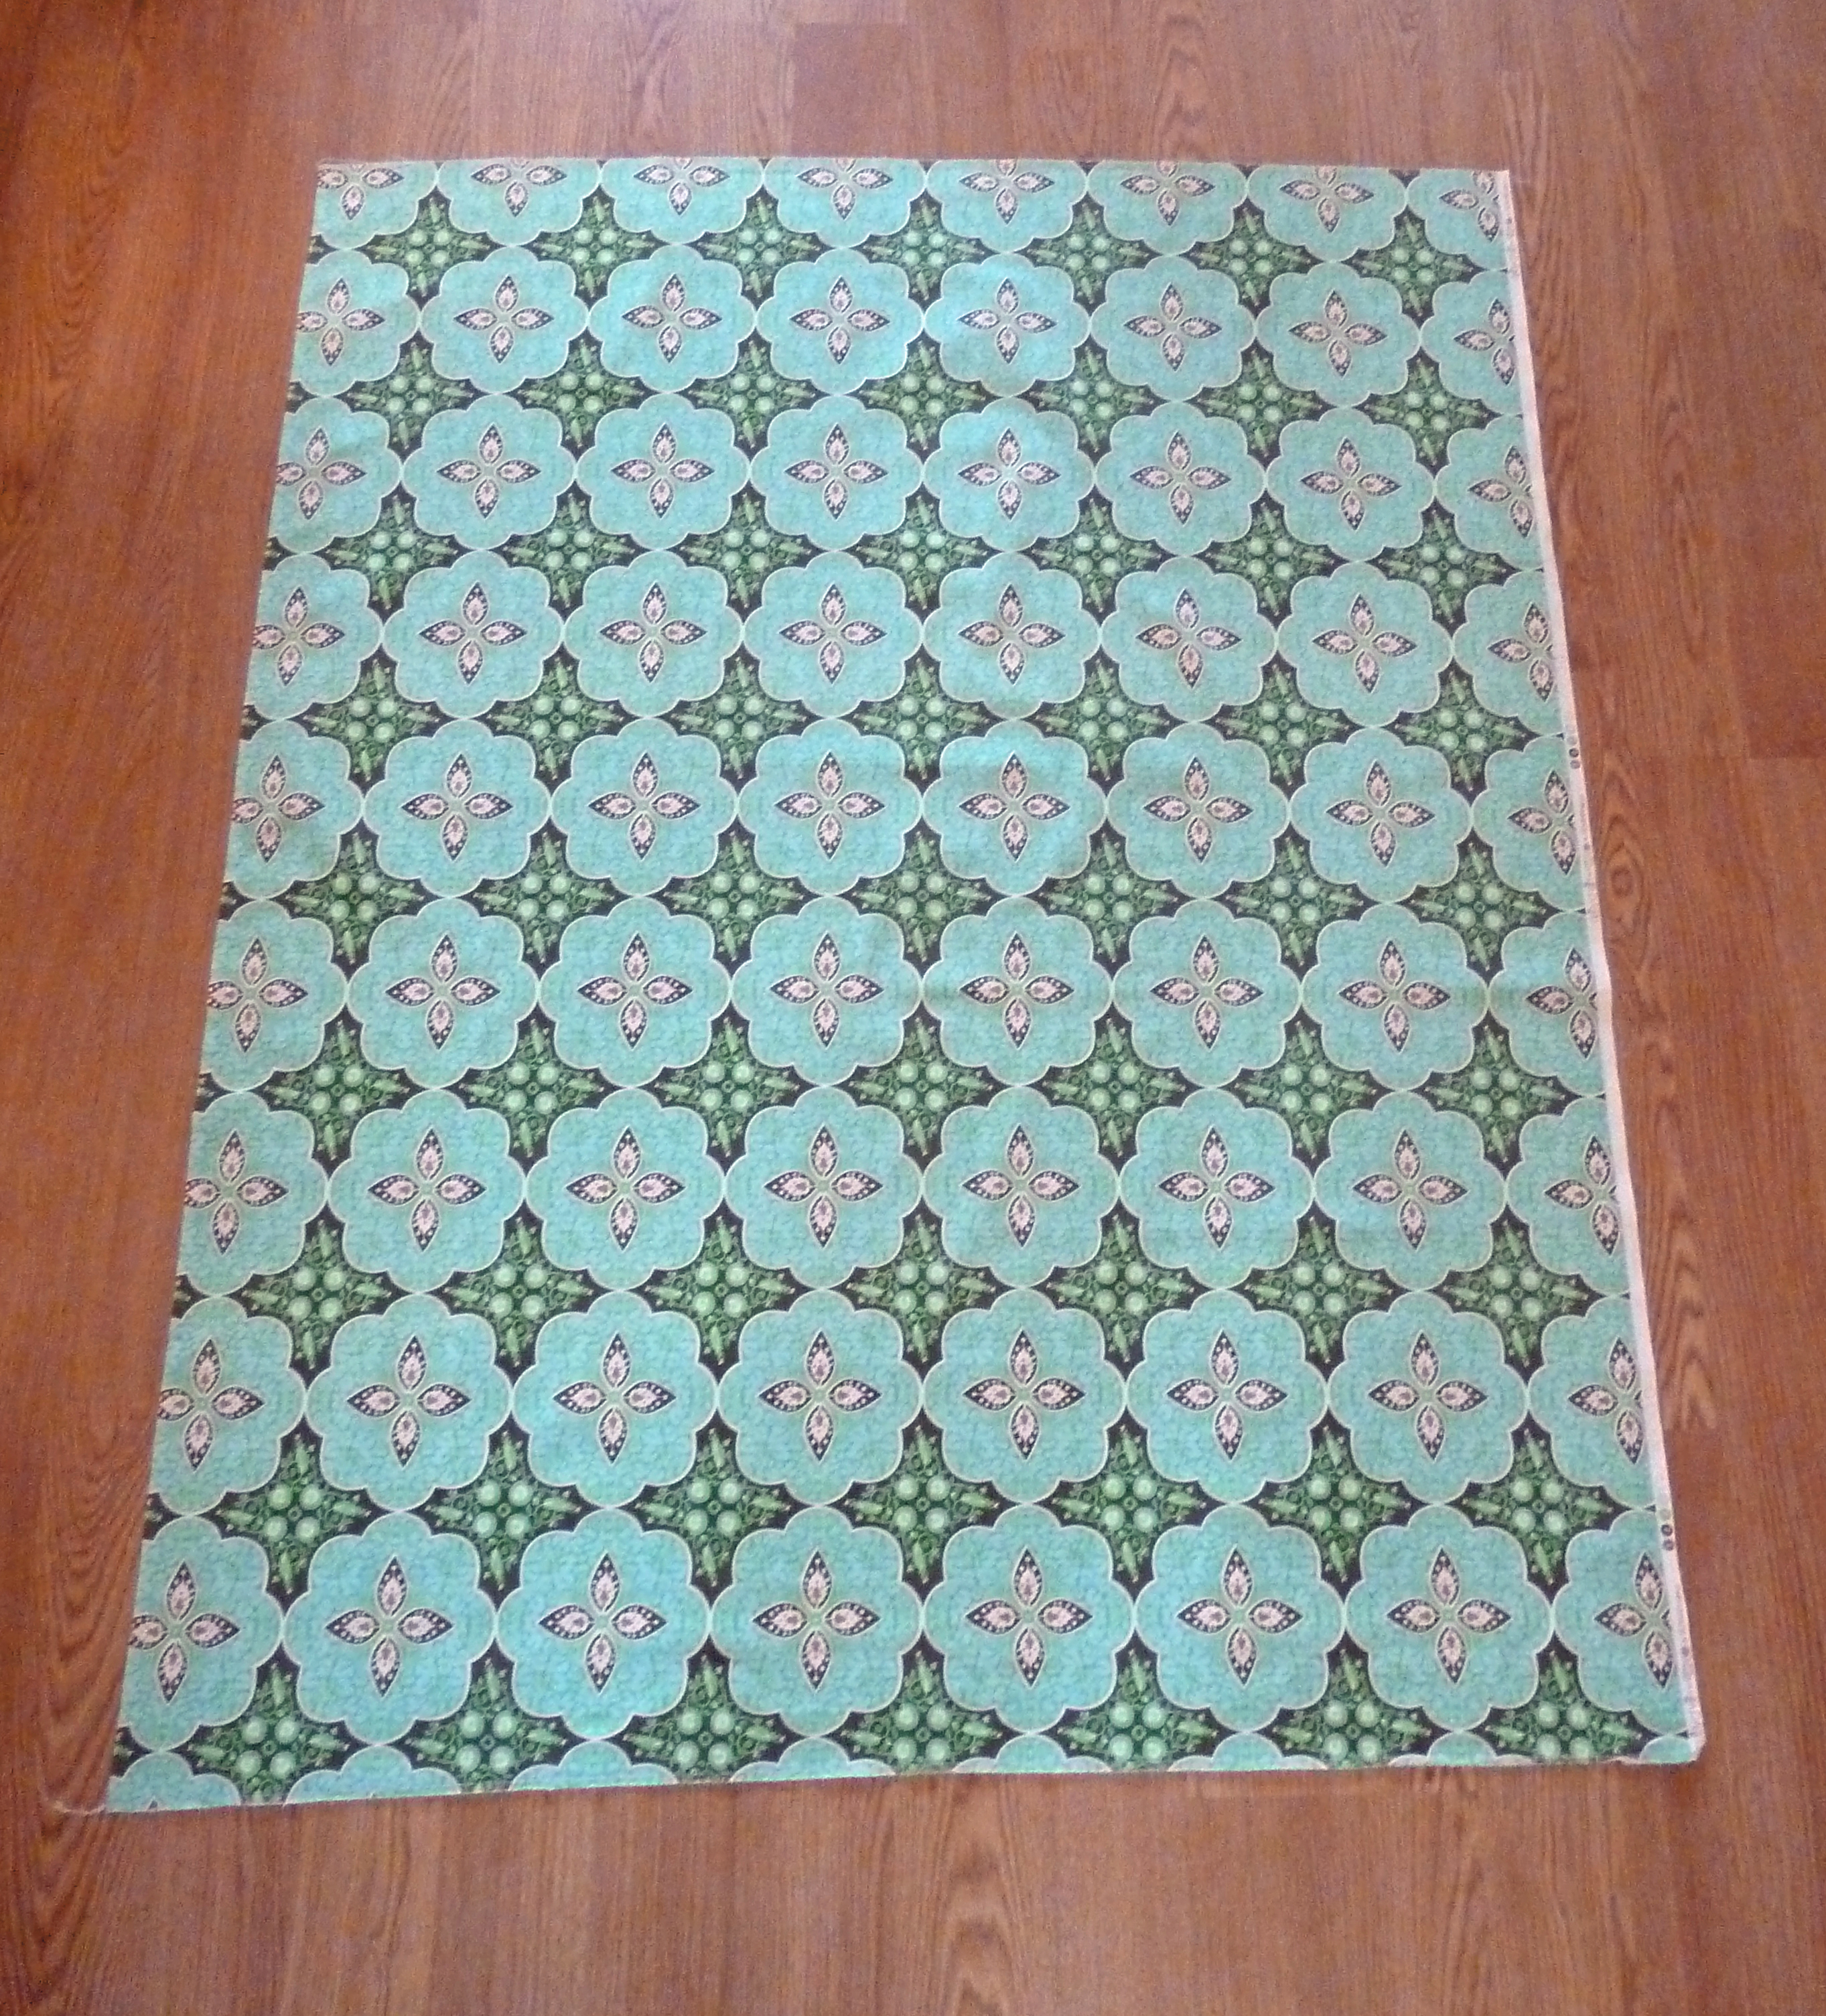
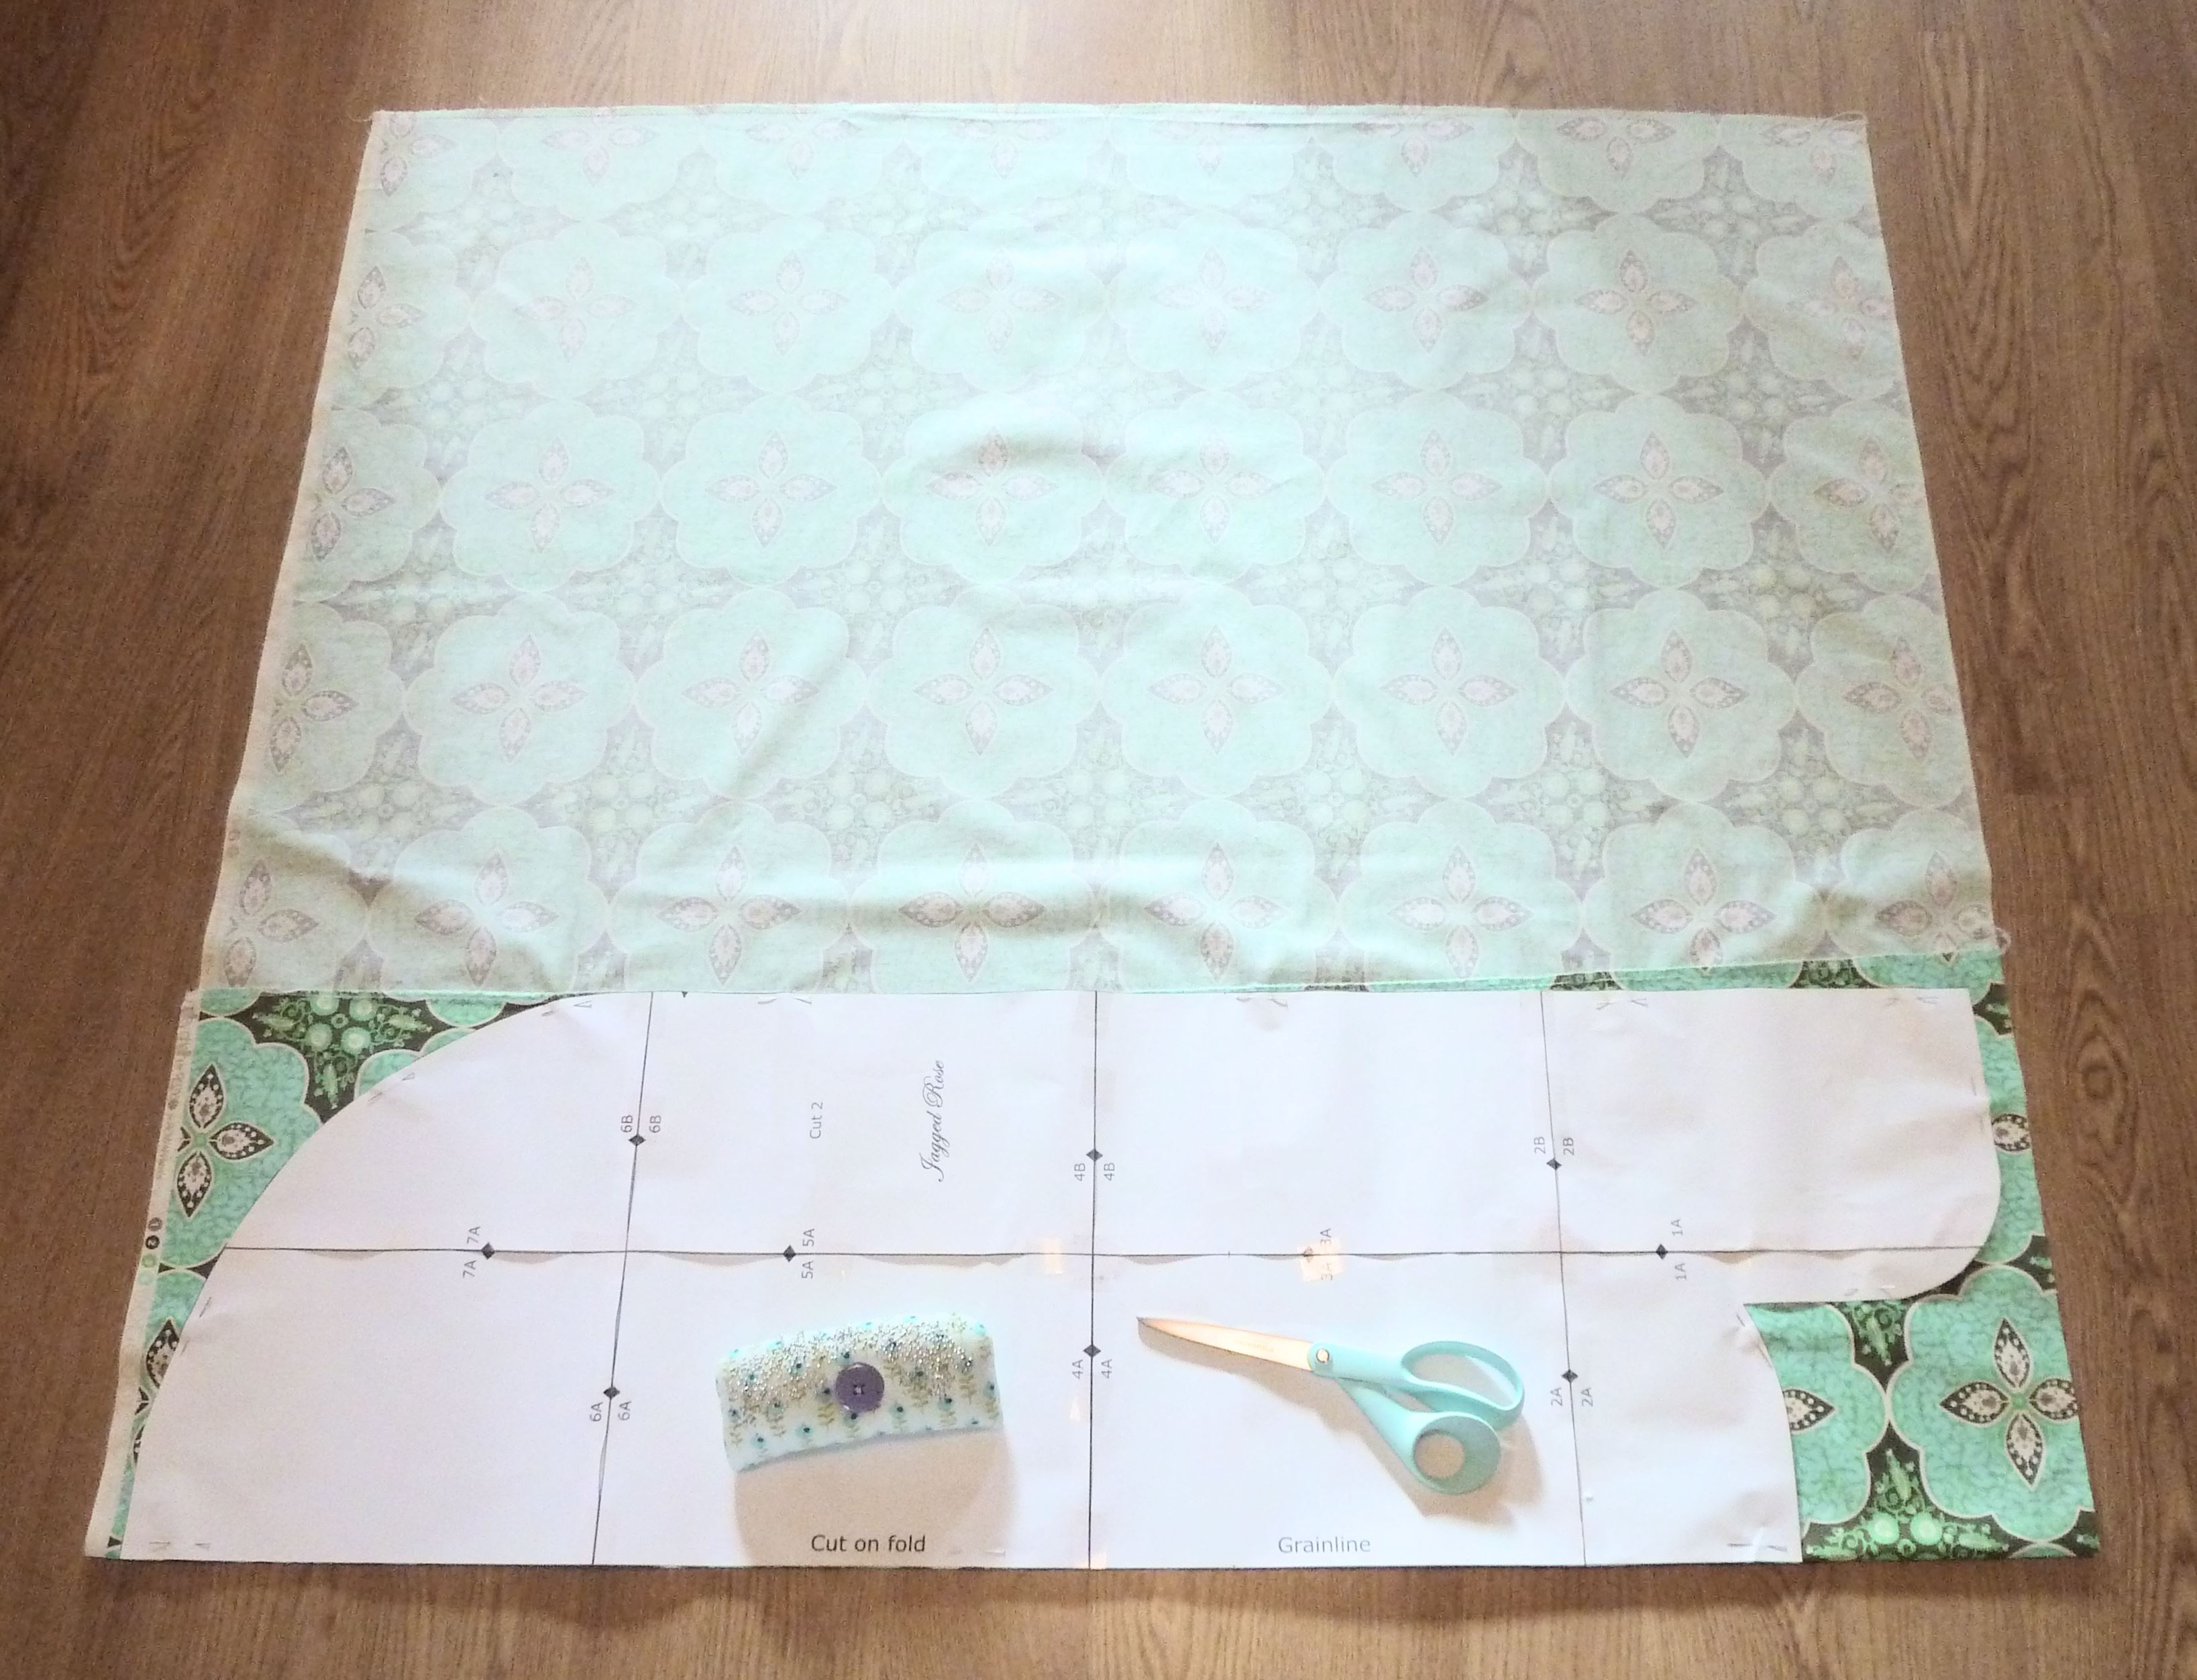
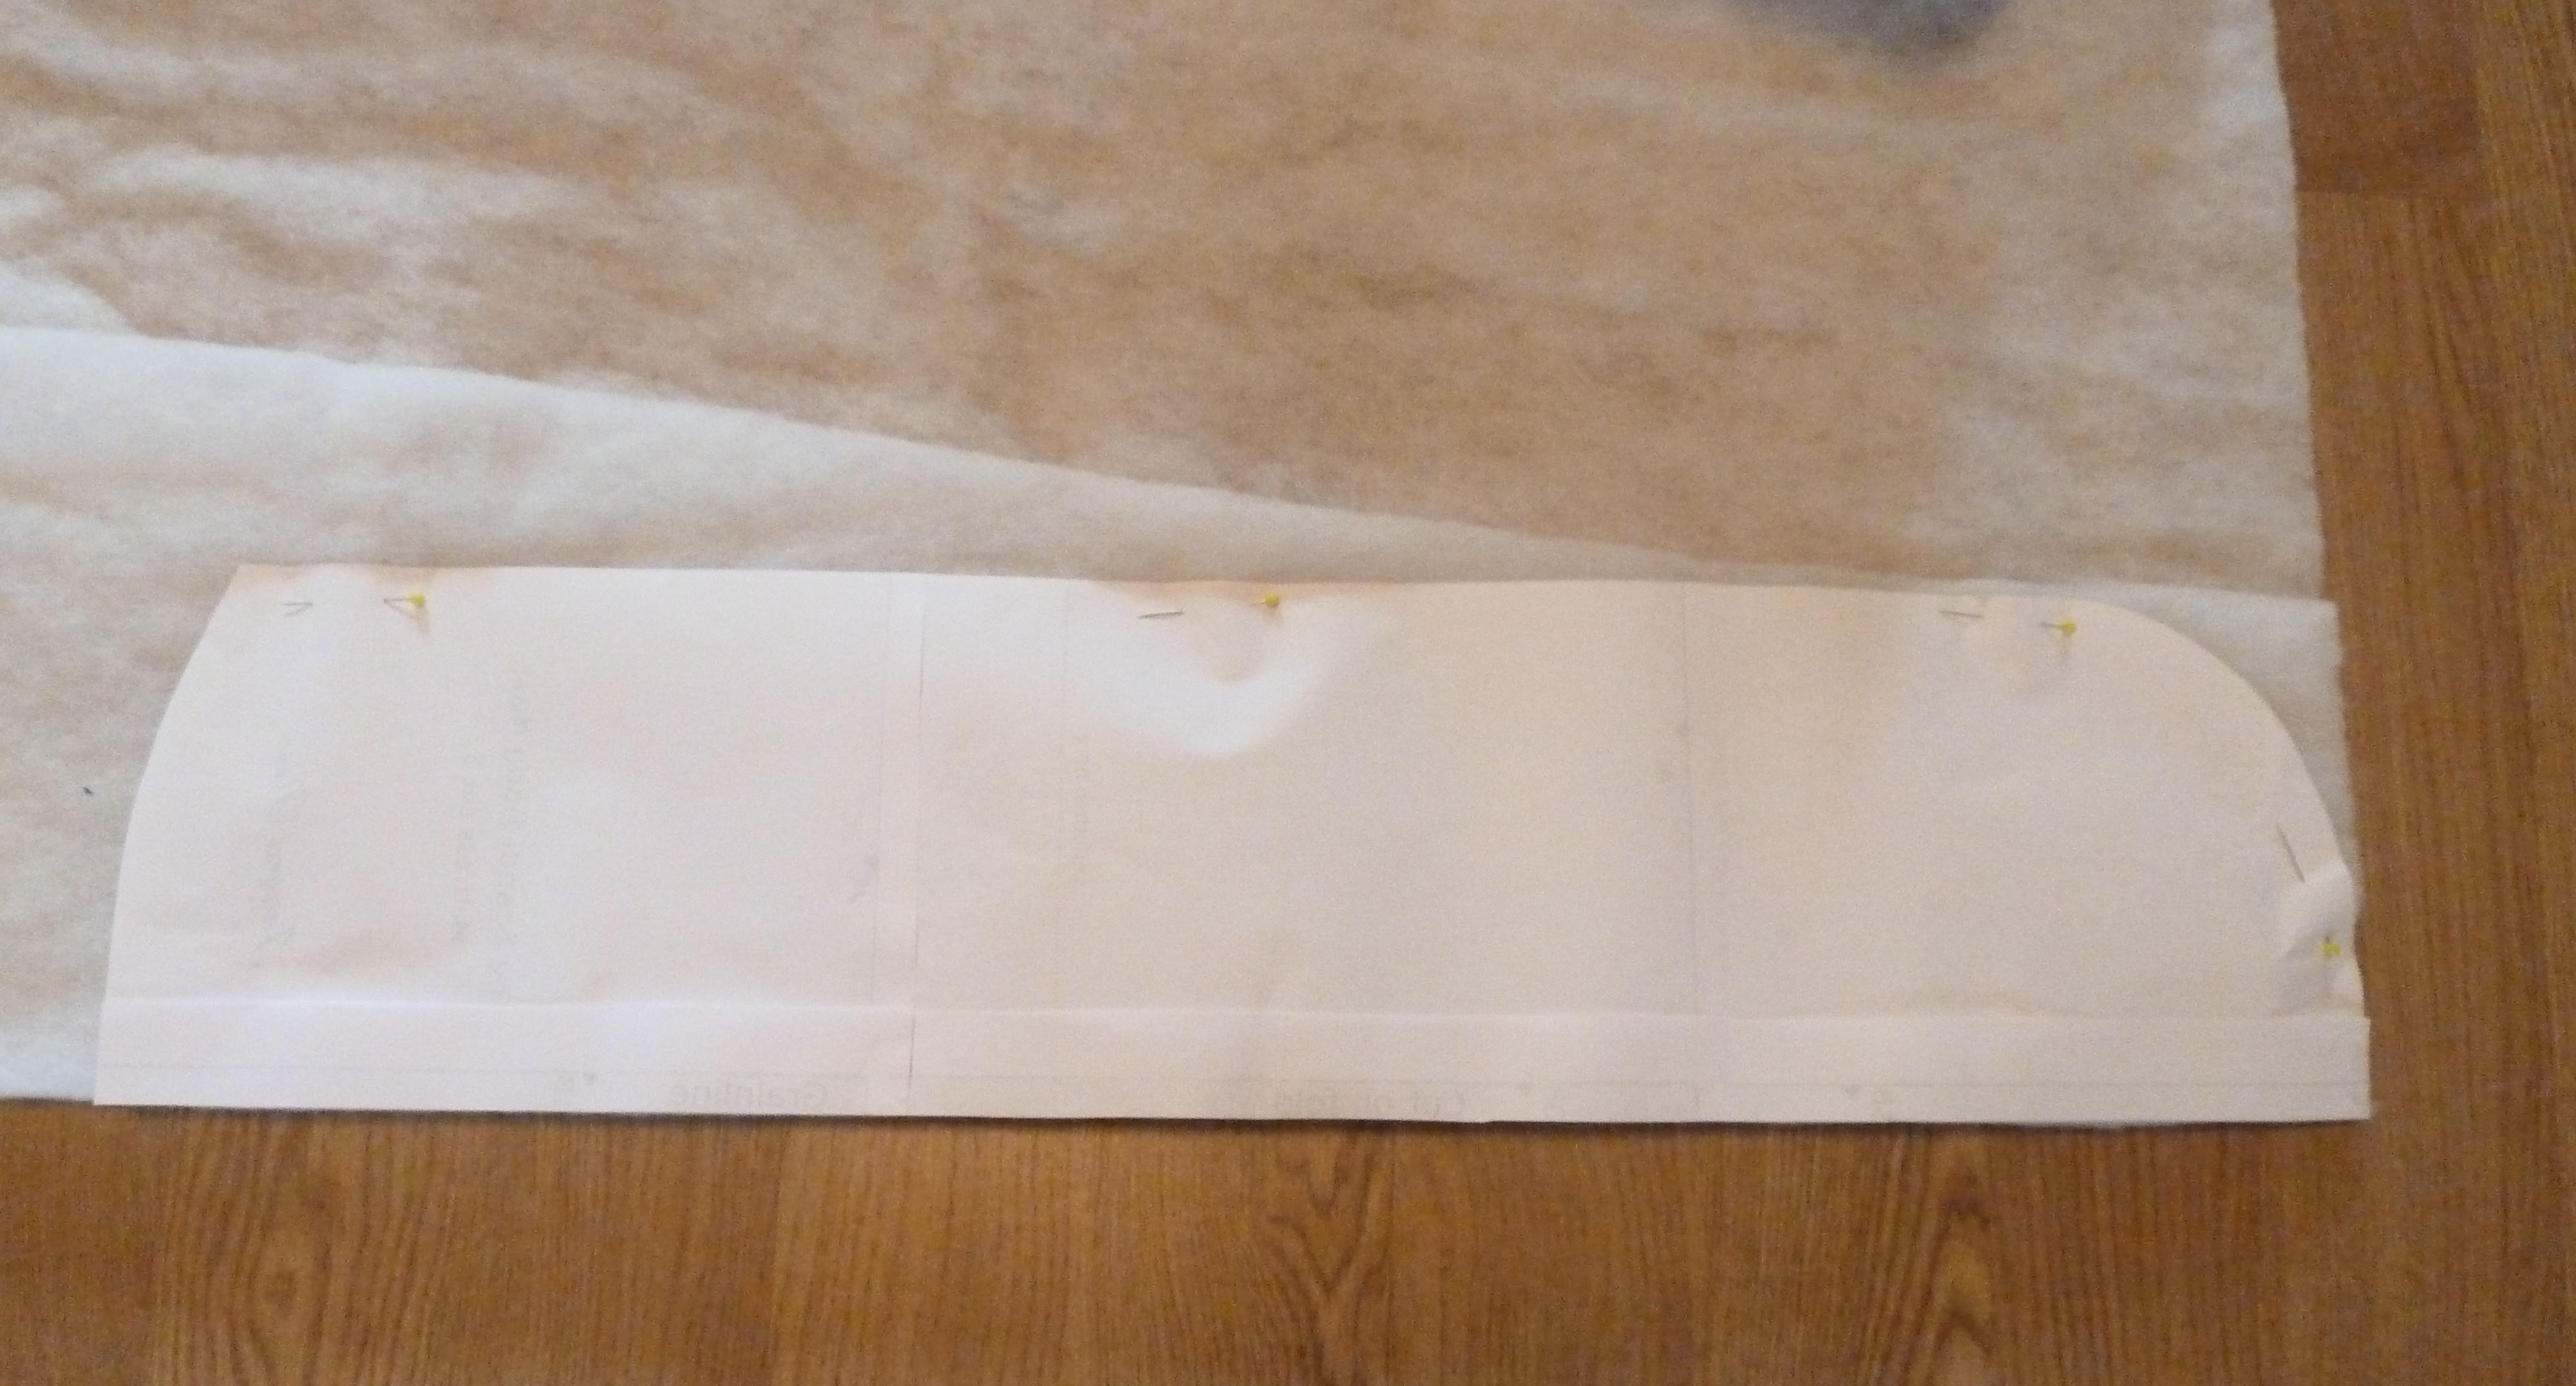
- If you are making your nest in two different fabrics or if you want to have a certain print layout for the “top” of your nest, you will probably want to cut out the “bottom” first. As the pattern pieces are only half the width of the actual nest, we need to cut on the fold. Then we need to unpin and re-use the pattern for the next piece, but we also need to add the marking lines onto our fabric.
You only need to mark your “top” fabric and it’s easiest if the pattern is still pinned on (depending on your choice of marking of course). - Fold your fabric, check your pattern will fit and pin in place. You can see in the photo below, I’m following the crosswise grain instead of lengthwise, because that’s what worked best with the amount of fabric I had. Cut out your “bottom” fabric and repeat on your “top” fabric.
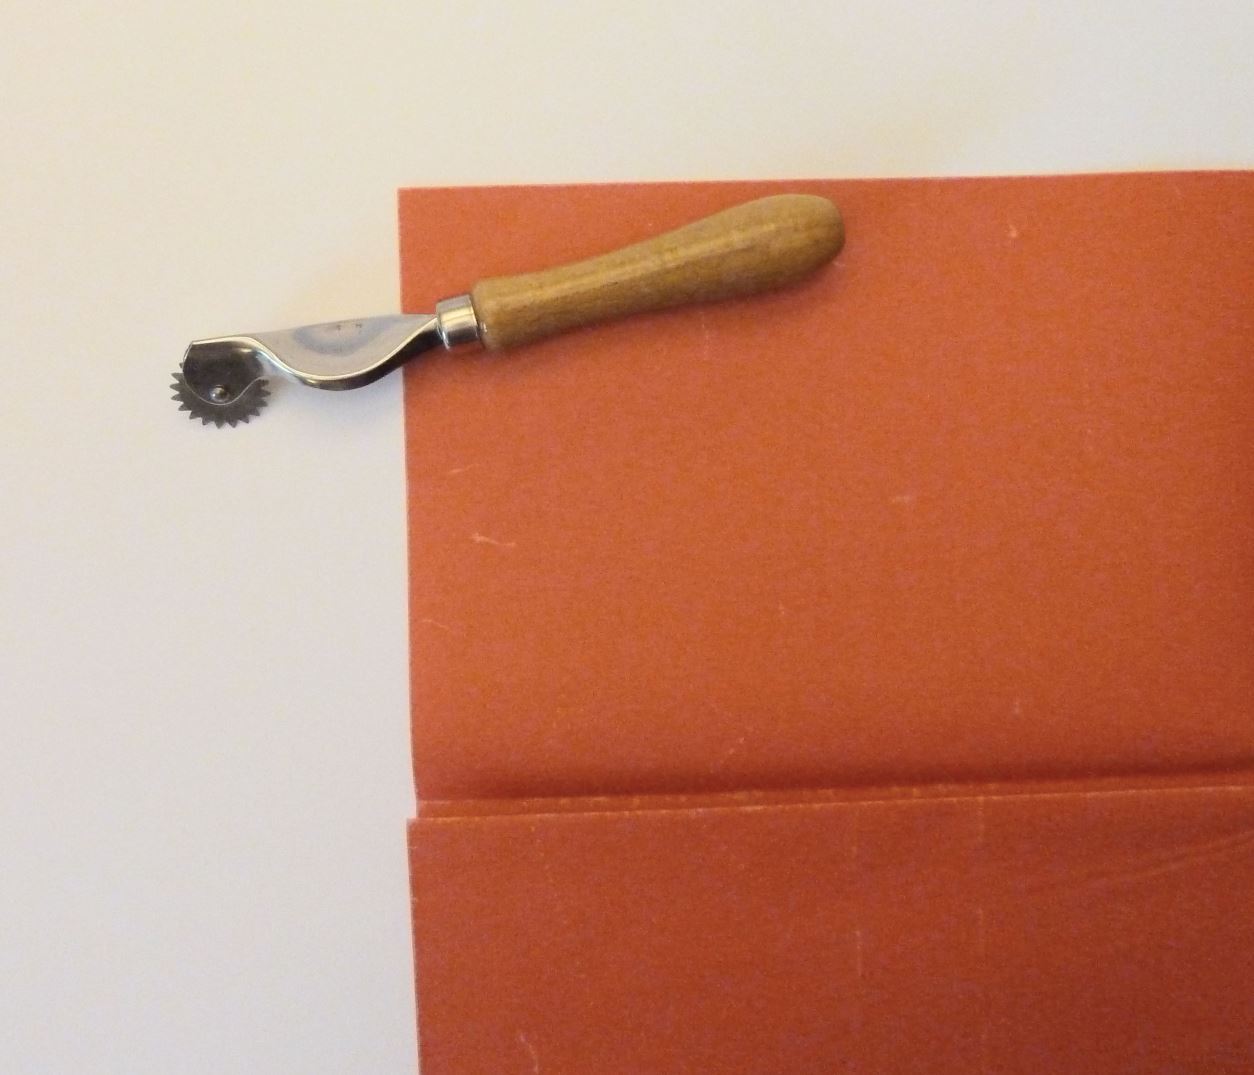
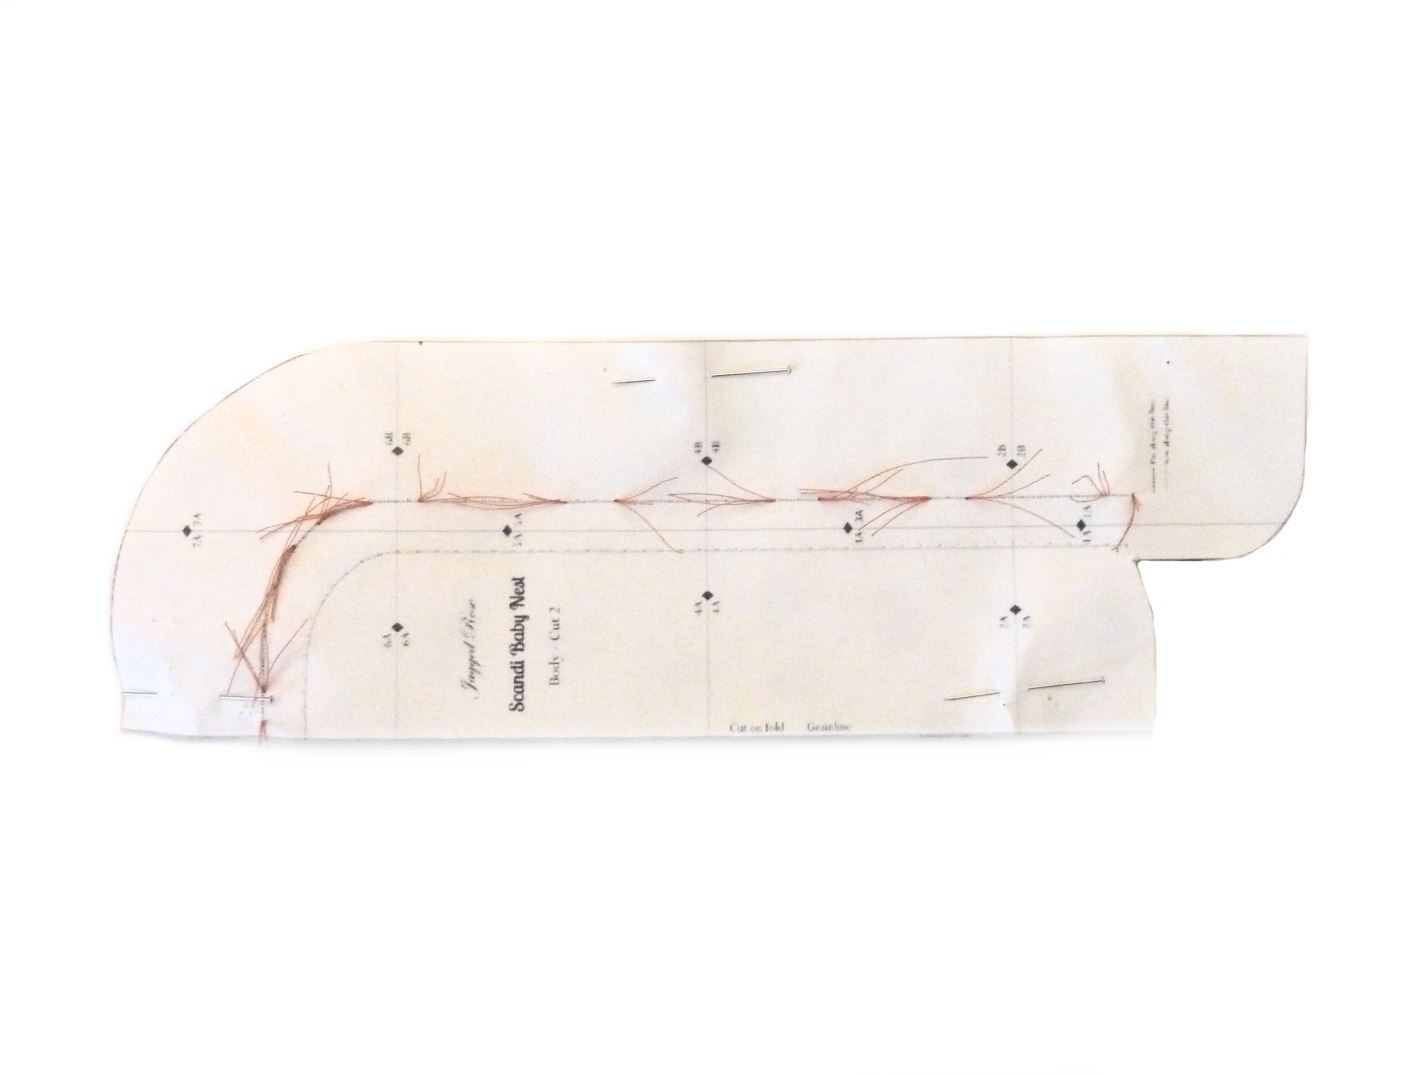
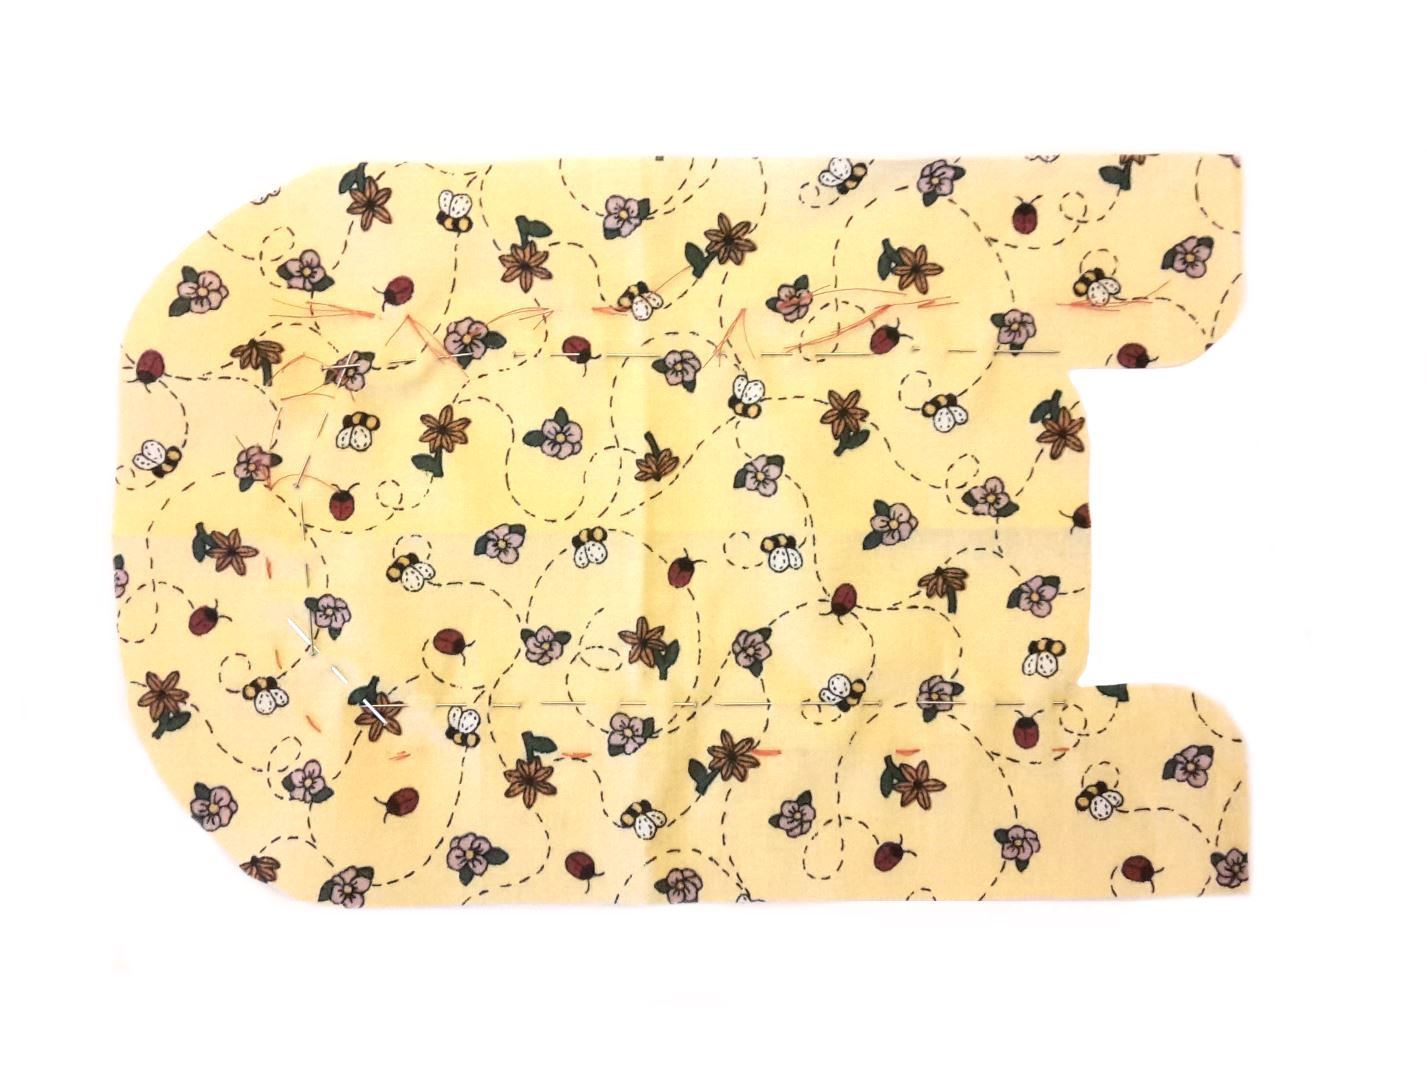
- Now we need to mark the lines, I think the best way is to mark the lines on the wrong side of the fabric, using dressmaker’s carbon and a tracing wheel. I don’t like marking the right side of my fabric with pens or chalk, in case the markings don’t go away, usually I just mark my lines with pins.
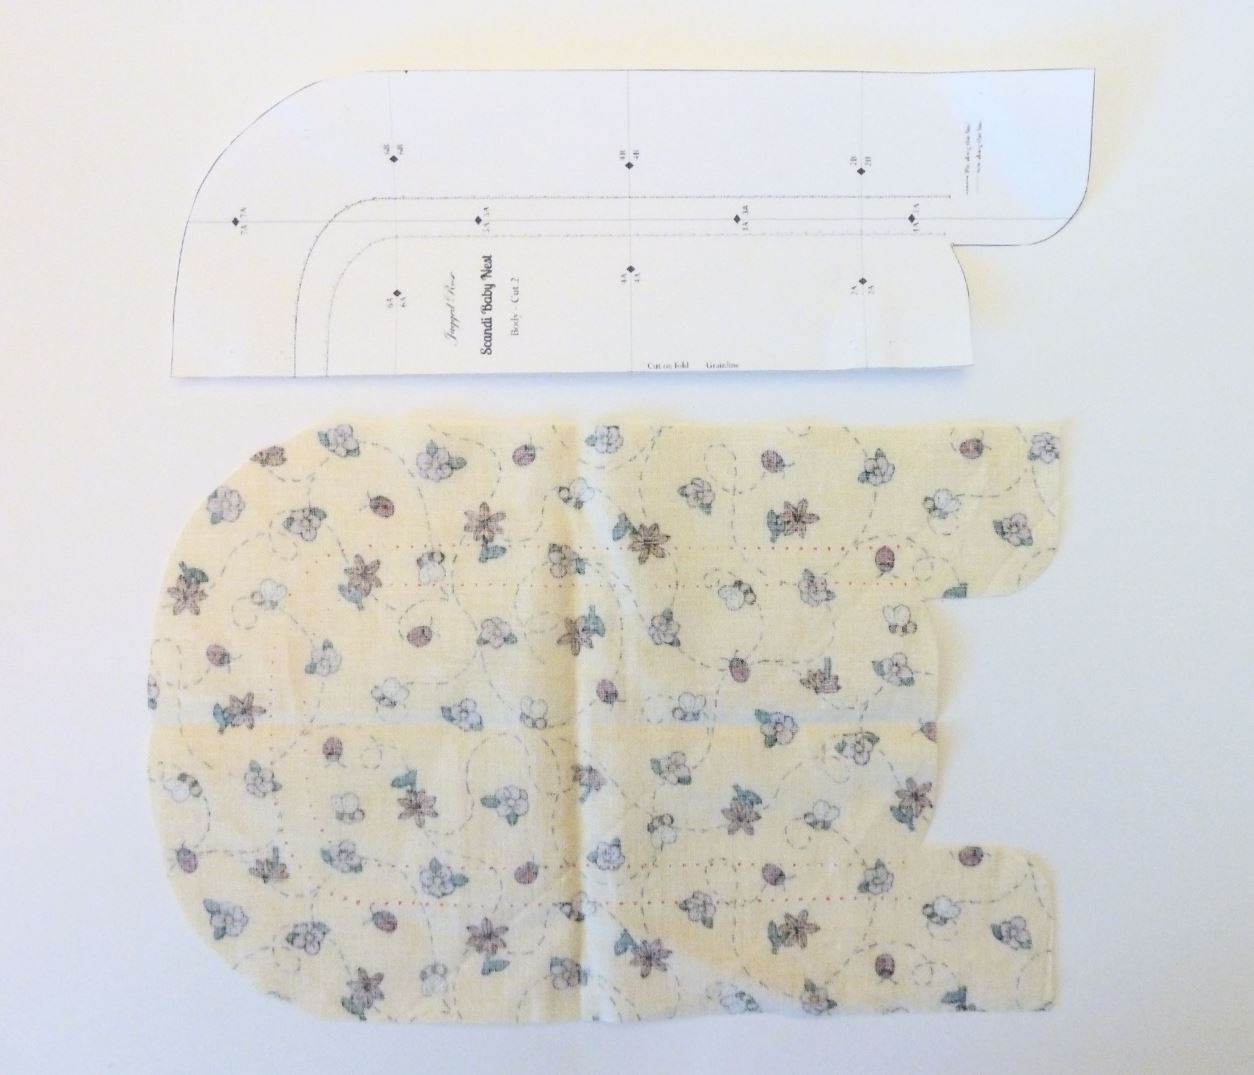
- See now we have lines on the wrong side of the fabric, but we want to see them on the front. You can do this however you like, I like to pin along my lines, you could baste along the lines or use tailor tacks to mark.
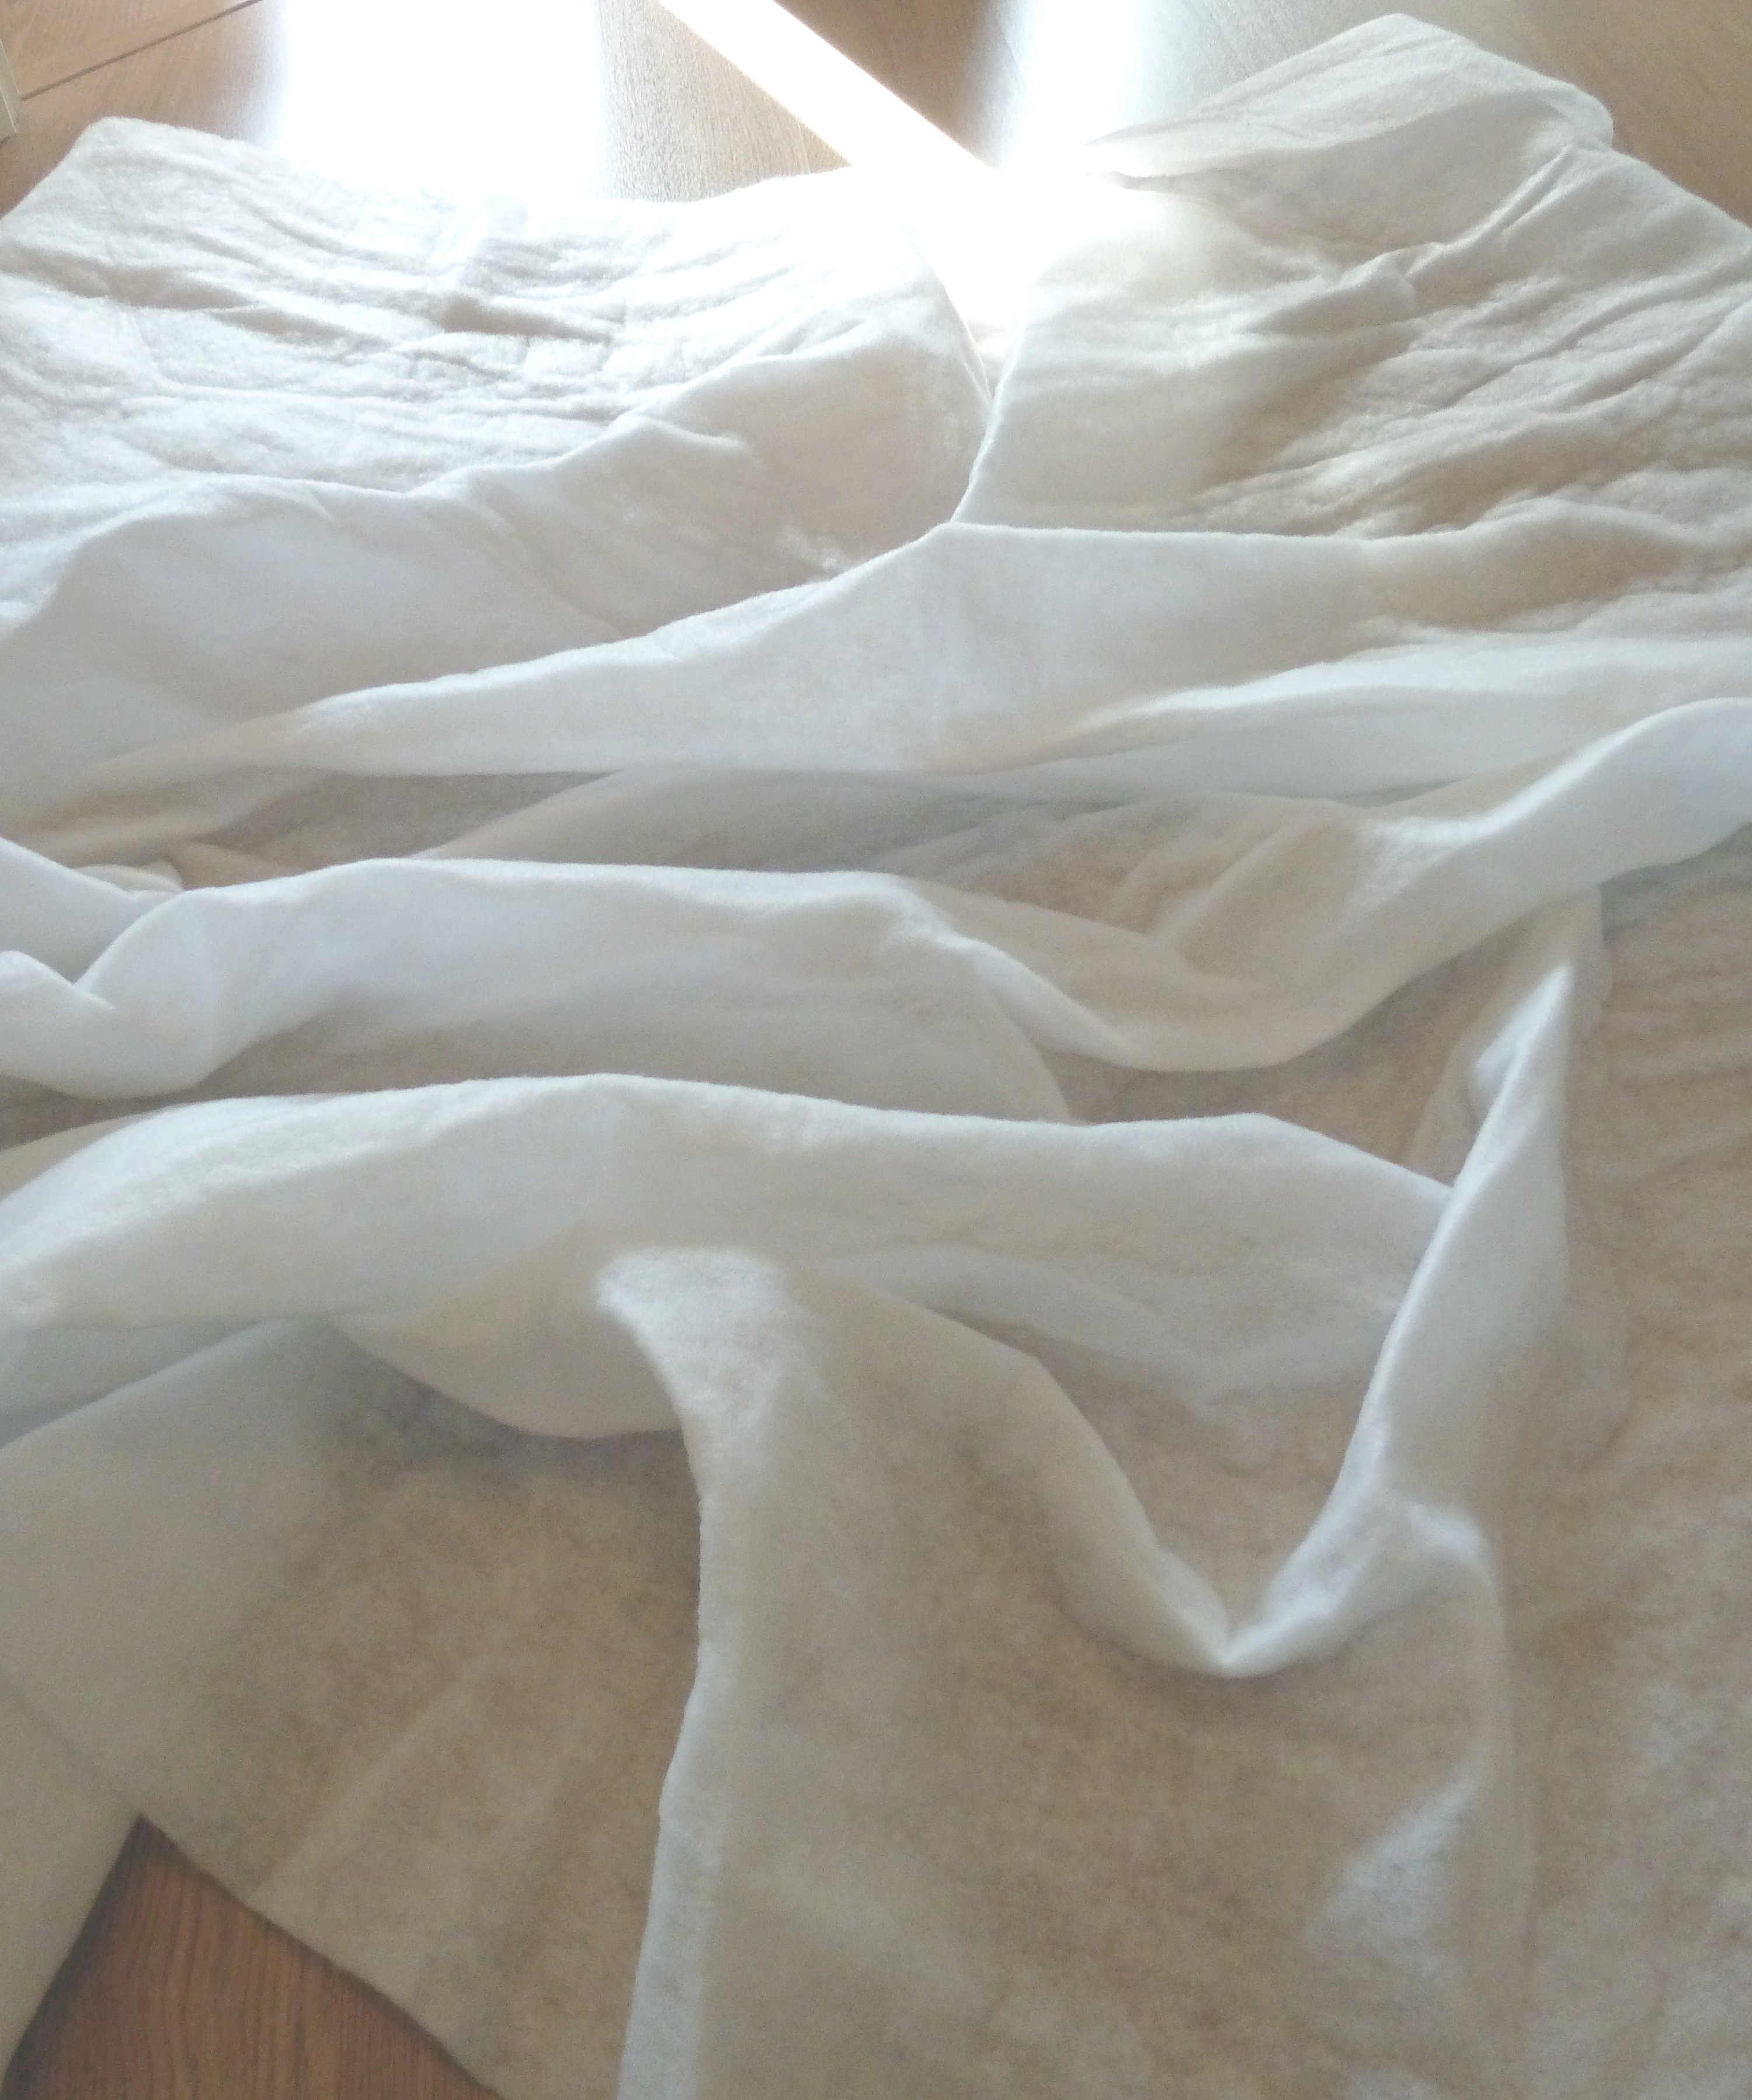
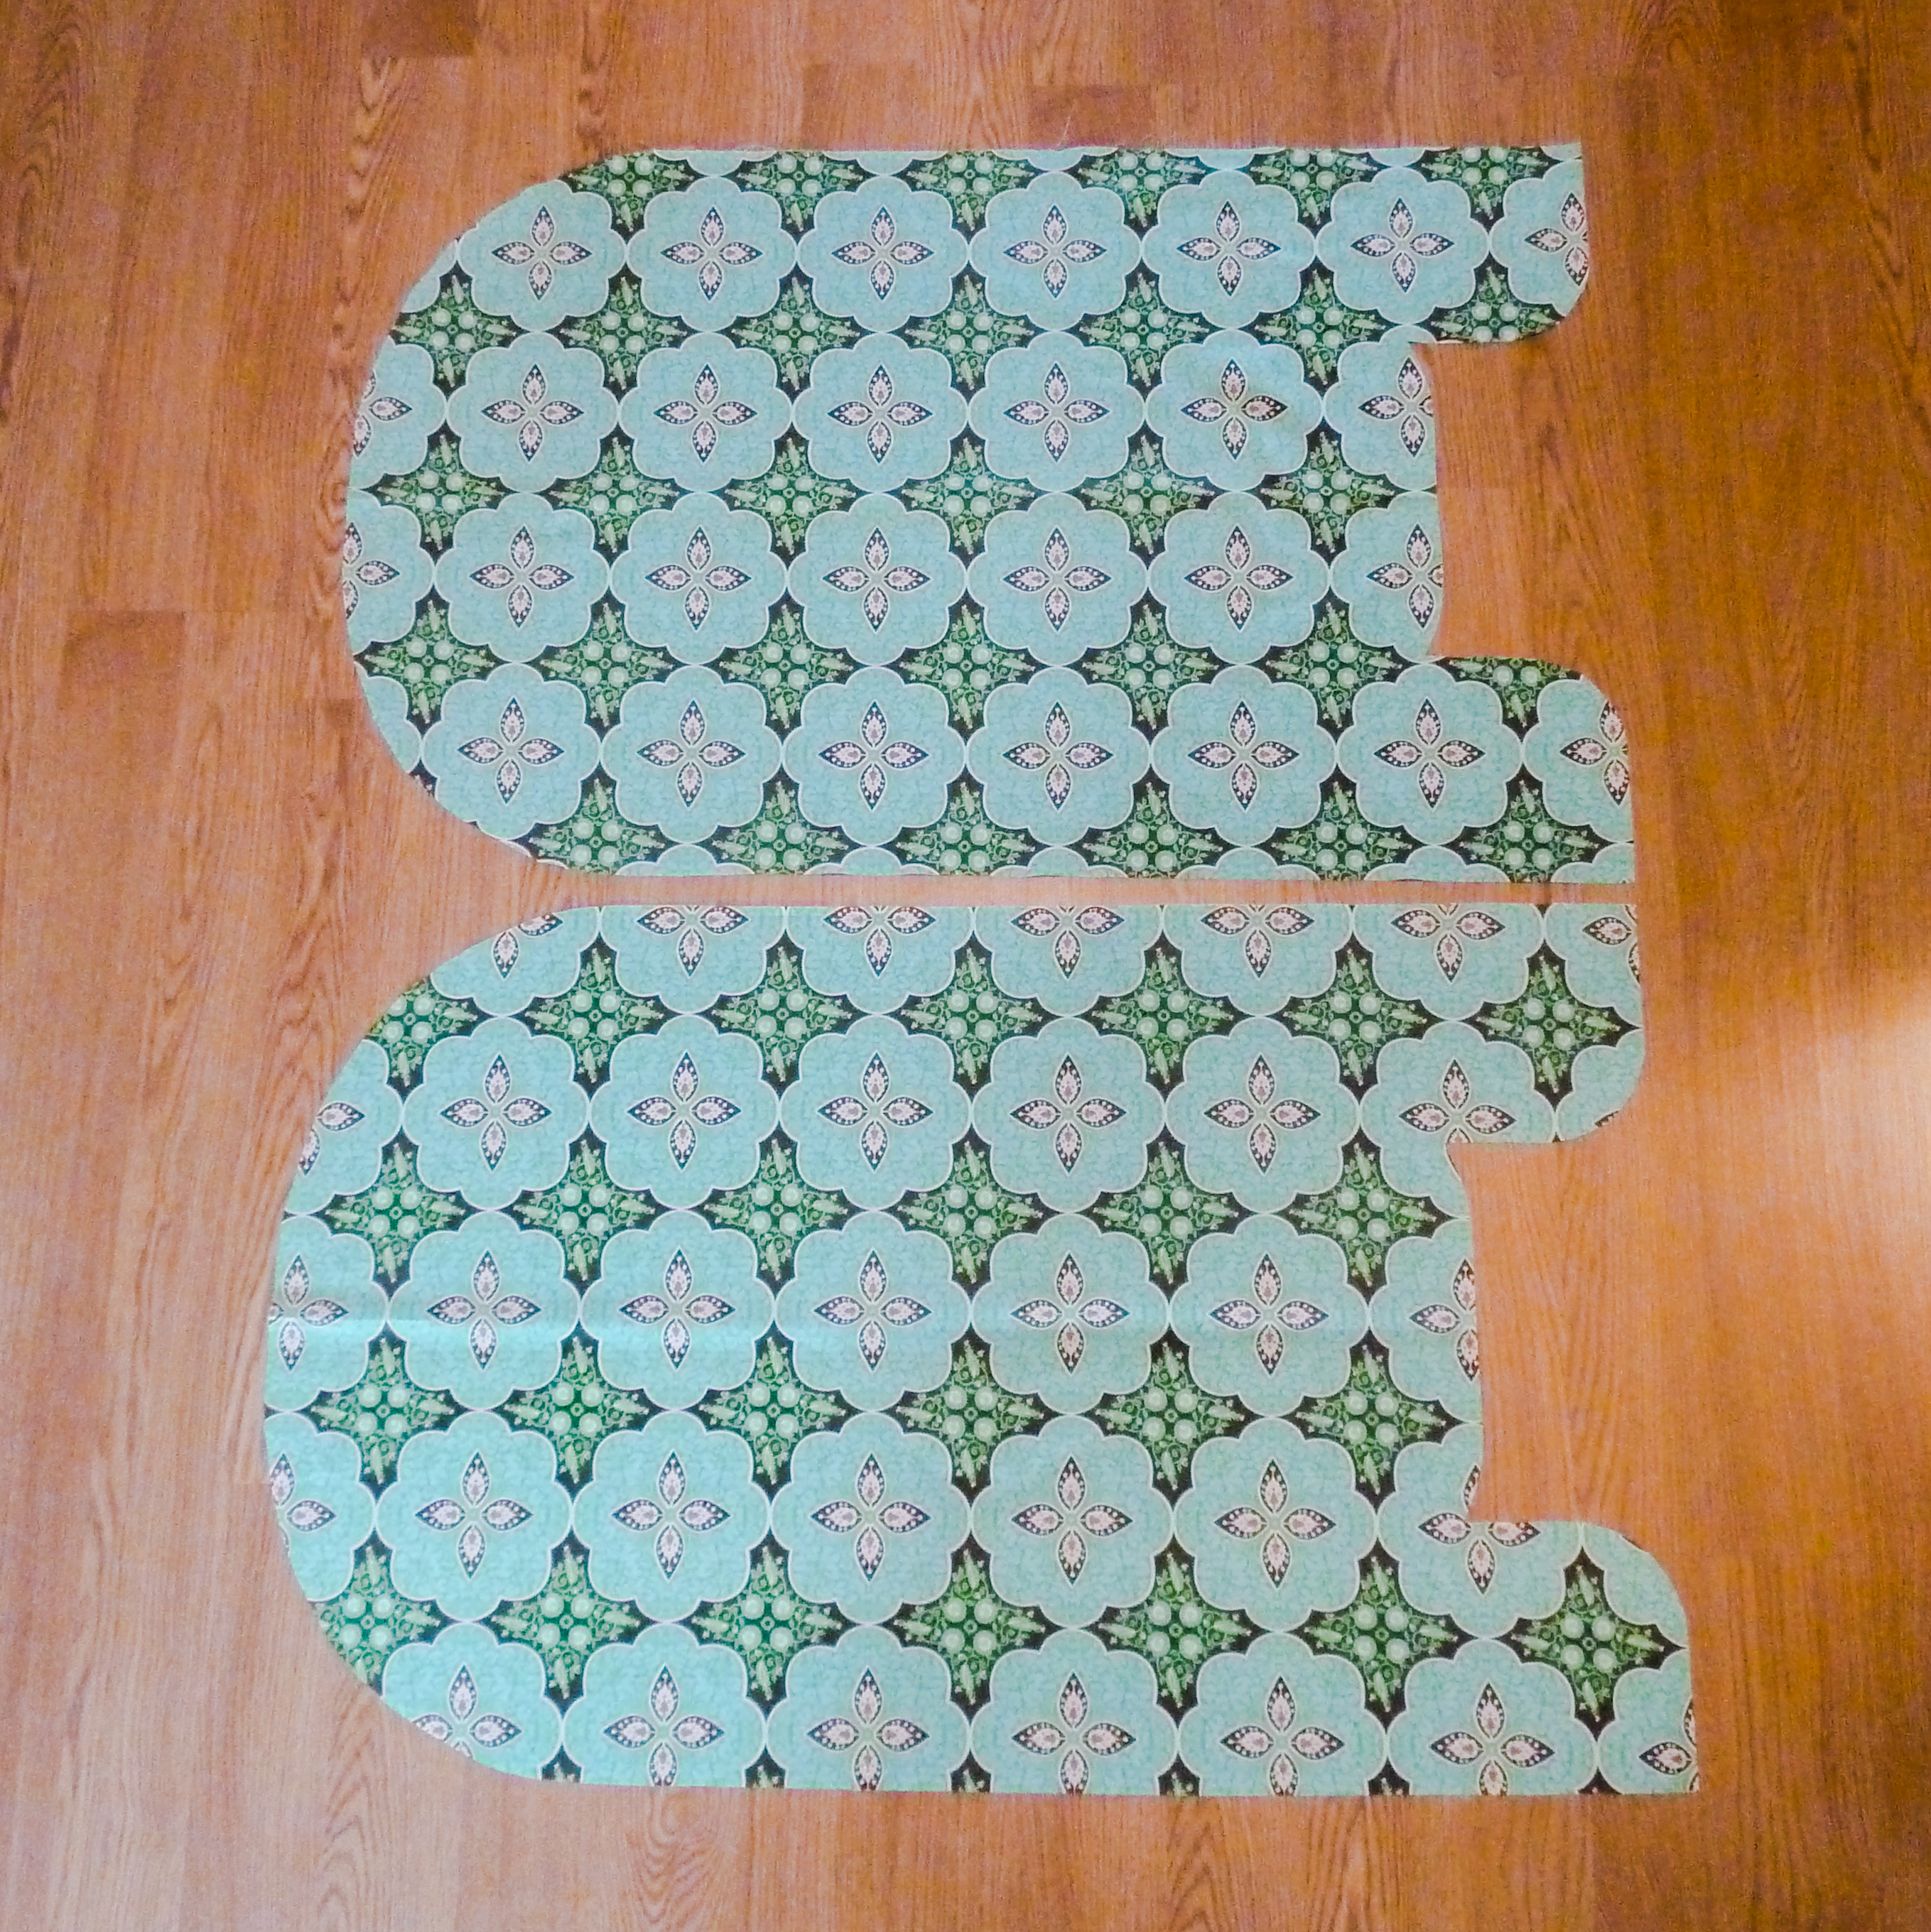
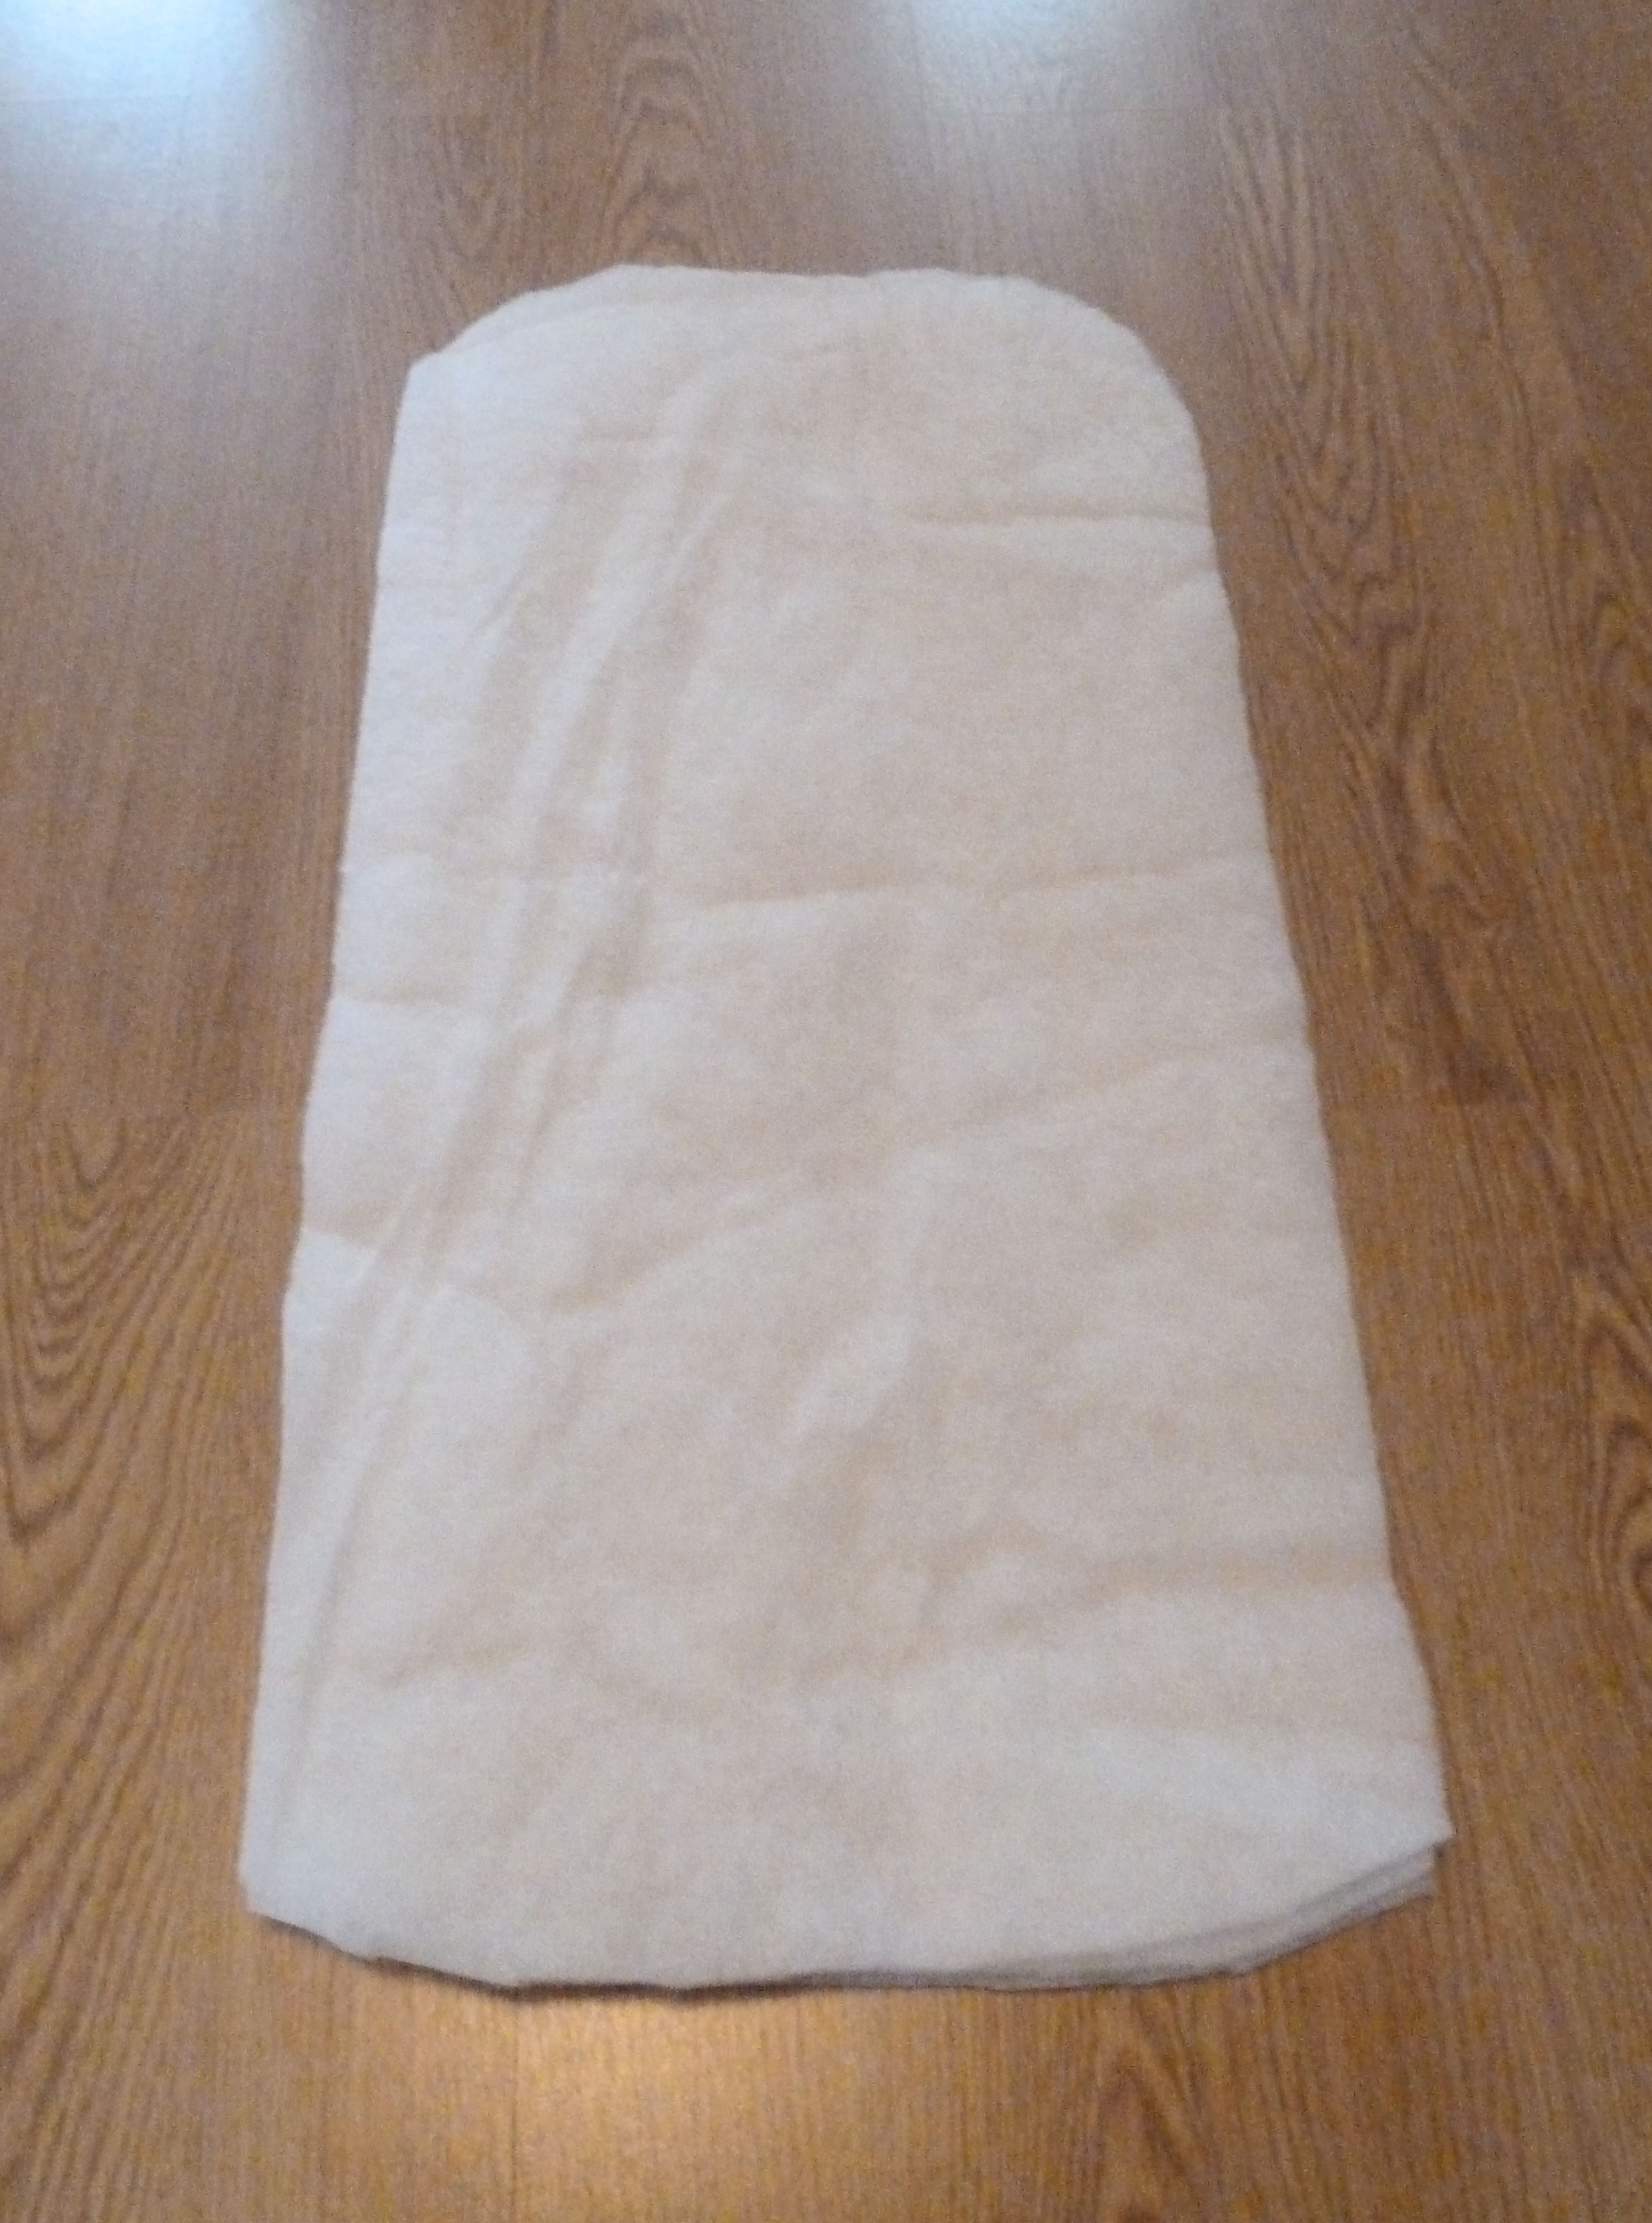
By the way, I don’t have giant pins, this is my my doll sized baby nest ;) - All right, you should now have two nest looking fabric pieces, something like this. Now we can cut out the batting, you need the Mattress pattern piece and we are going to cut 3 of these. And like before, we have to fold our batting, because the pattern is only half the width of the actual mattress. Check the layout suggestion for batting in your pattern, I always cut out the mattress pieces first.
- After you’ve cut out the 3 mattress pieces in your batting, just place them on top of each other and we’ll come back to them later. Next we need to cut out the bumper, you measurements are in the pattern. I folded my batting in half because it was already 220 cm wide and just measured and cut until I had a nice long rectangle.

All the prep work is done, you have all your fabric and batting pieces, with all your markings. Next time, we’ll start sewing! :)