
It’s time for us to start sewing, Yay!
- Put your 2 baby nest body pieces on top of each other, with right sides together. Pin and sew a seam along the outer edge only.
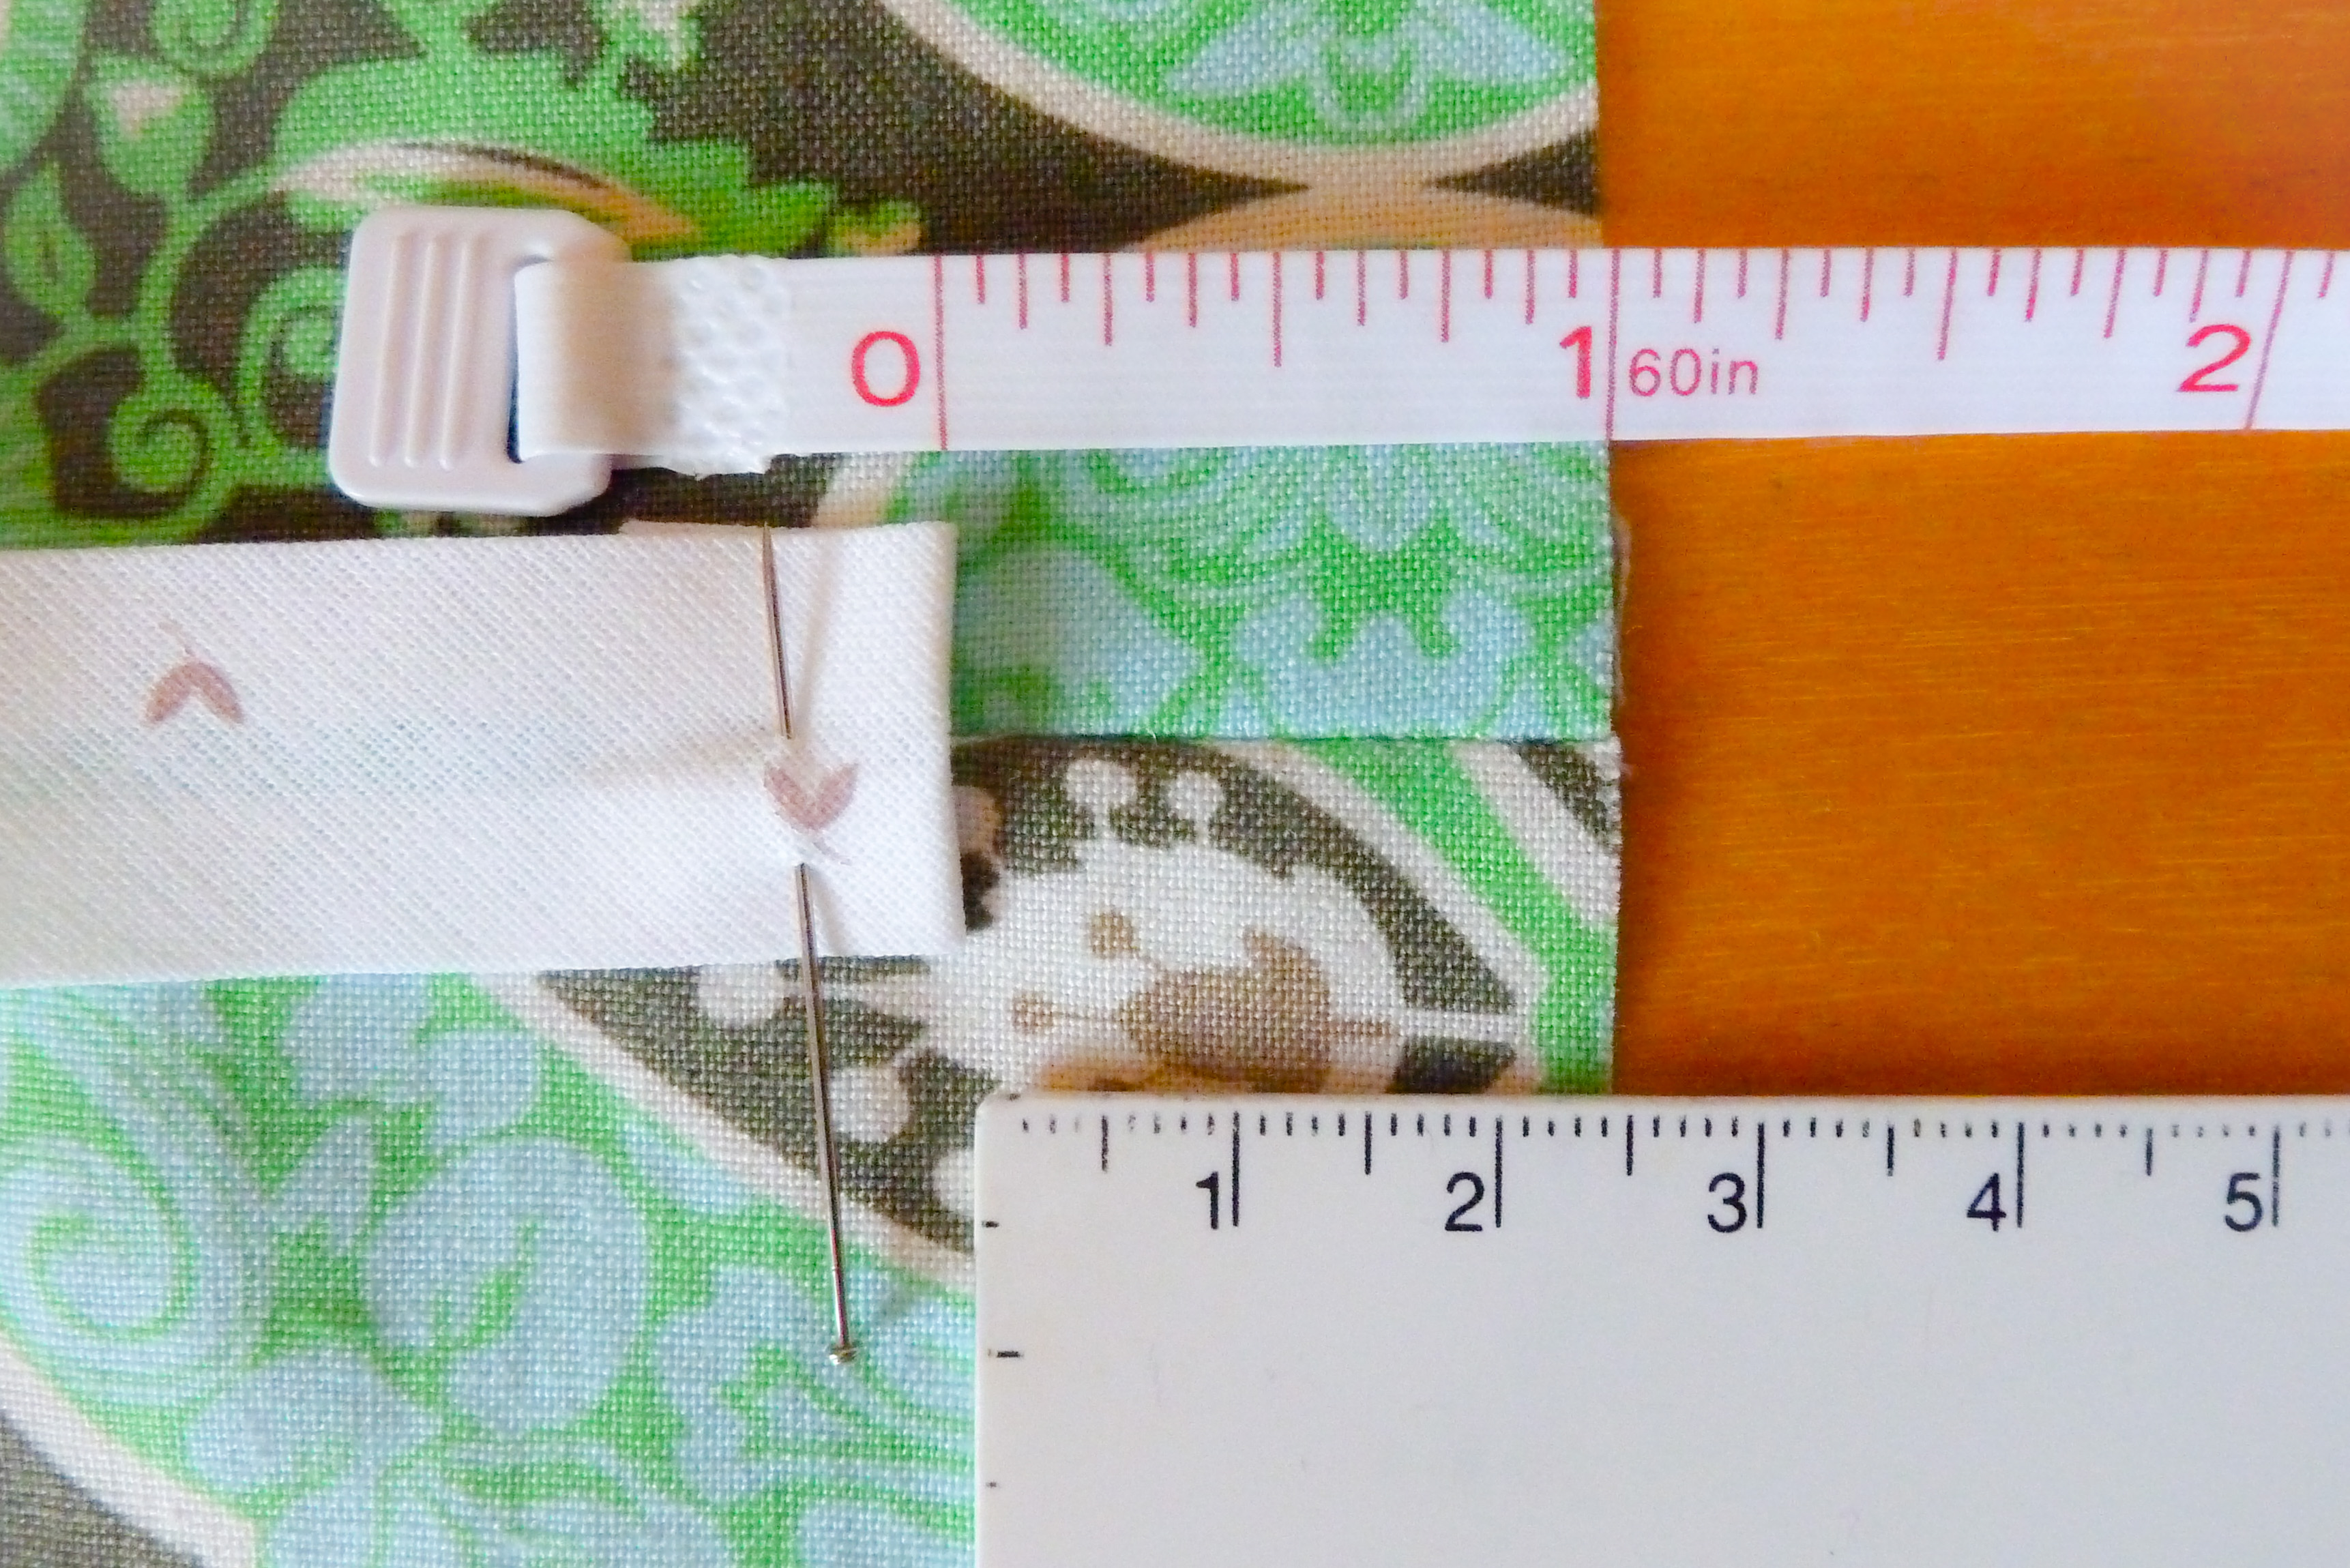
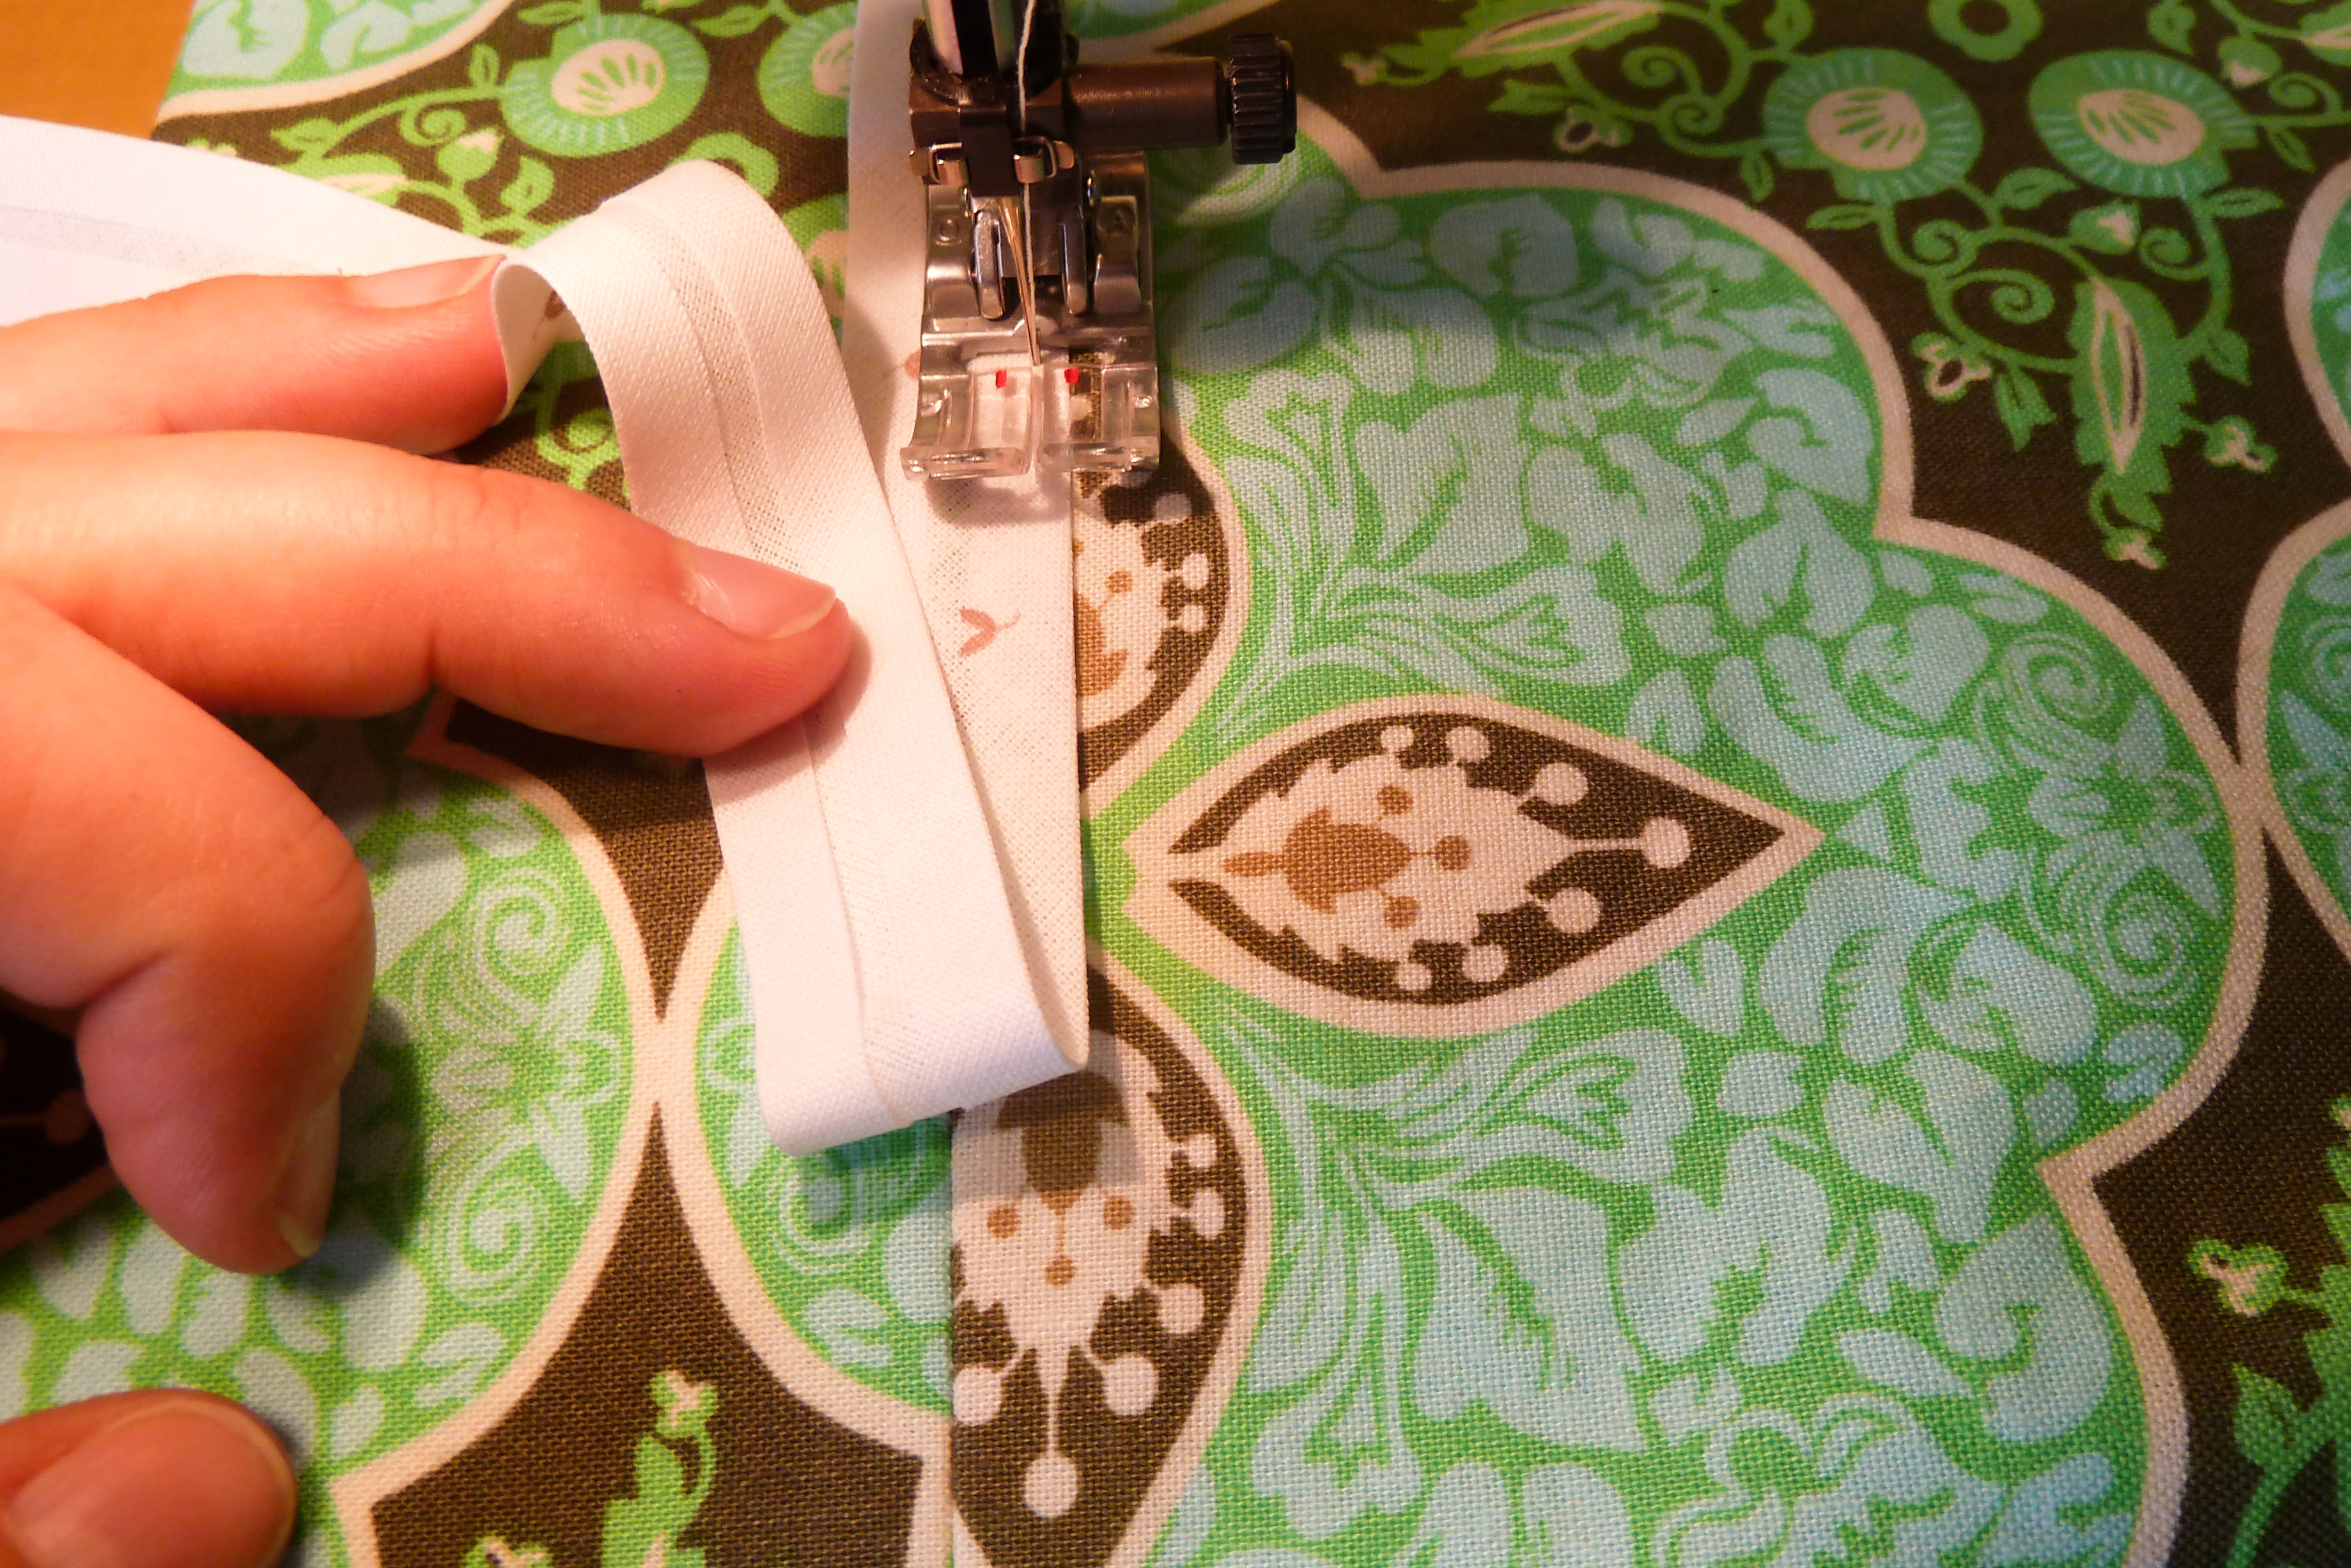
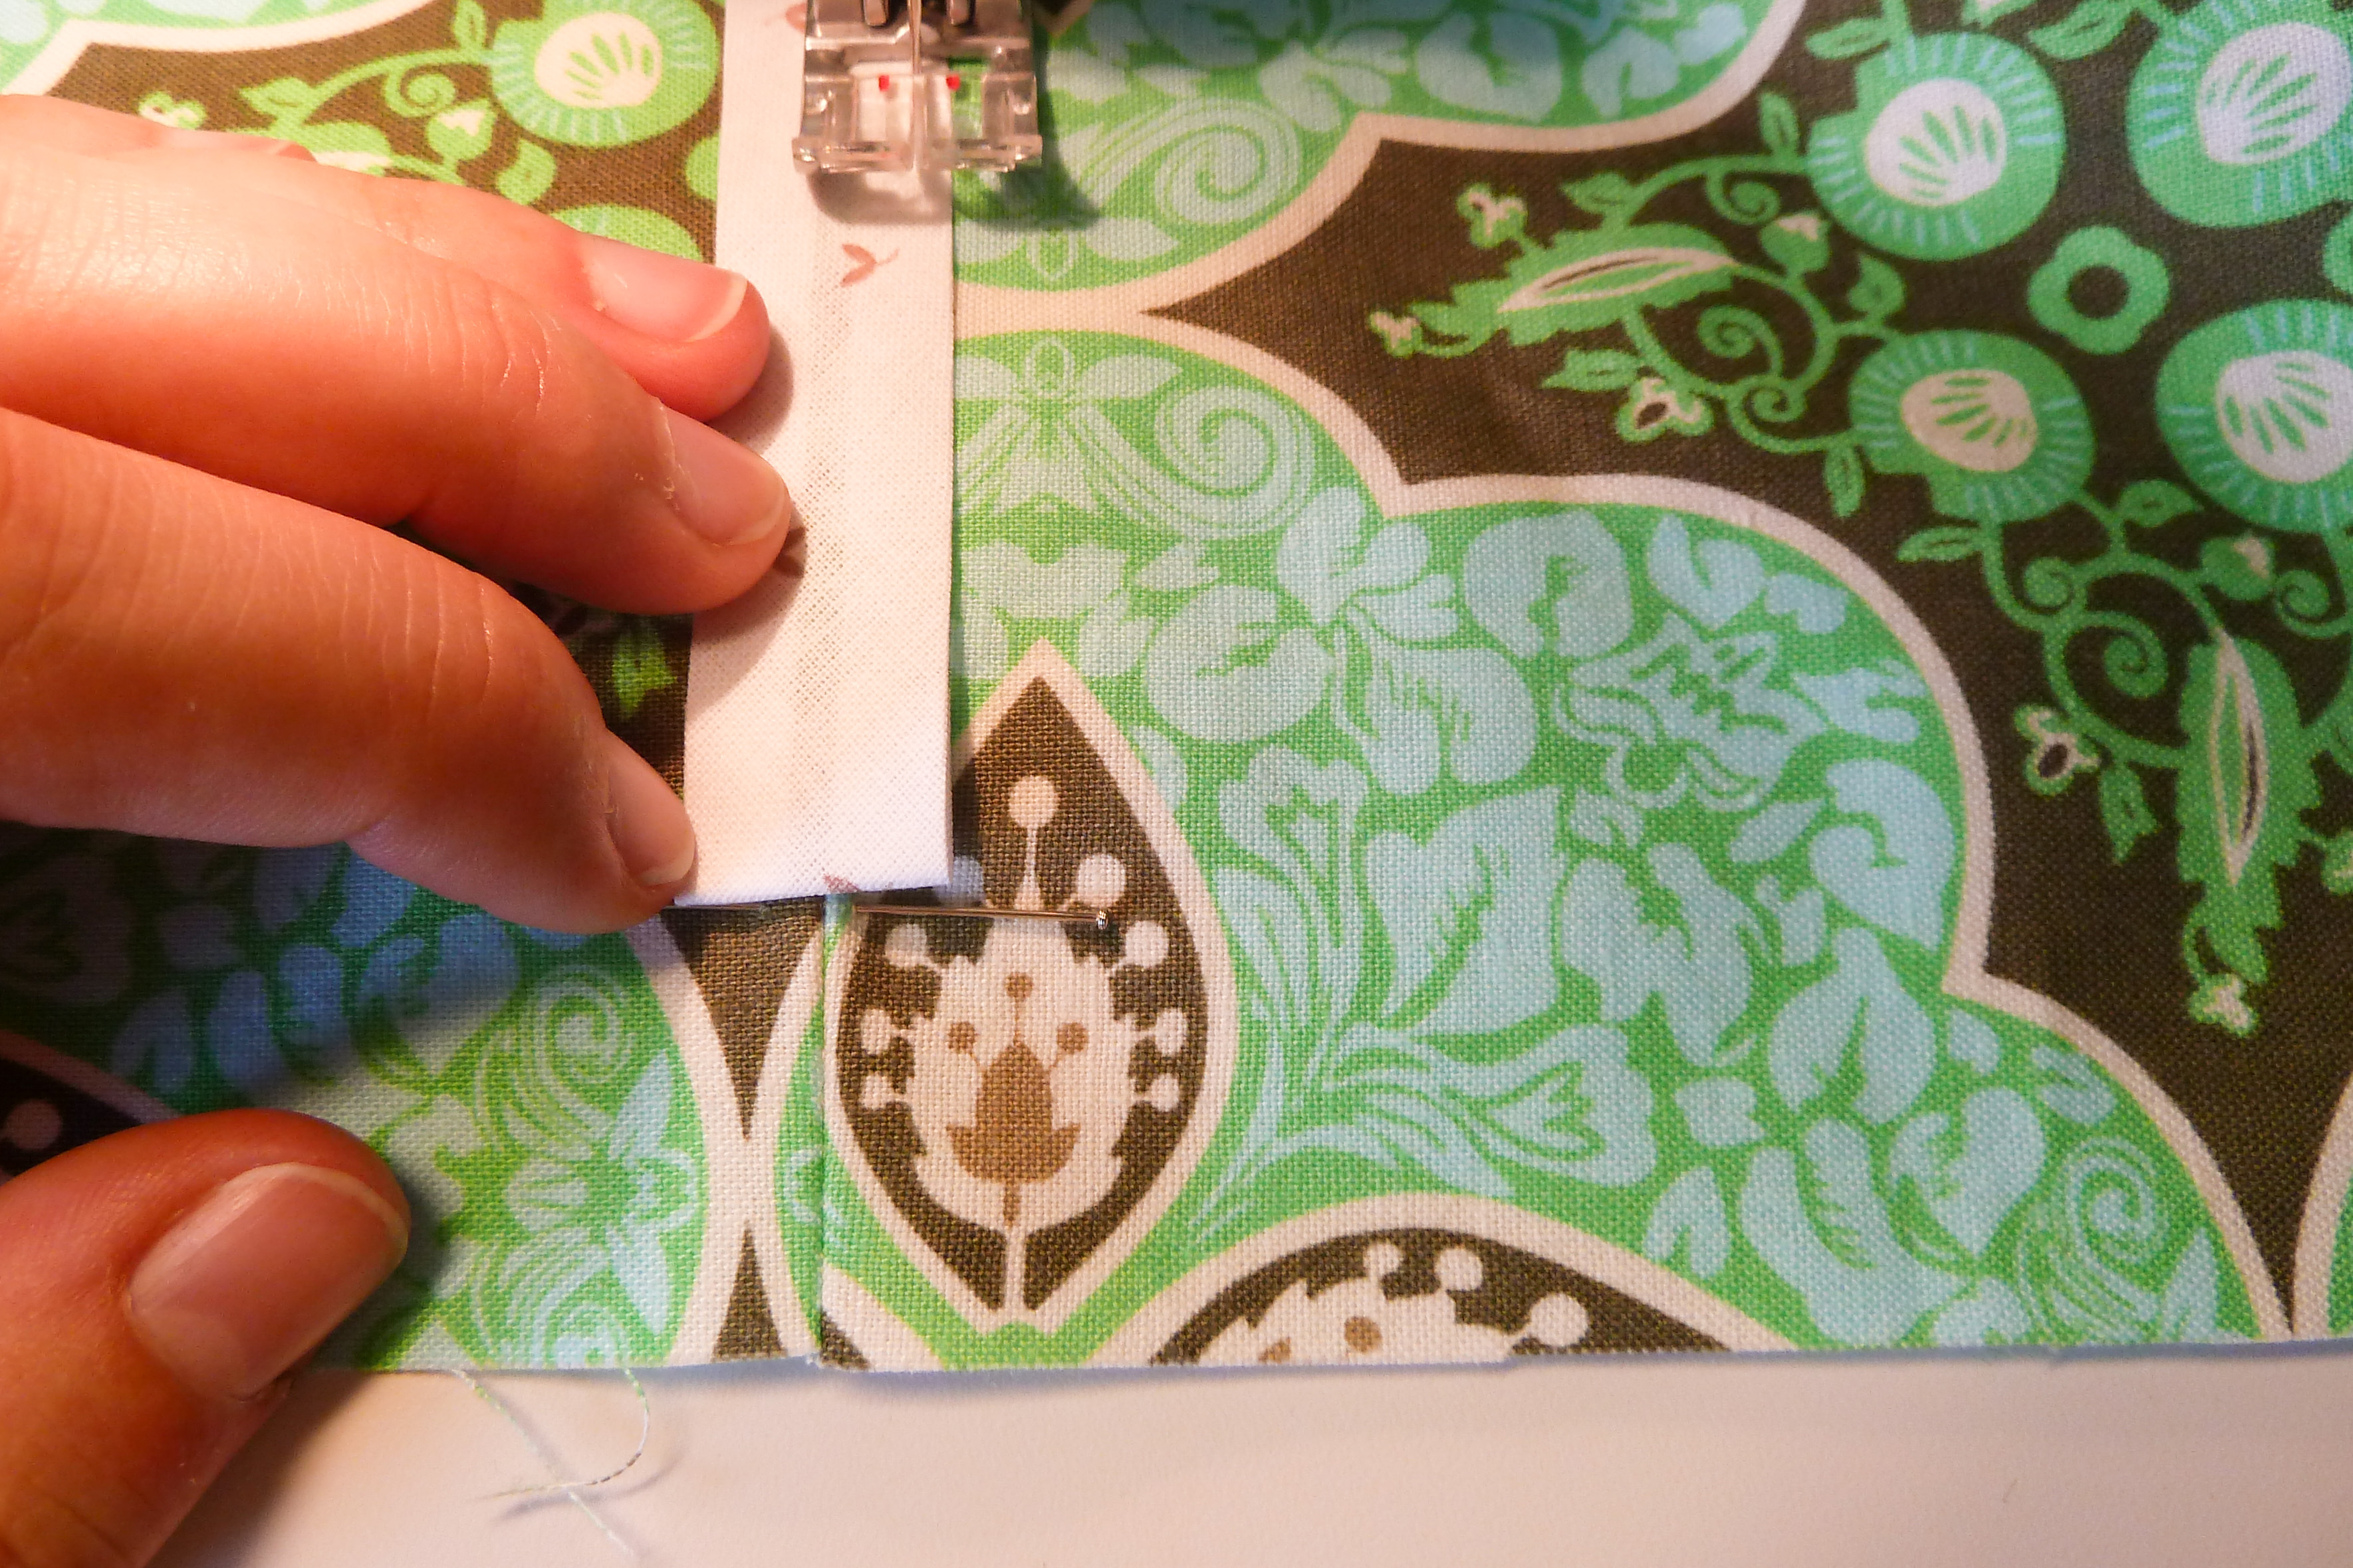
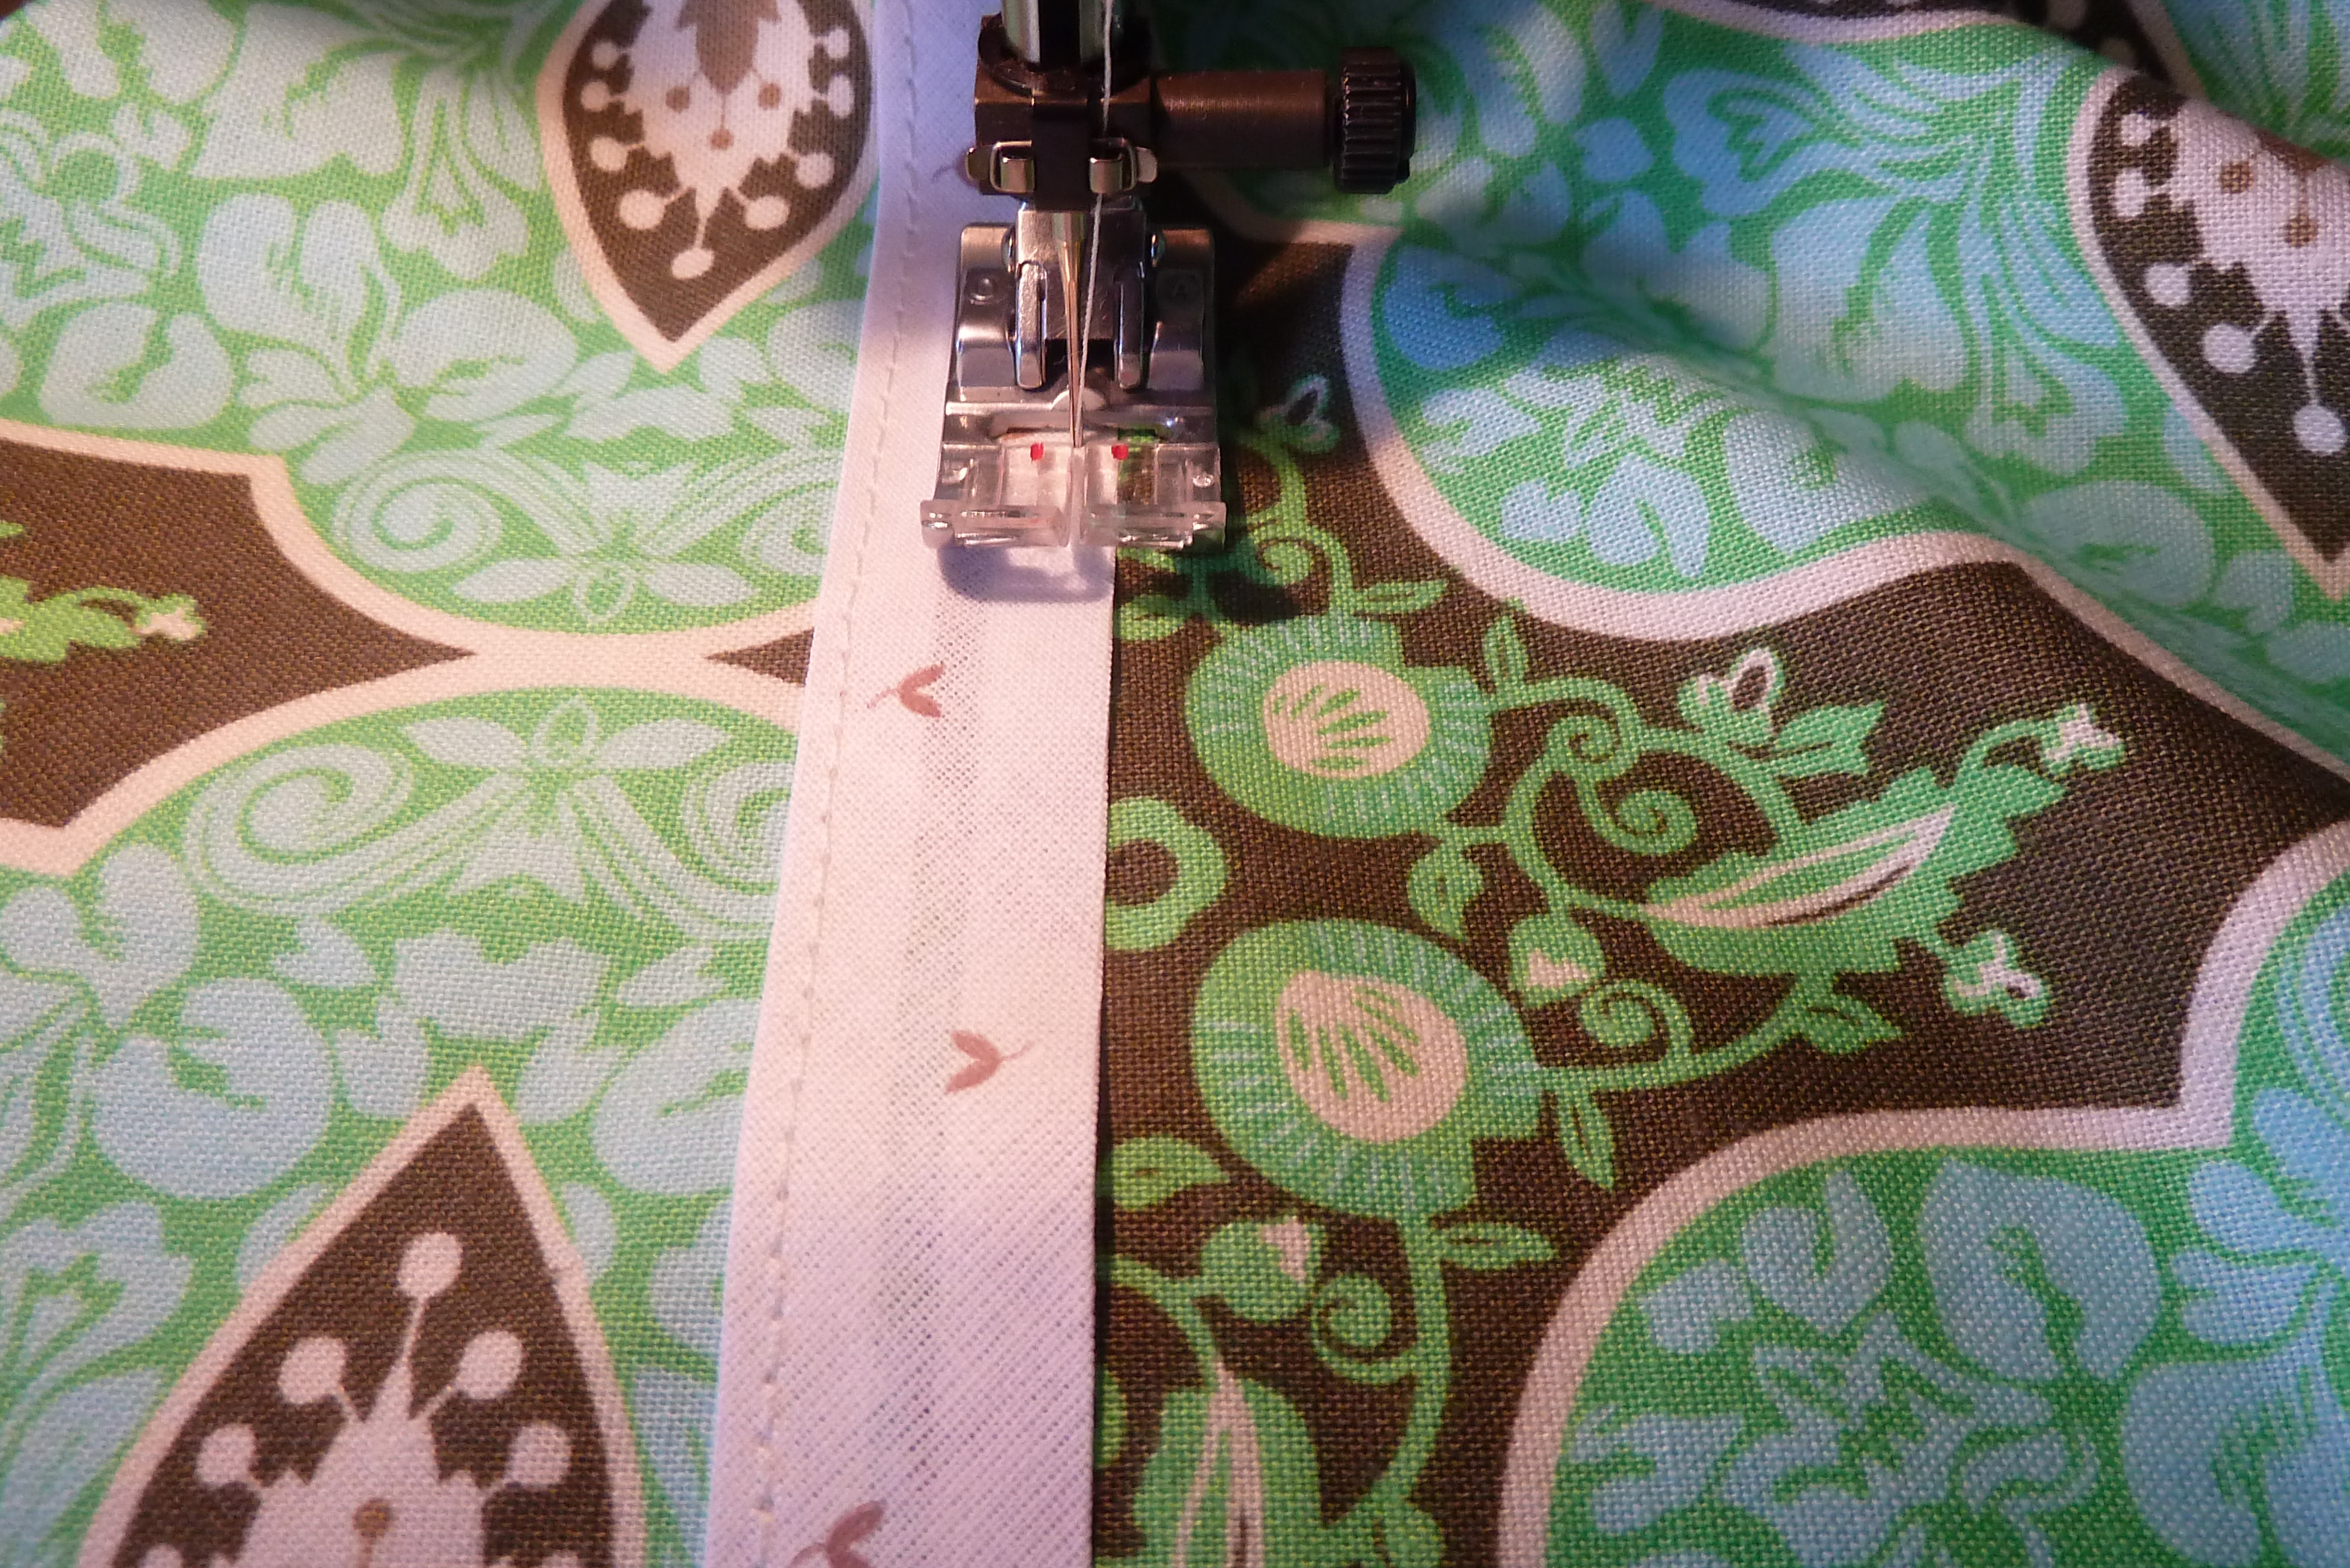
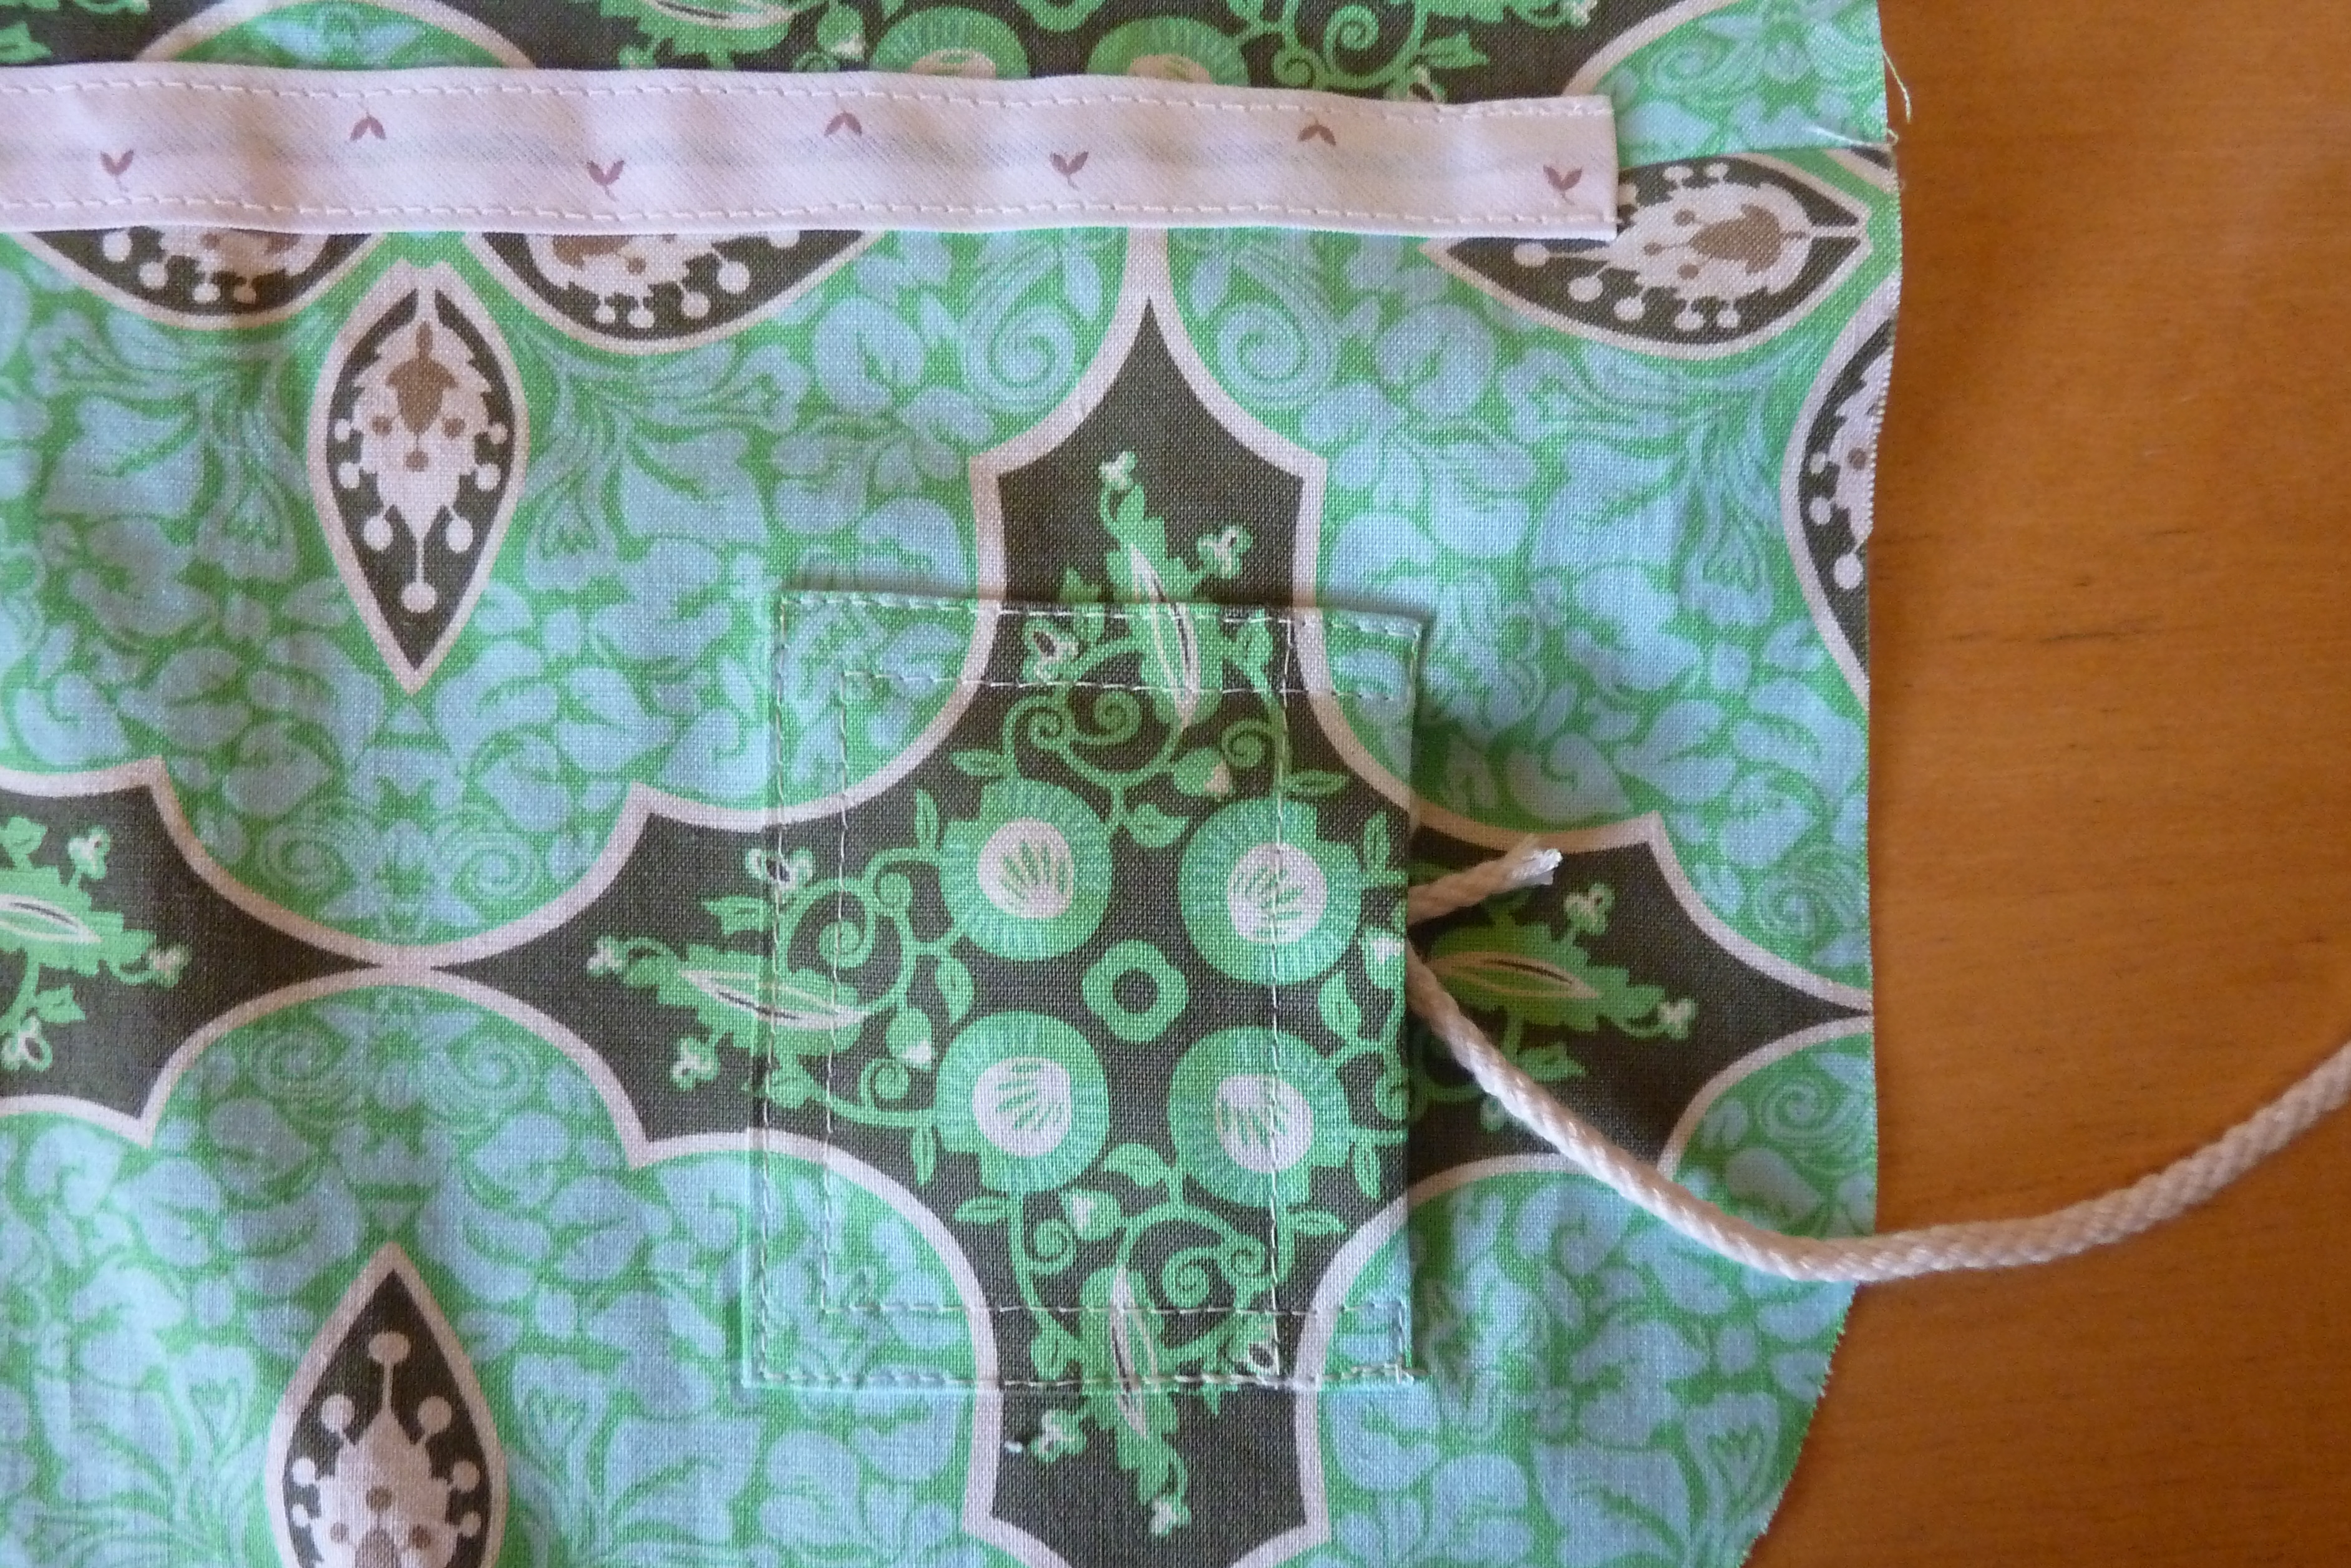
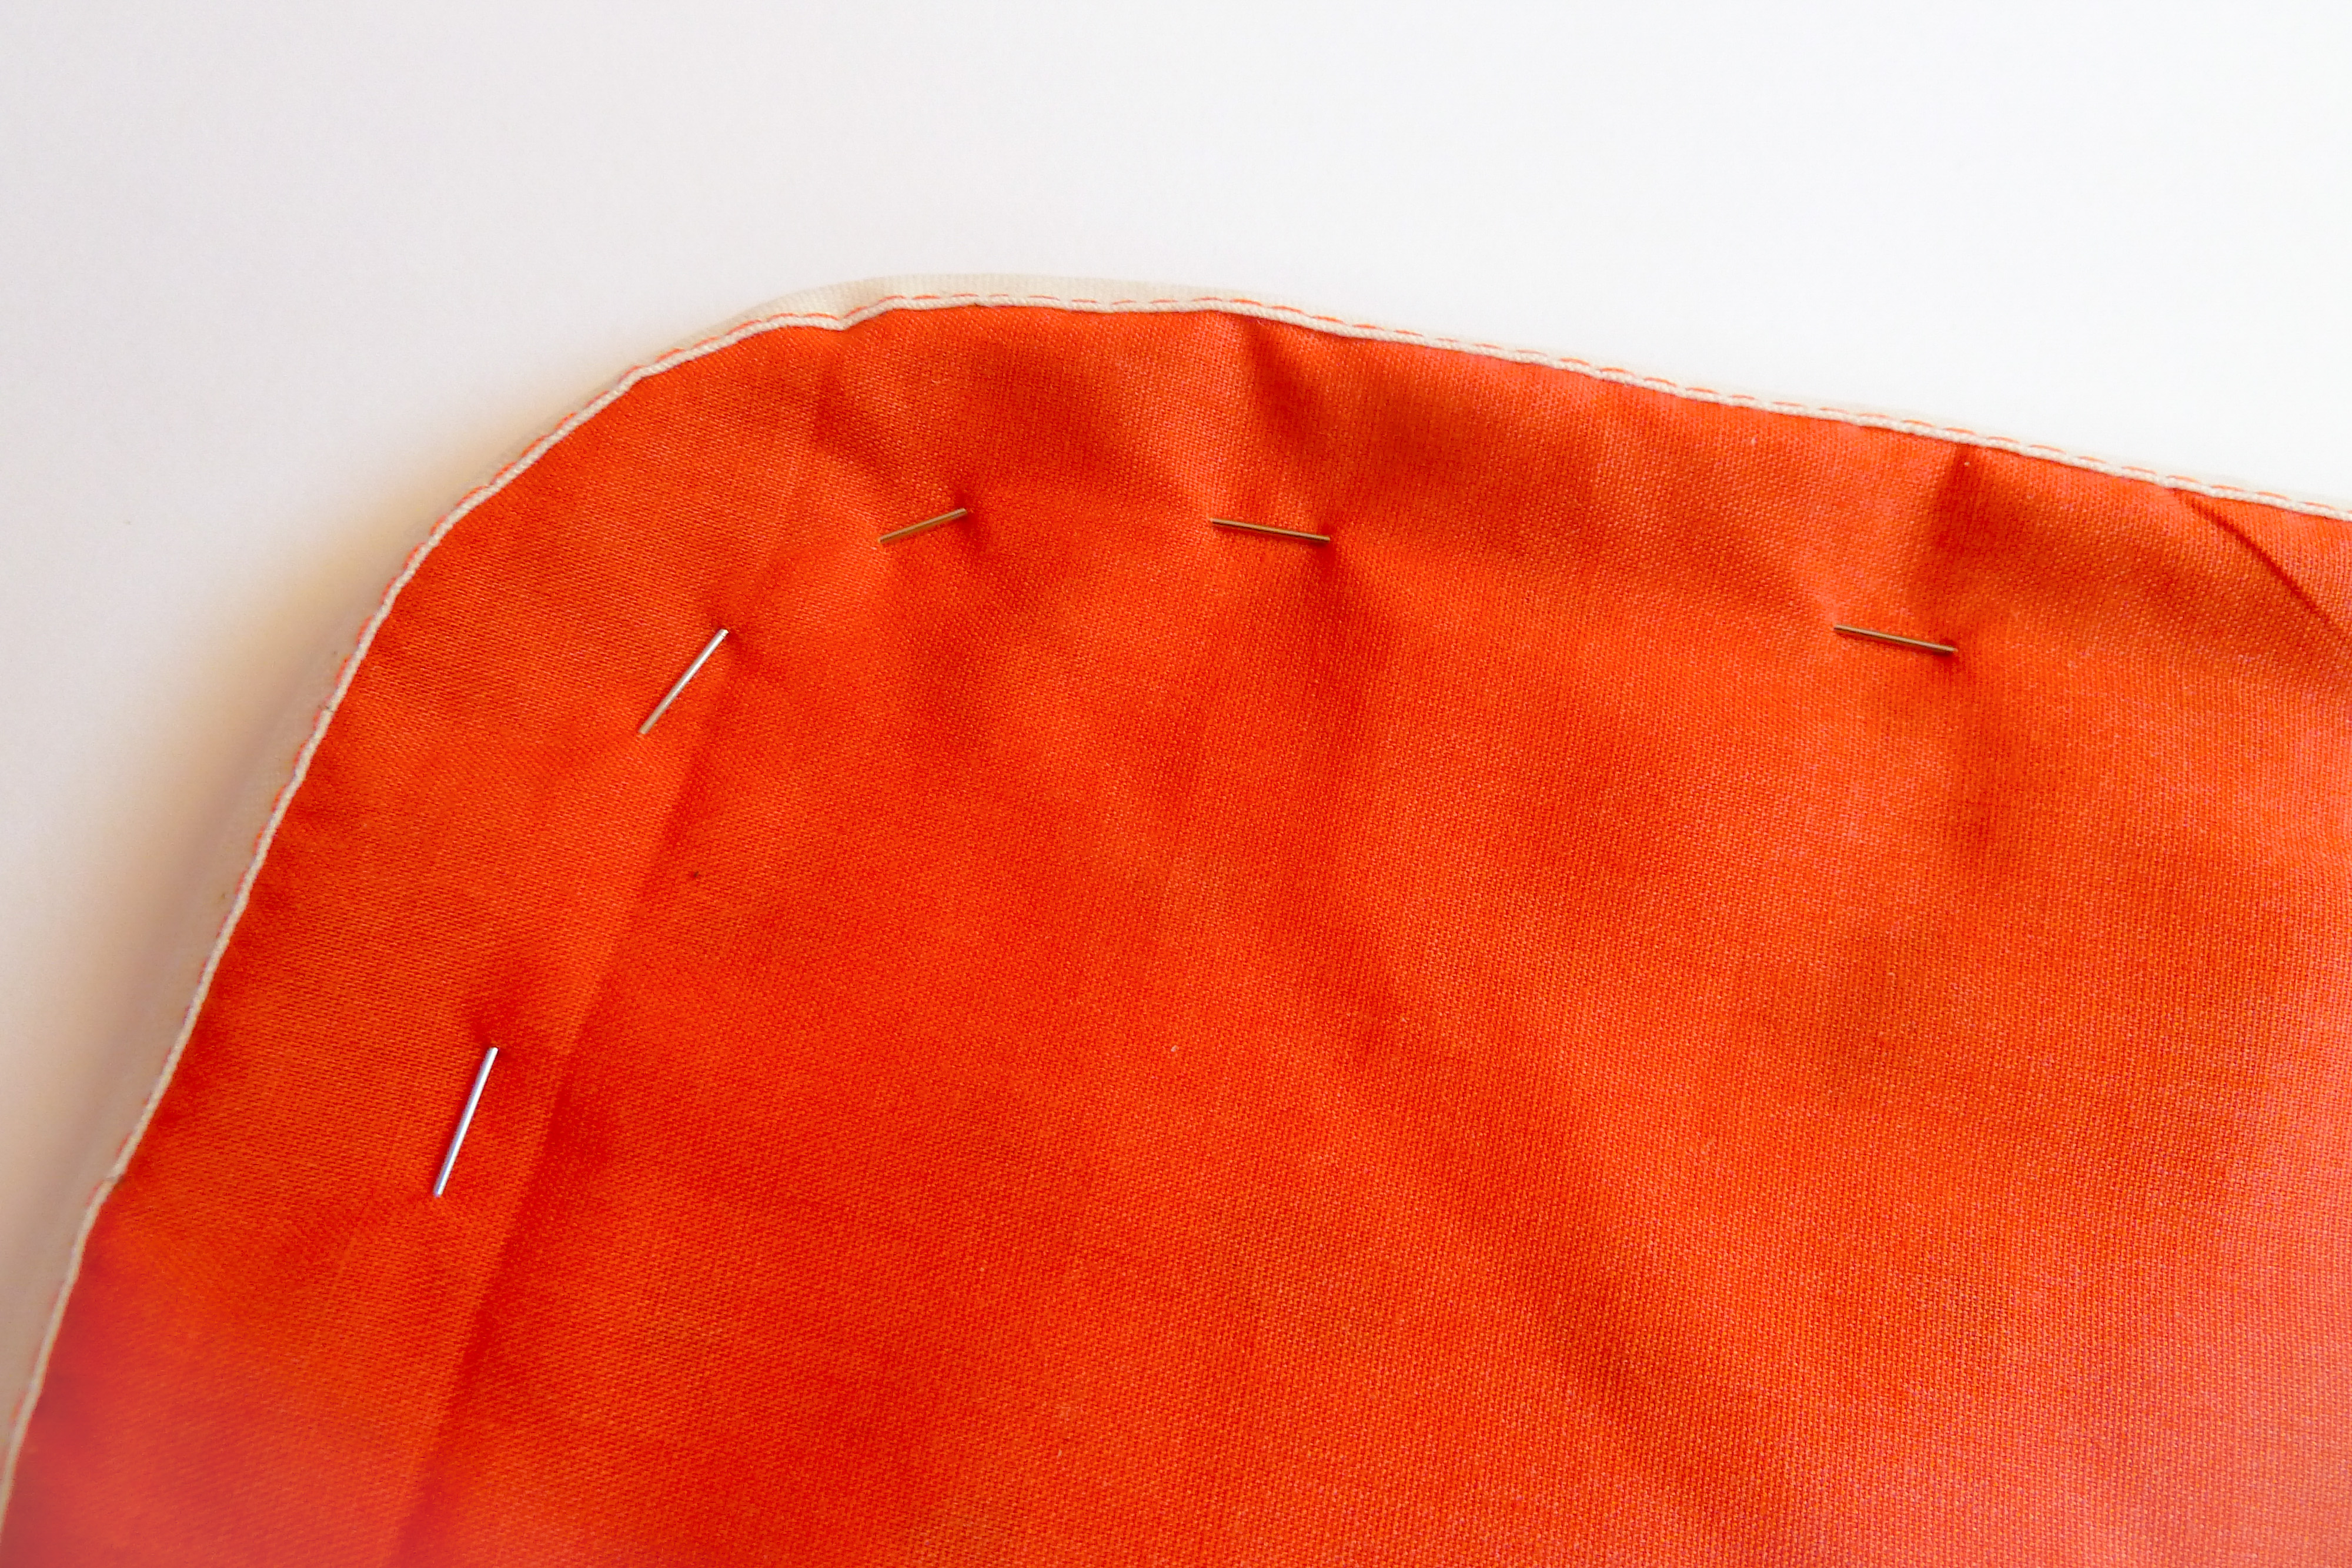
Then press that seam open and turn right side out. - Sew on the bias tape on the right side of the fabric, over the seam you just pressed, starting and finishing about 2.5 cm (1”) from the leg (bumper) edge.
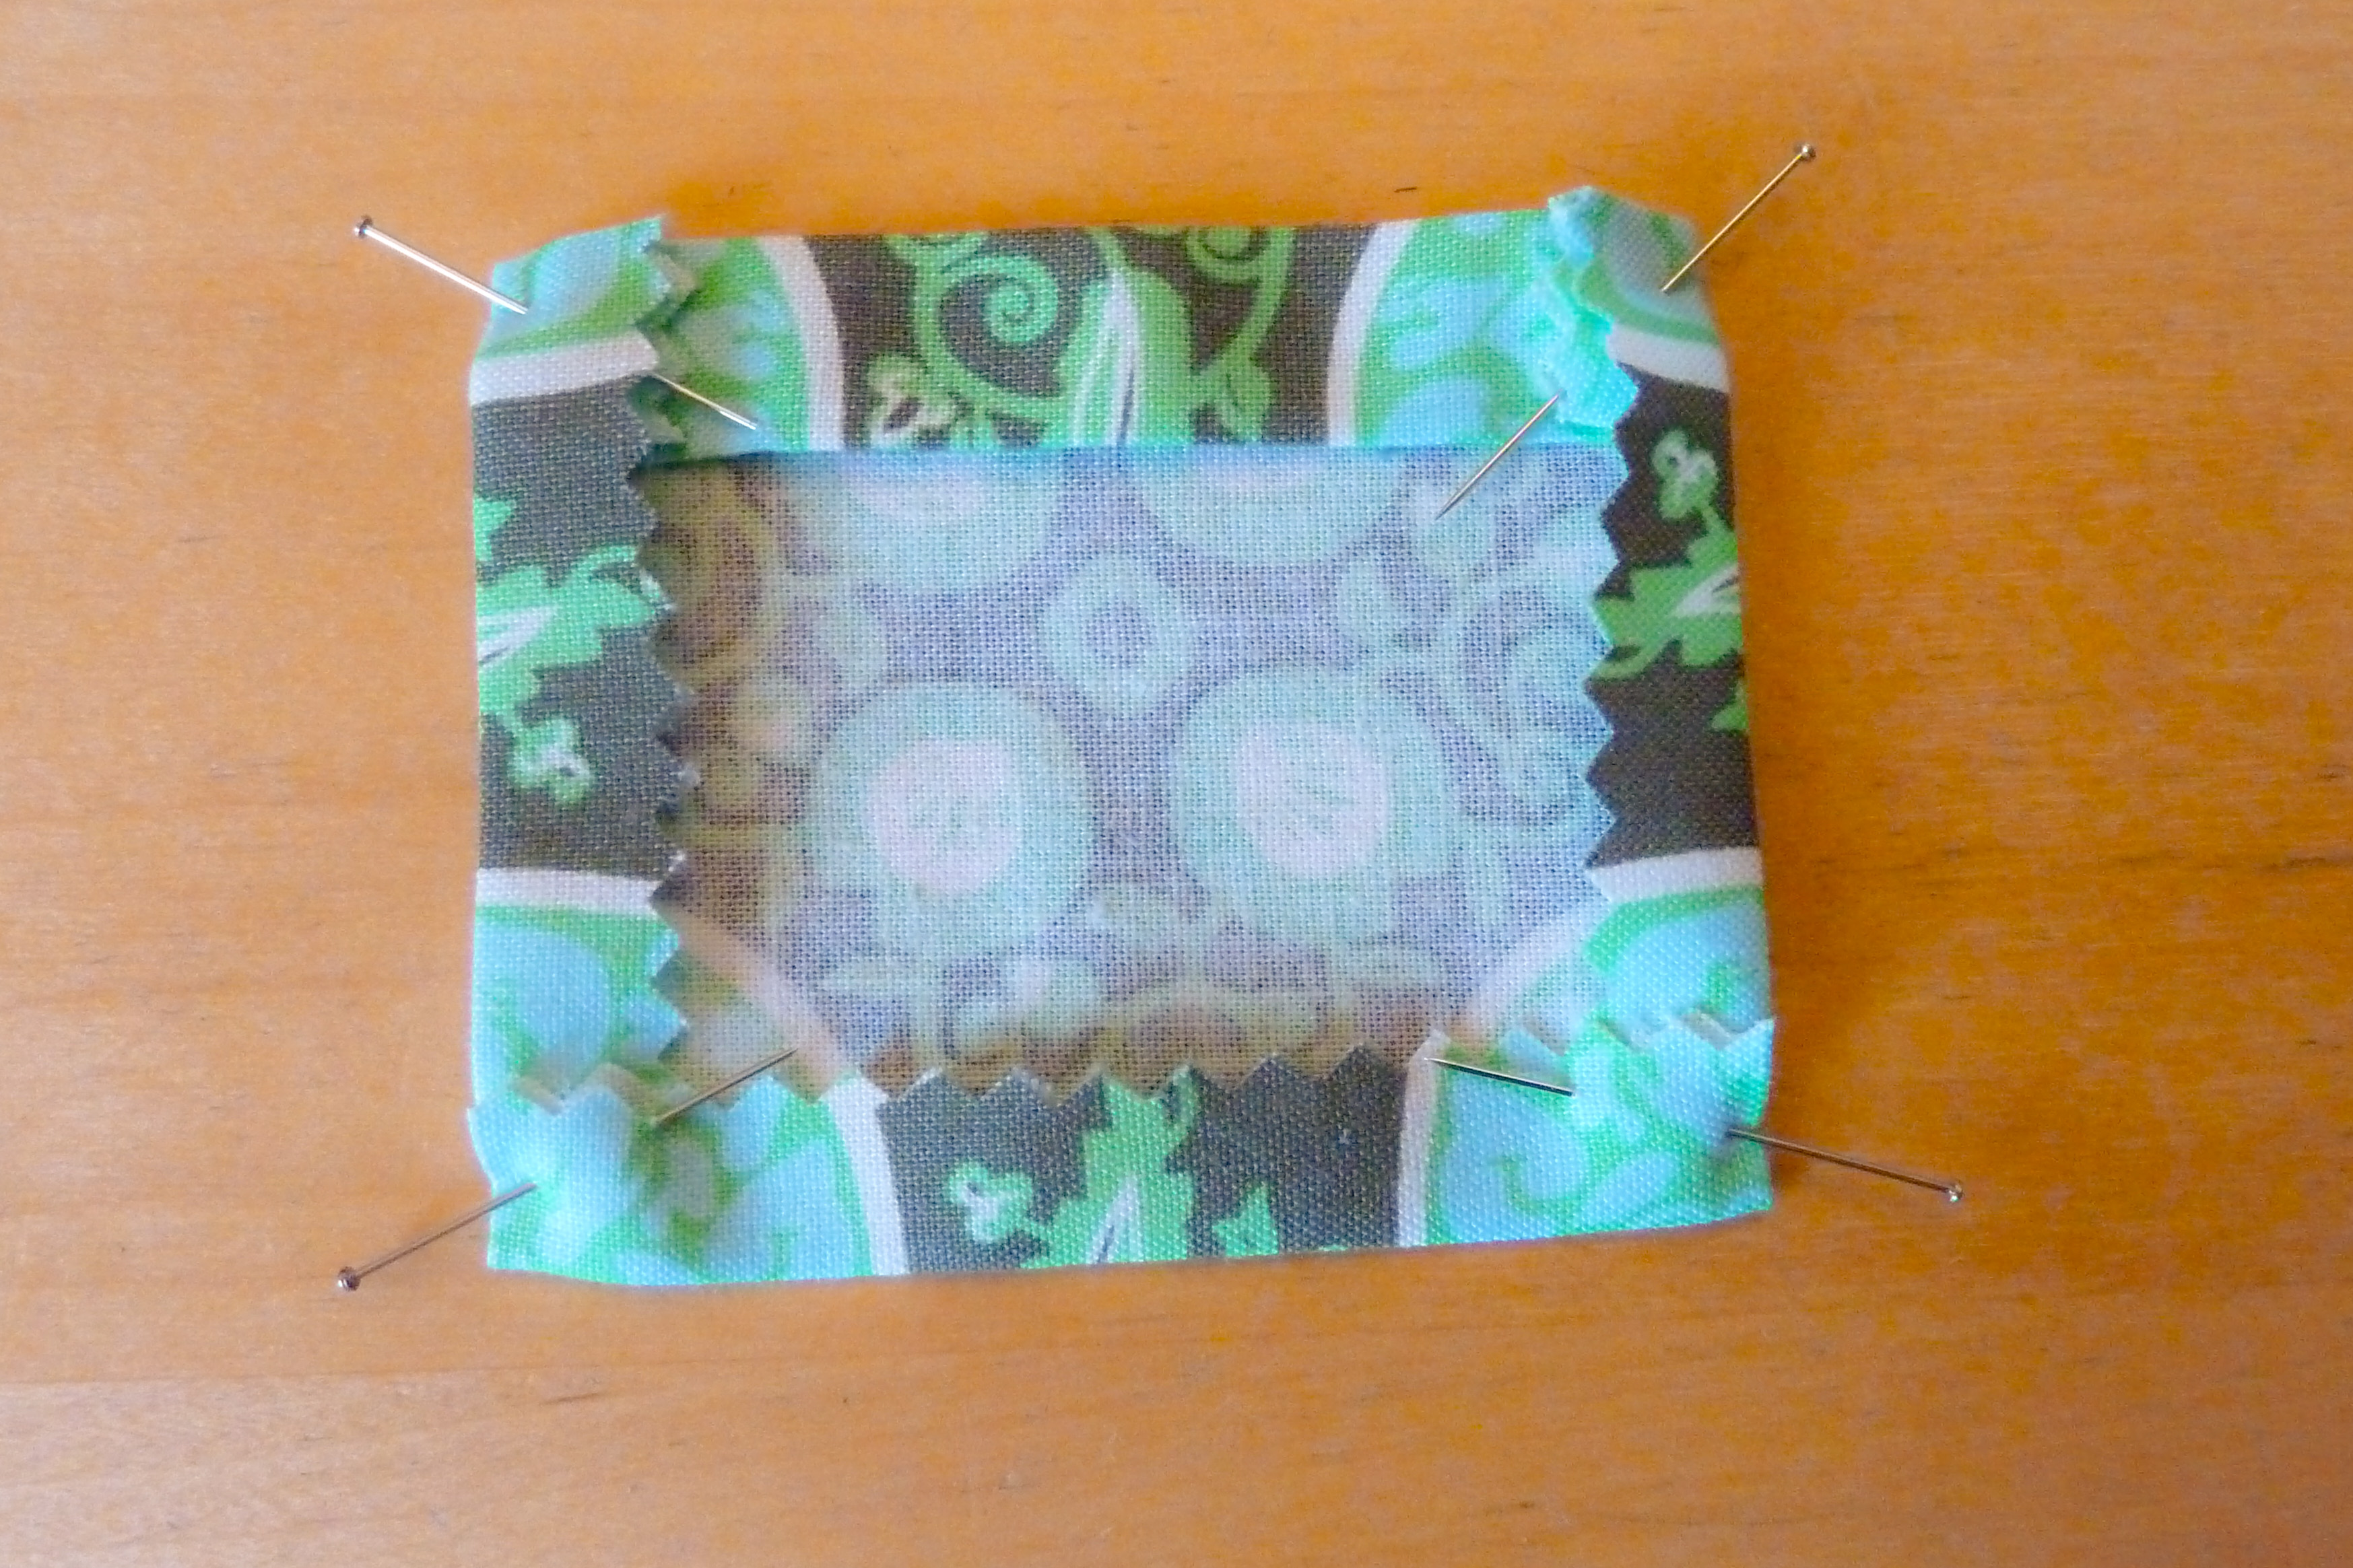
Fold in the ends about 2 cm (3/4”) and sew a stitch on both sides of the bias tape to create a channel. - Use your test square if you still have it or cut out a 10 x 10 cm (4″ x 4″) square in your fabric. Fold in 1.25 cm (½”), press and fold the same amount again and press. This is the “top” of your pocket, then fold in and press 1 cm (3/8″) on the remaining 3 sides.
- Pin your pocket to the leg (bumper) on the “bottom” side of your baby nest, with the “top” of the pocket on it’s side. (See right photo below).
This way it will be on the outside of your bumper when your nest is complete. - Sew along the edge around 3 of the sides, leaving the “top” open and you have a cute little pocket for your drawstring!
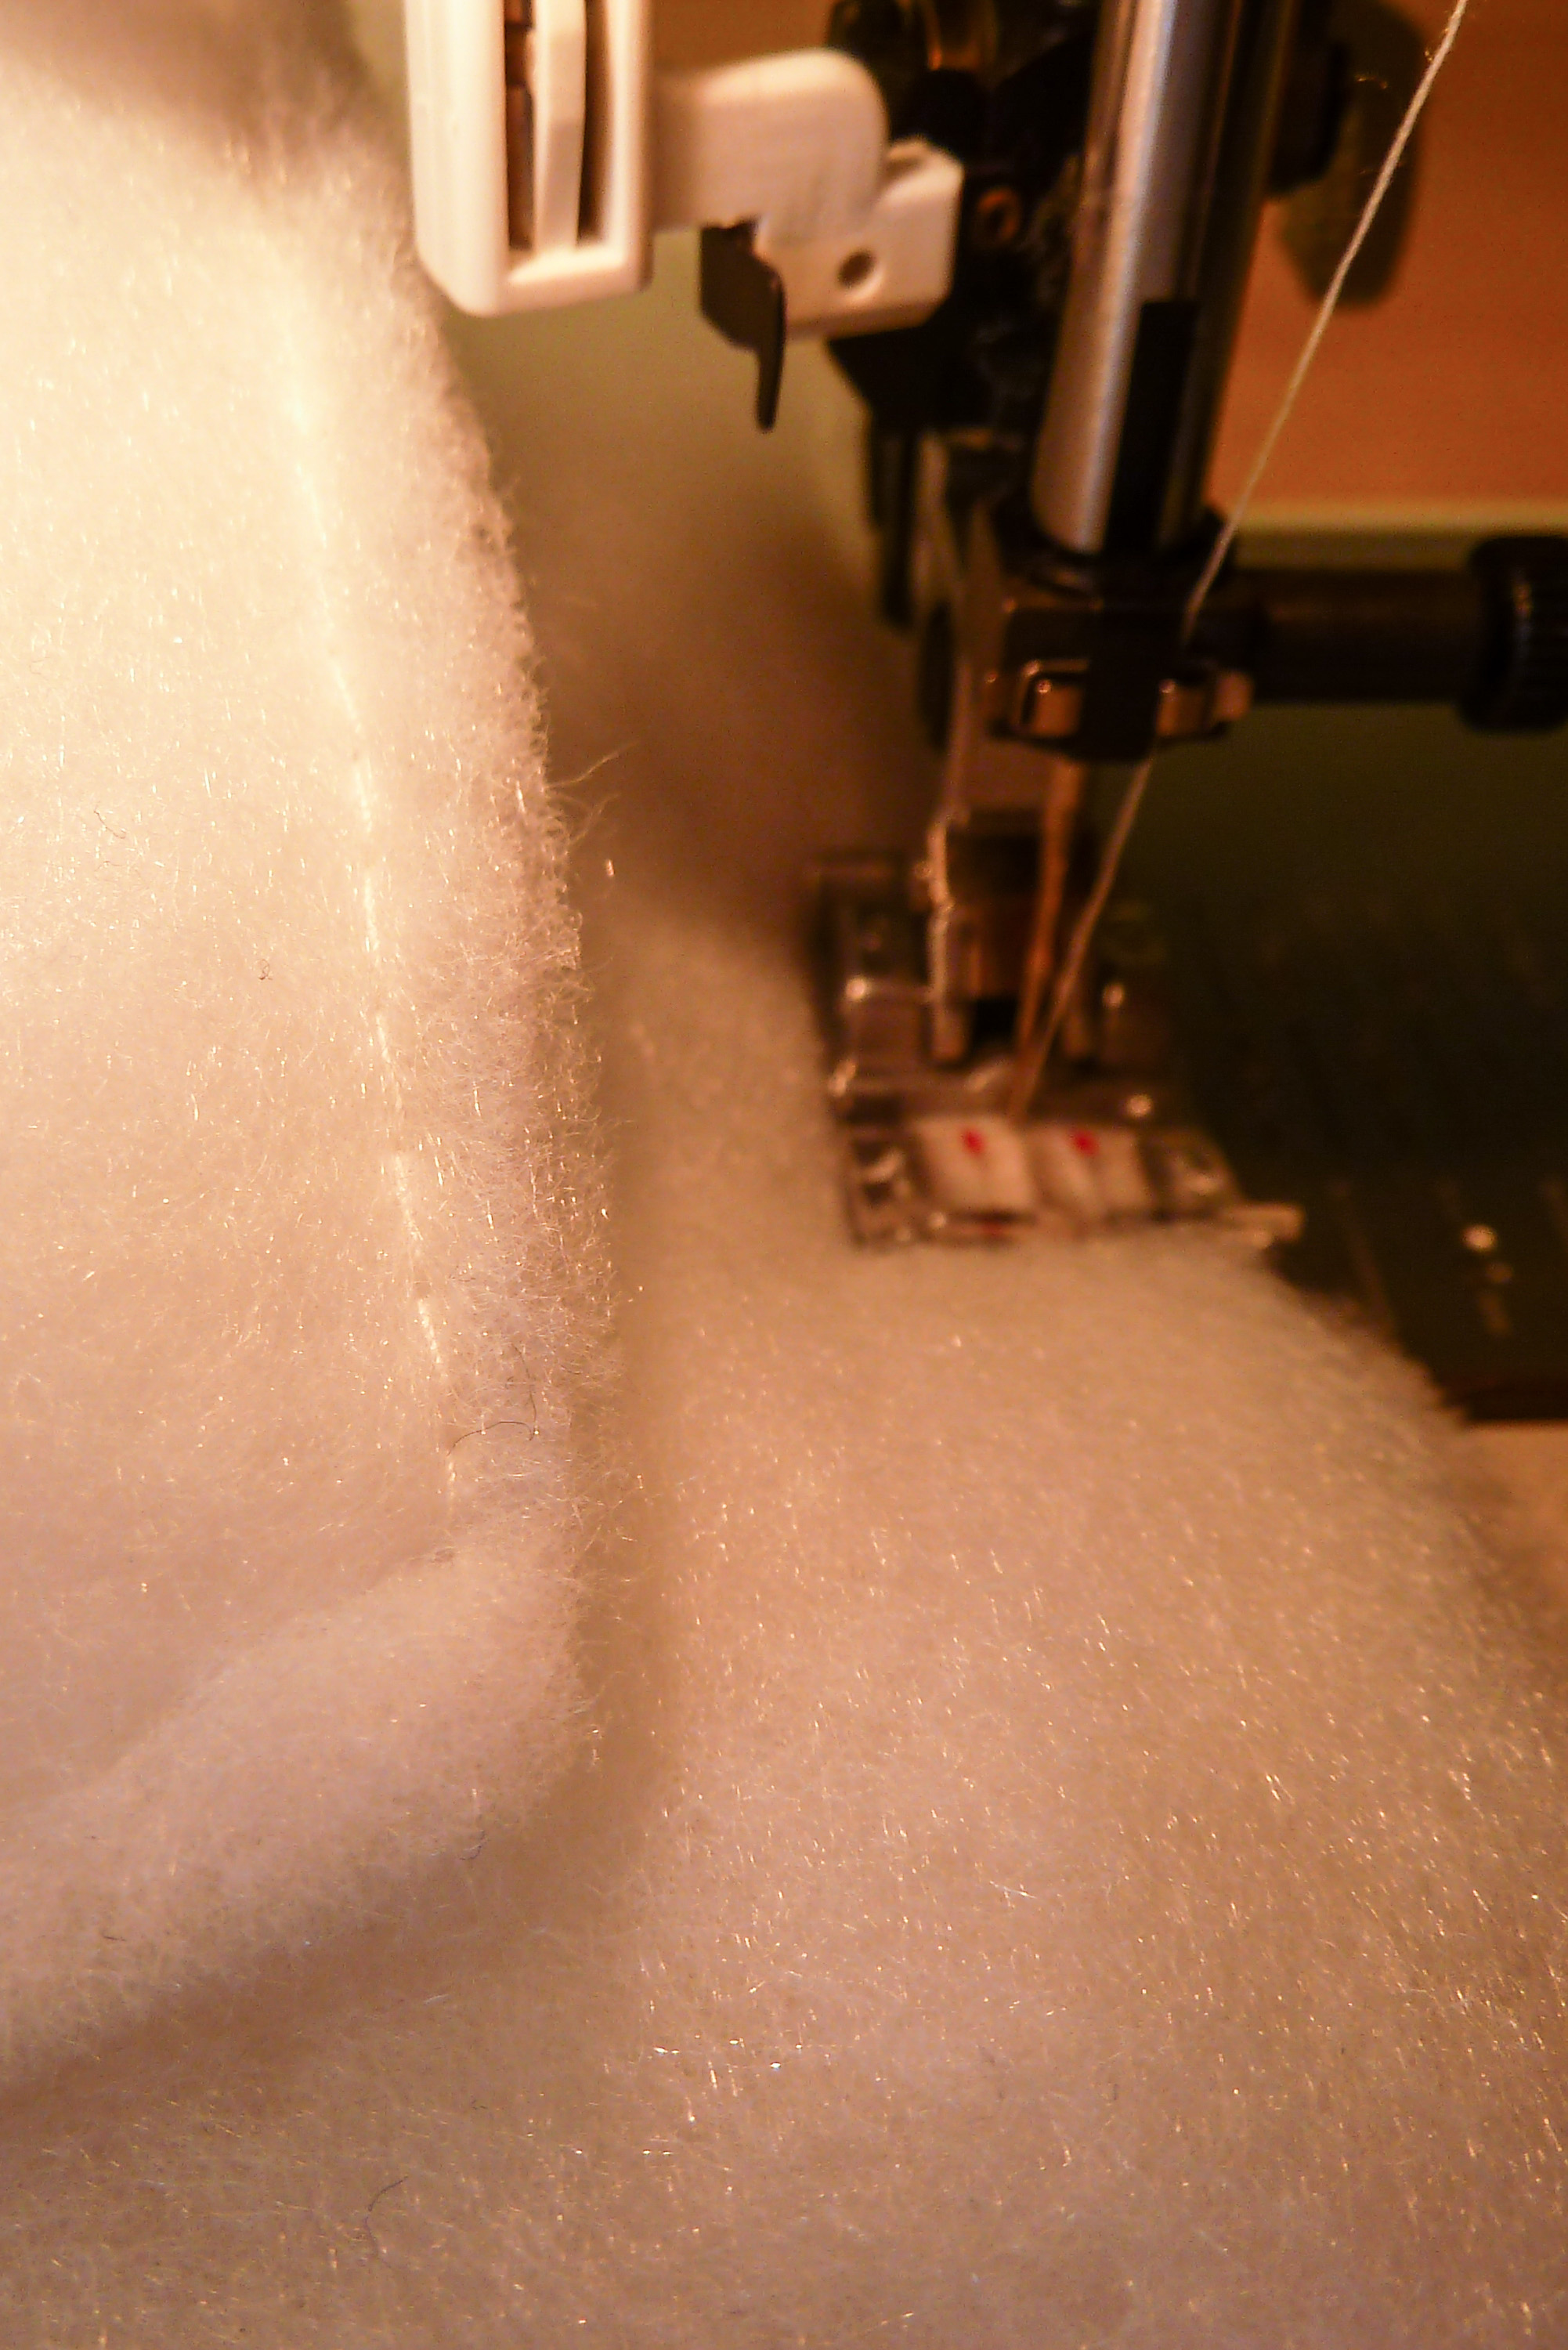
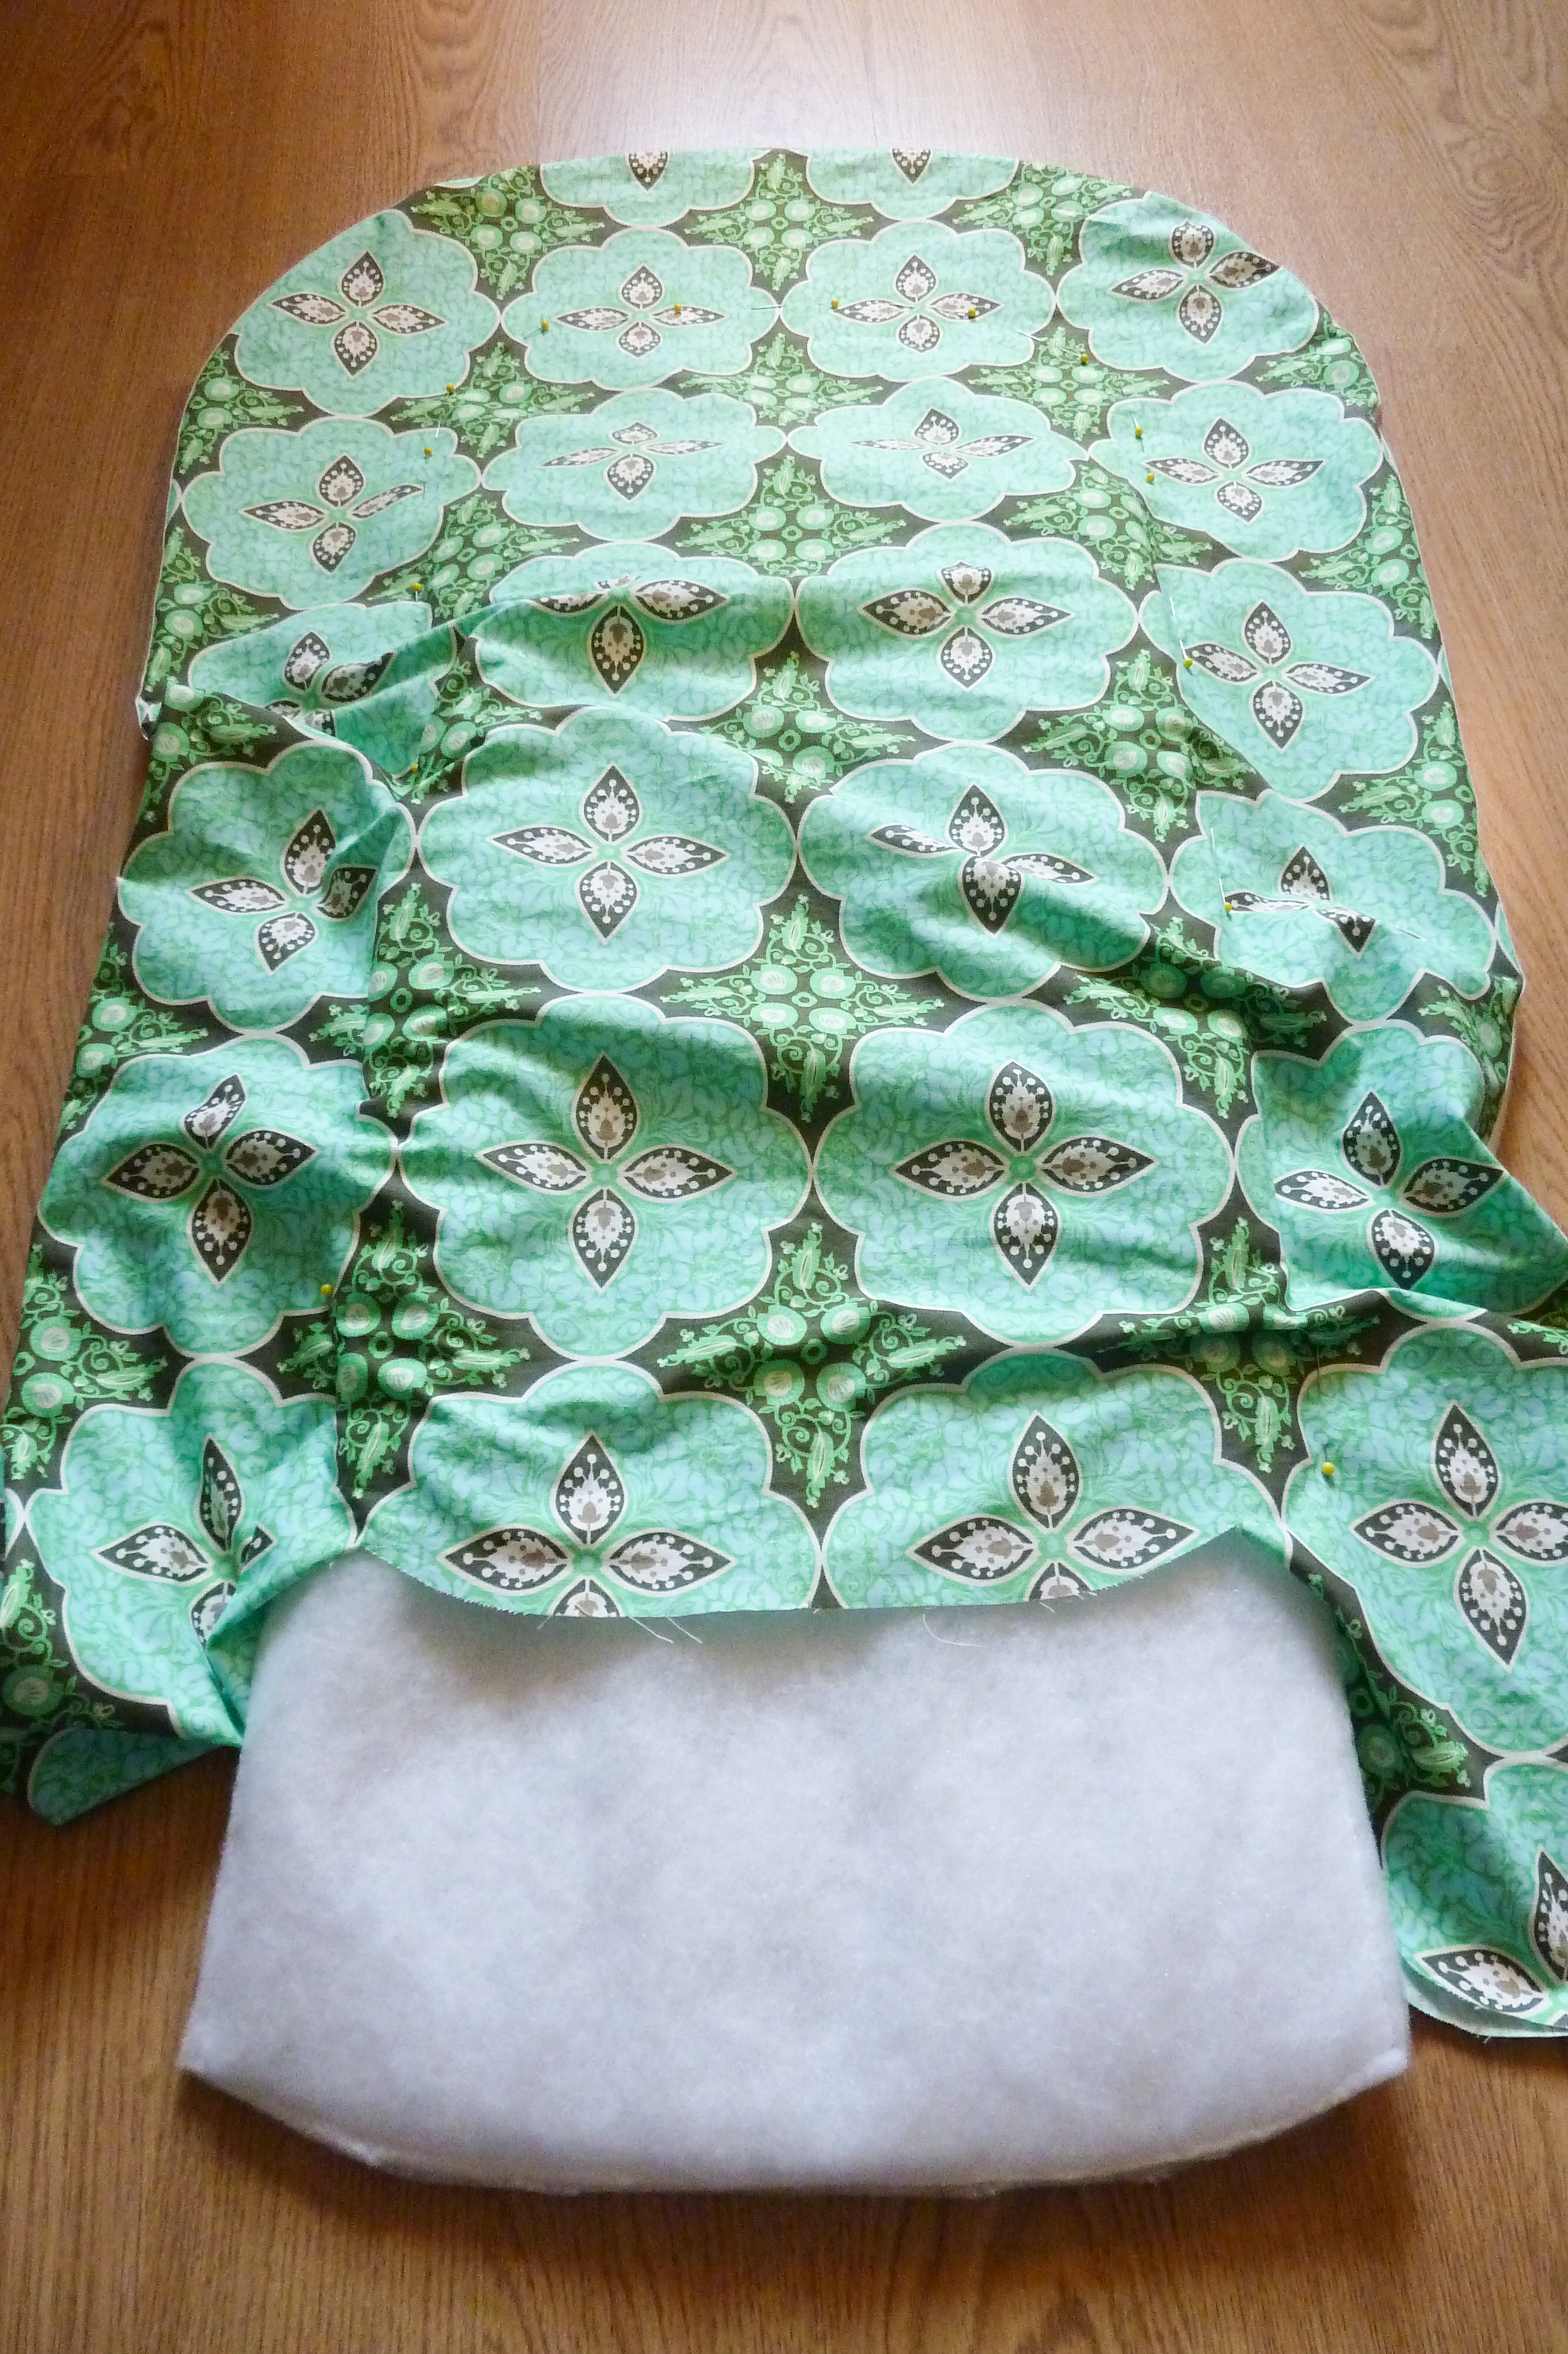
- Put your nest to the side for now and take your 3 pieces of mattress batting/wadding.
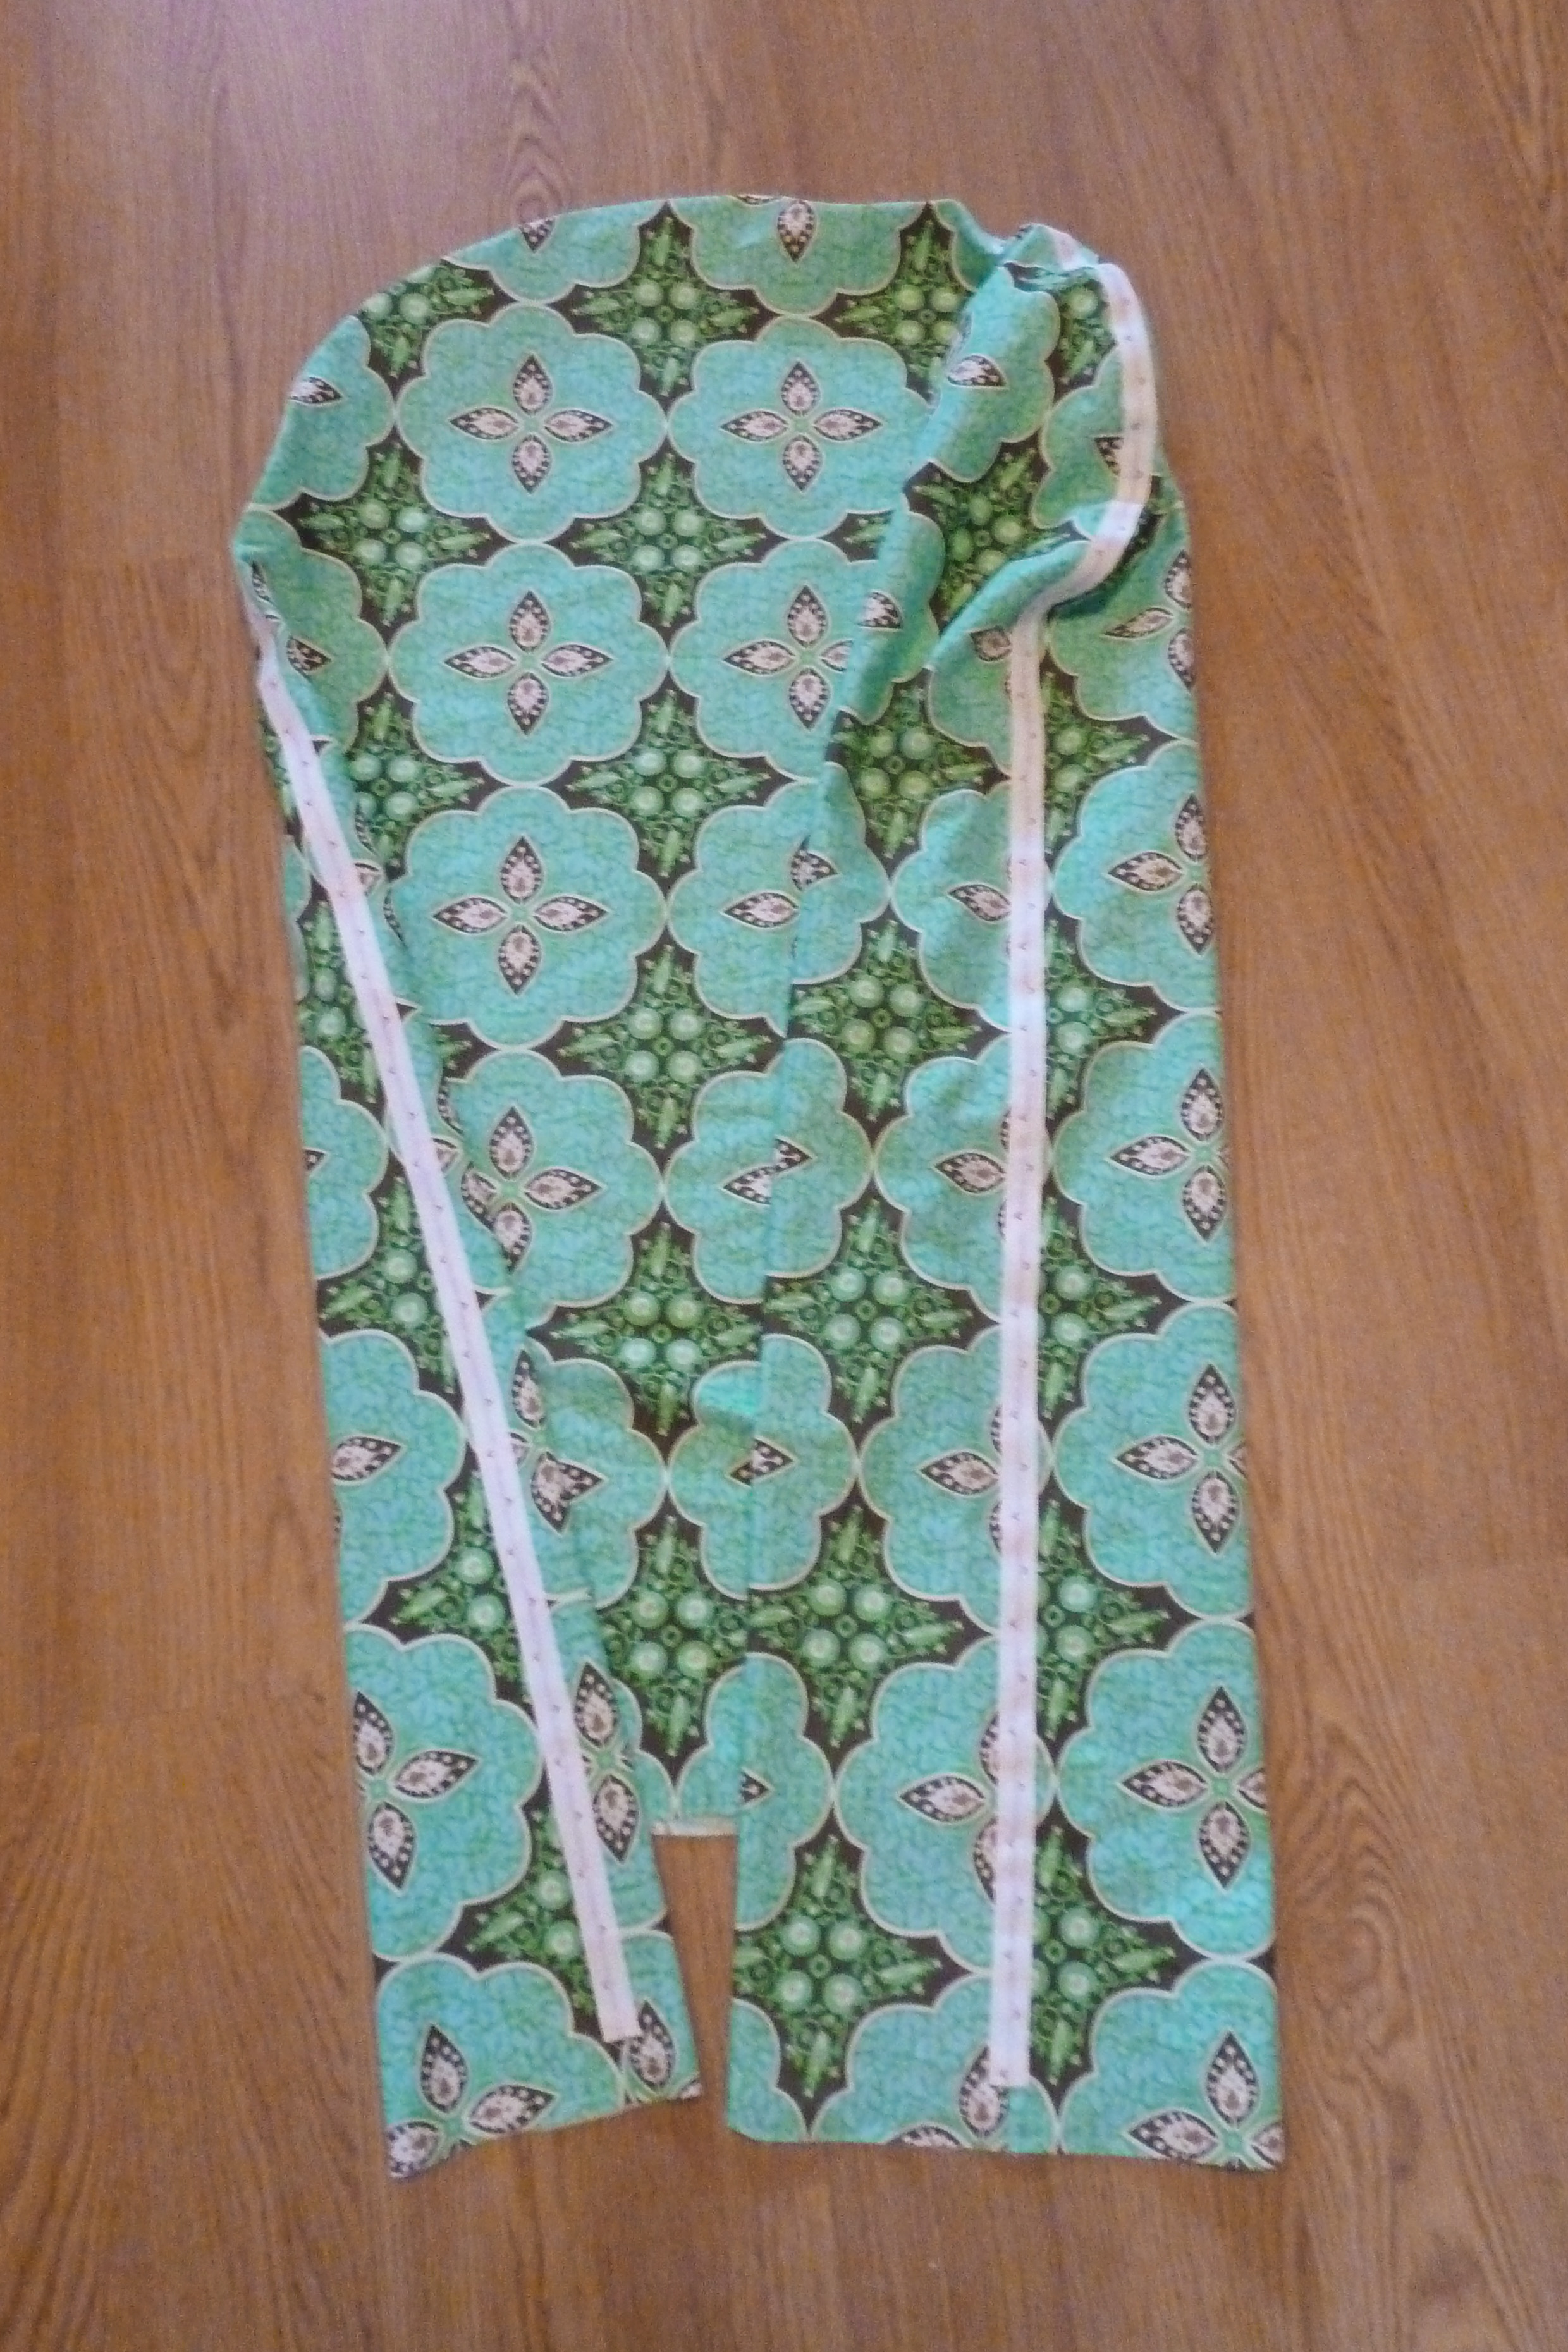
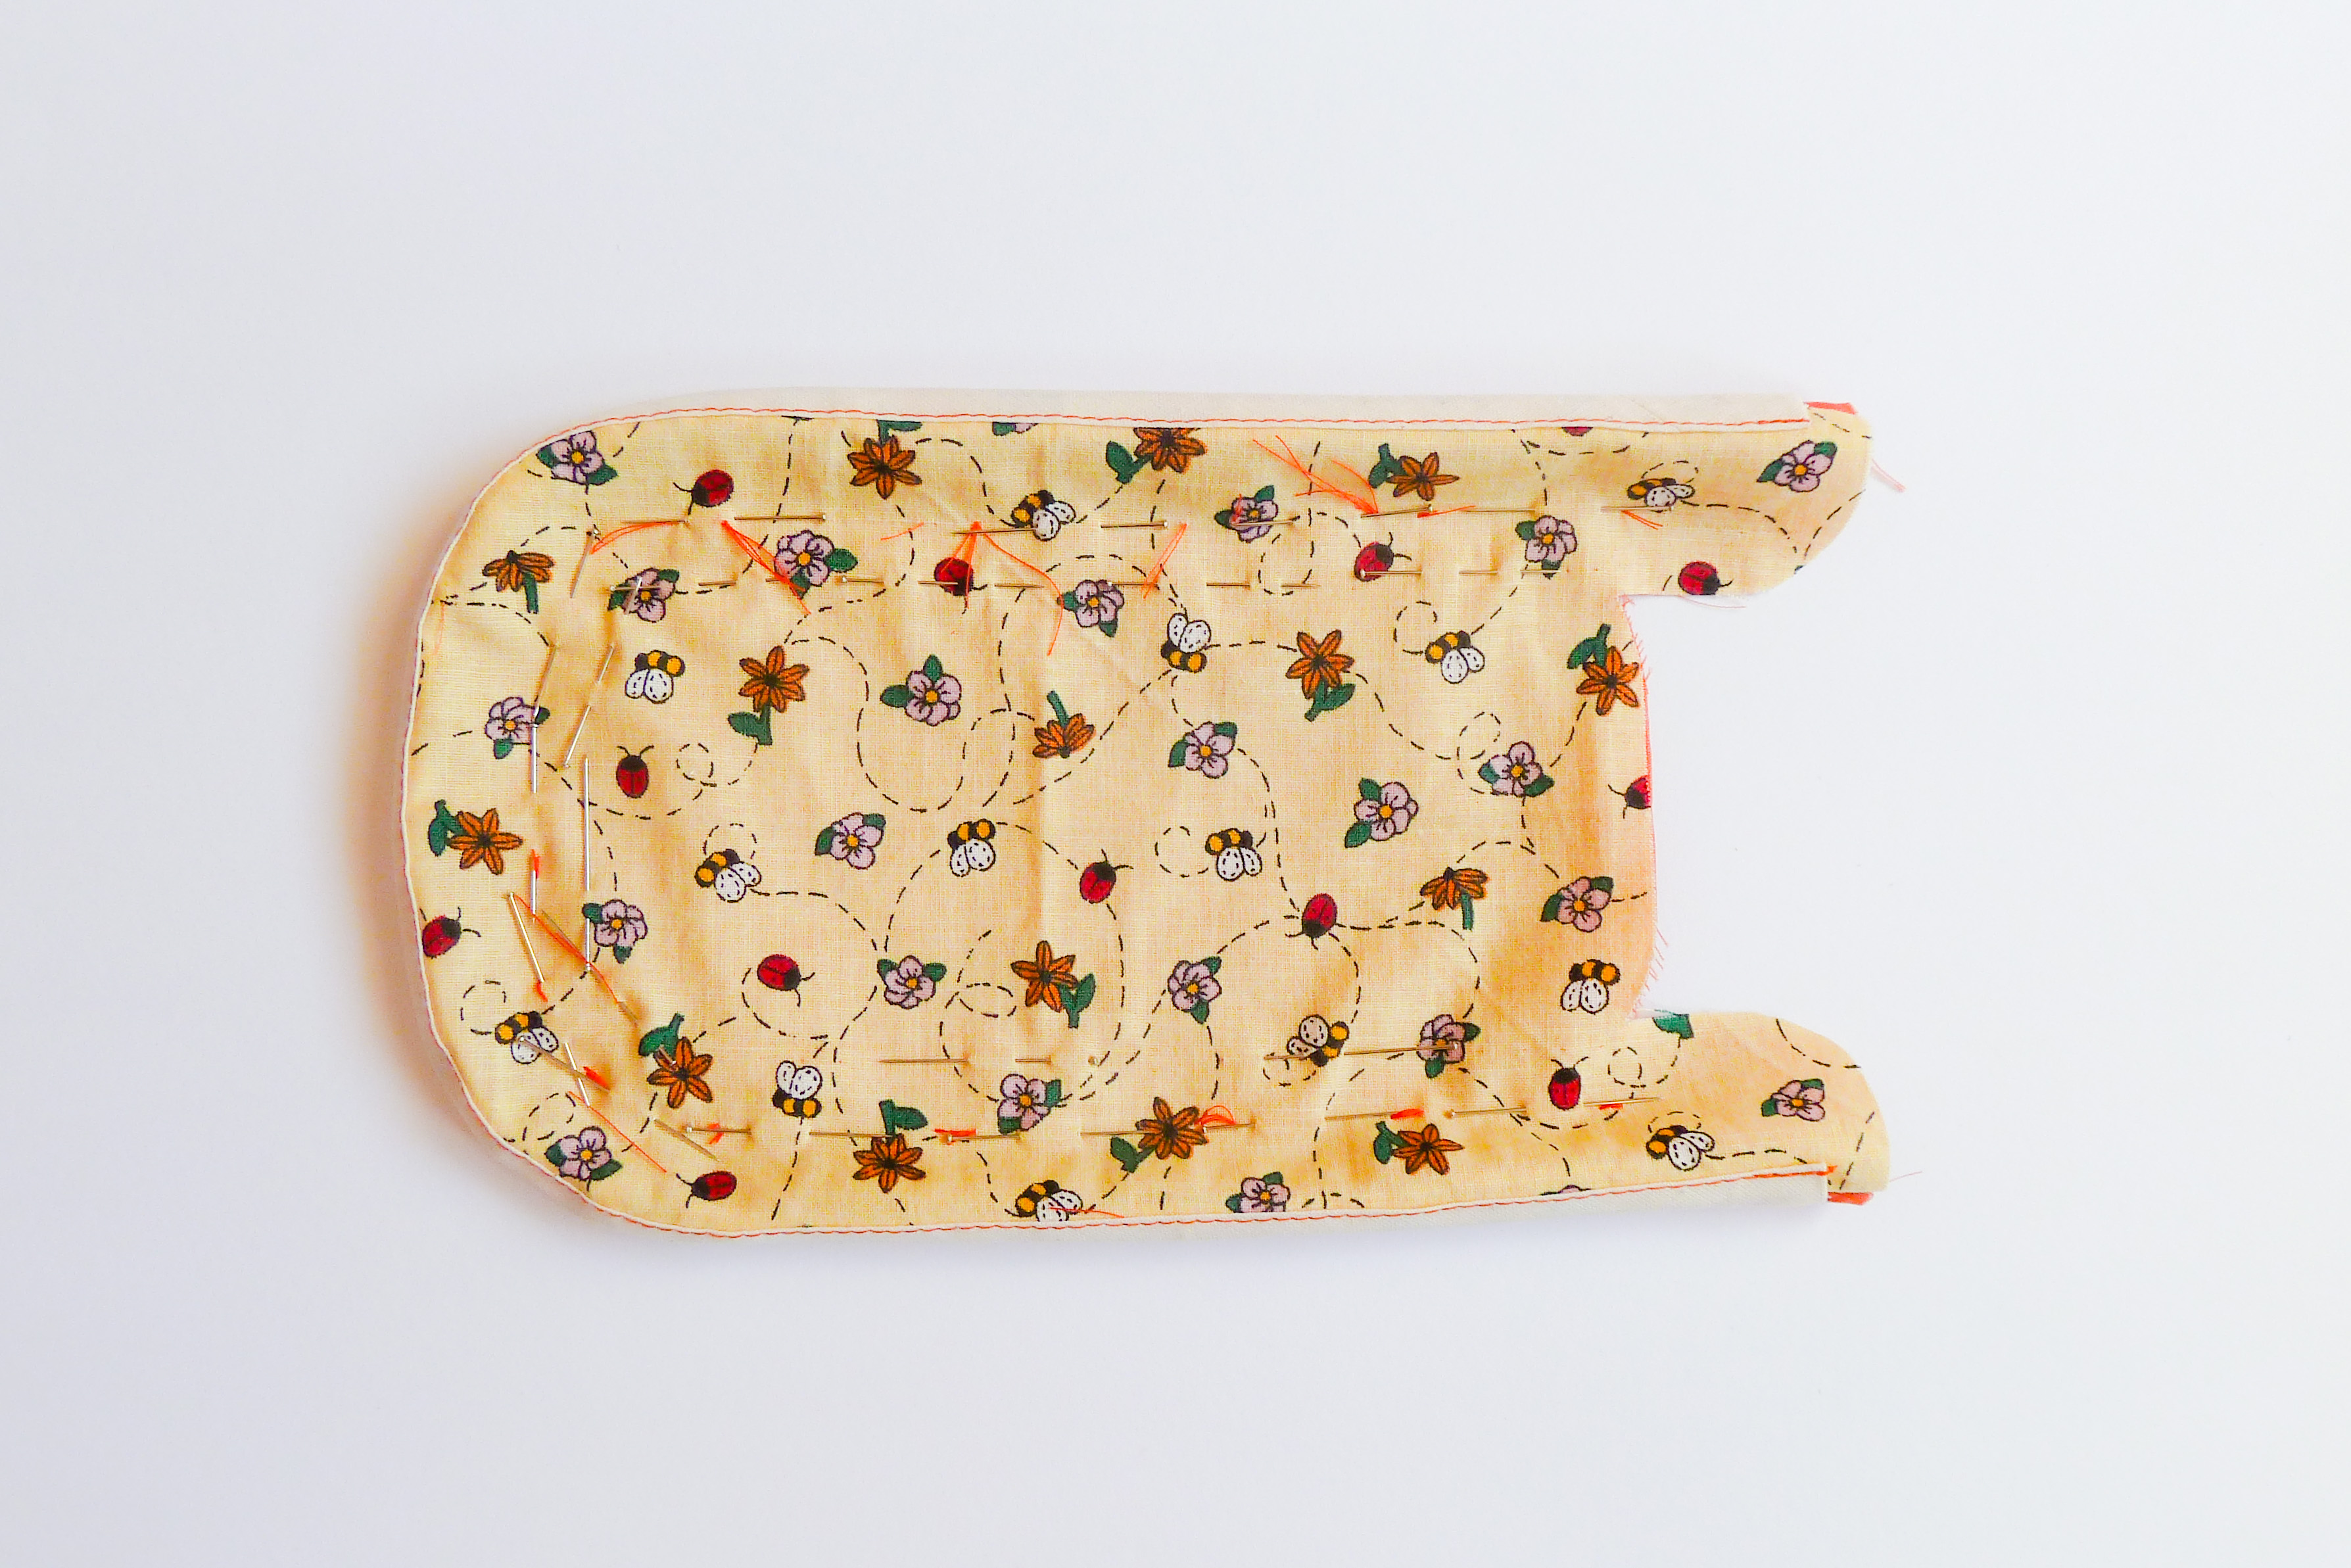
Lay the 3 layers of batting/wadding on top of each other and baste together all around, along the outer edge. This is the mattress for your baby nest. - Lay your baby nest flat and pin together both body layers, following the dashed line (outer line) that you have marked on your fabric. By doing this we are making a pocket for the mattress to go in.
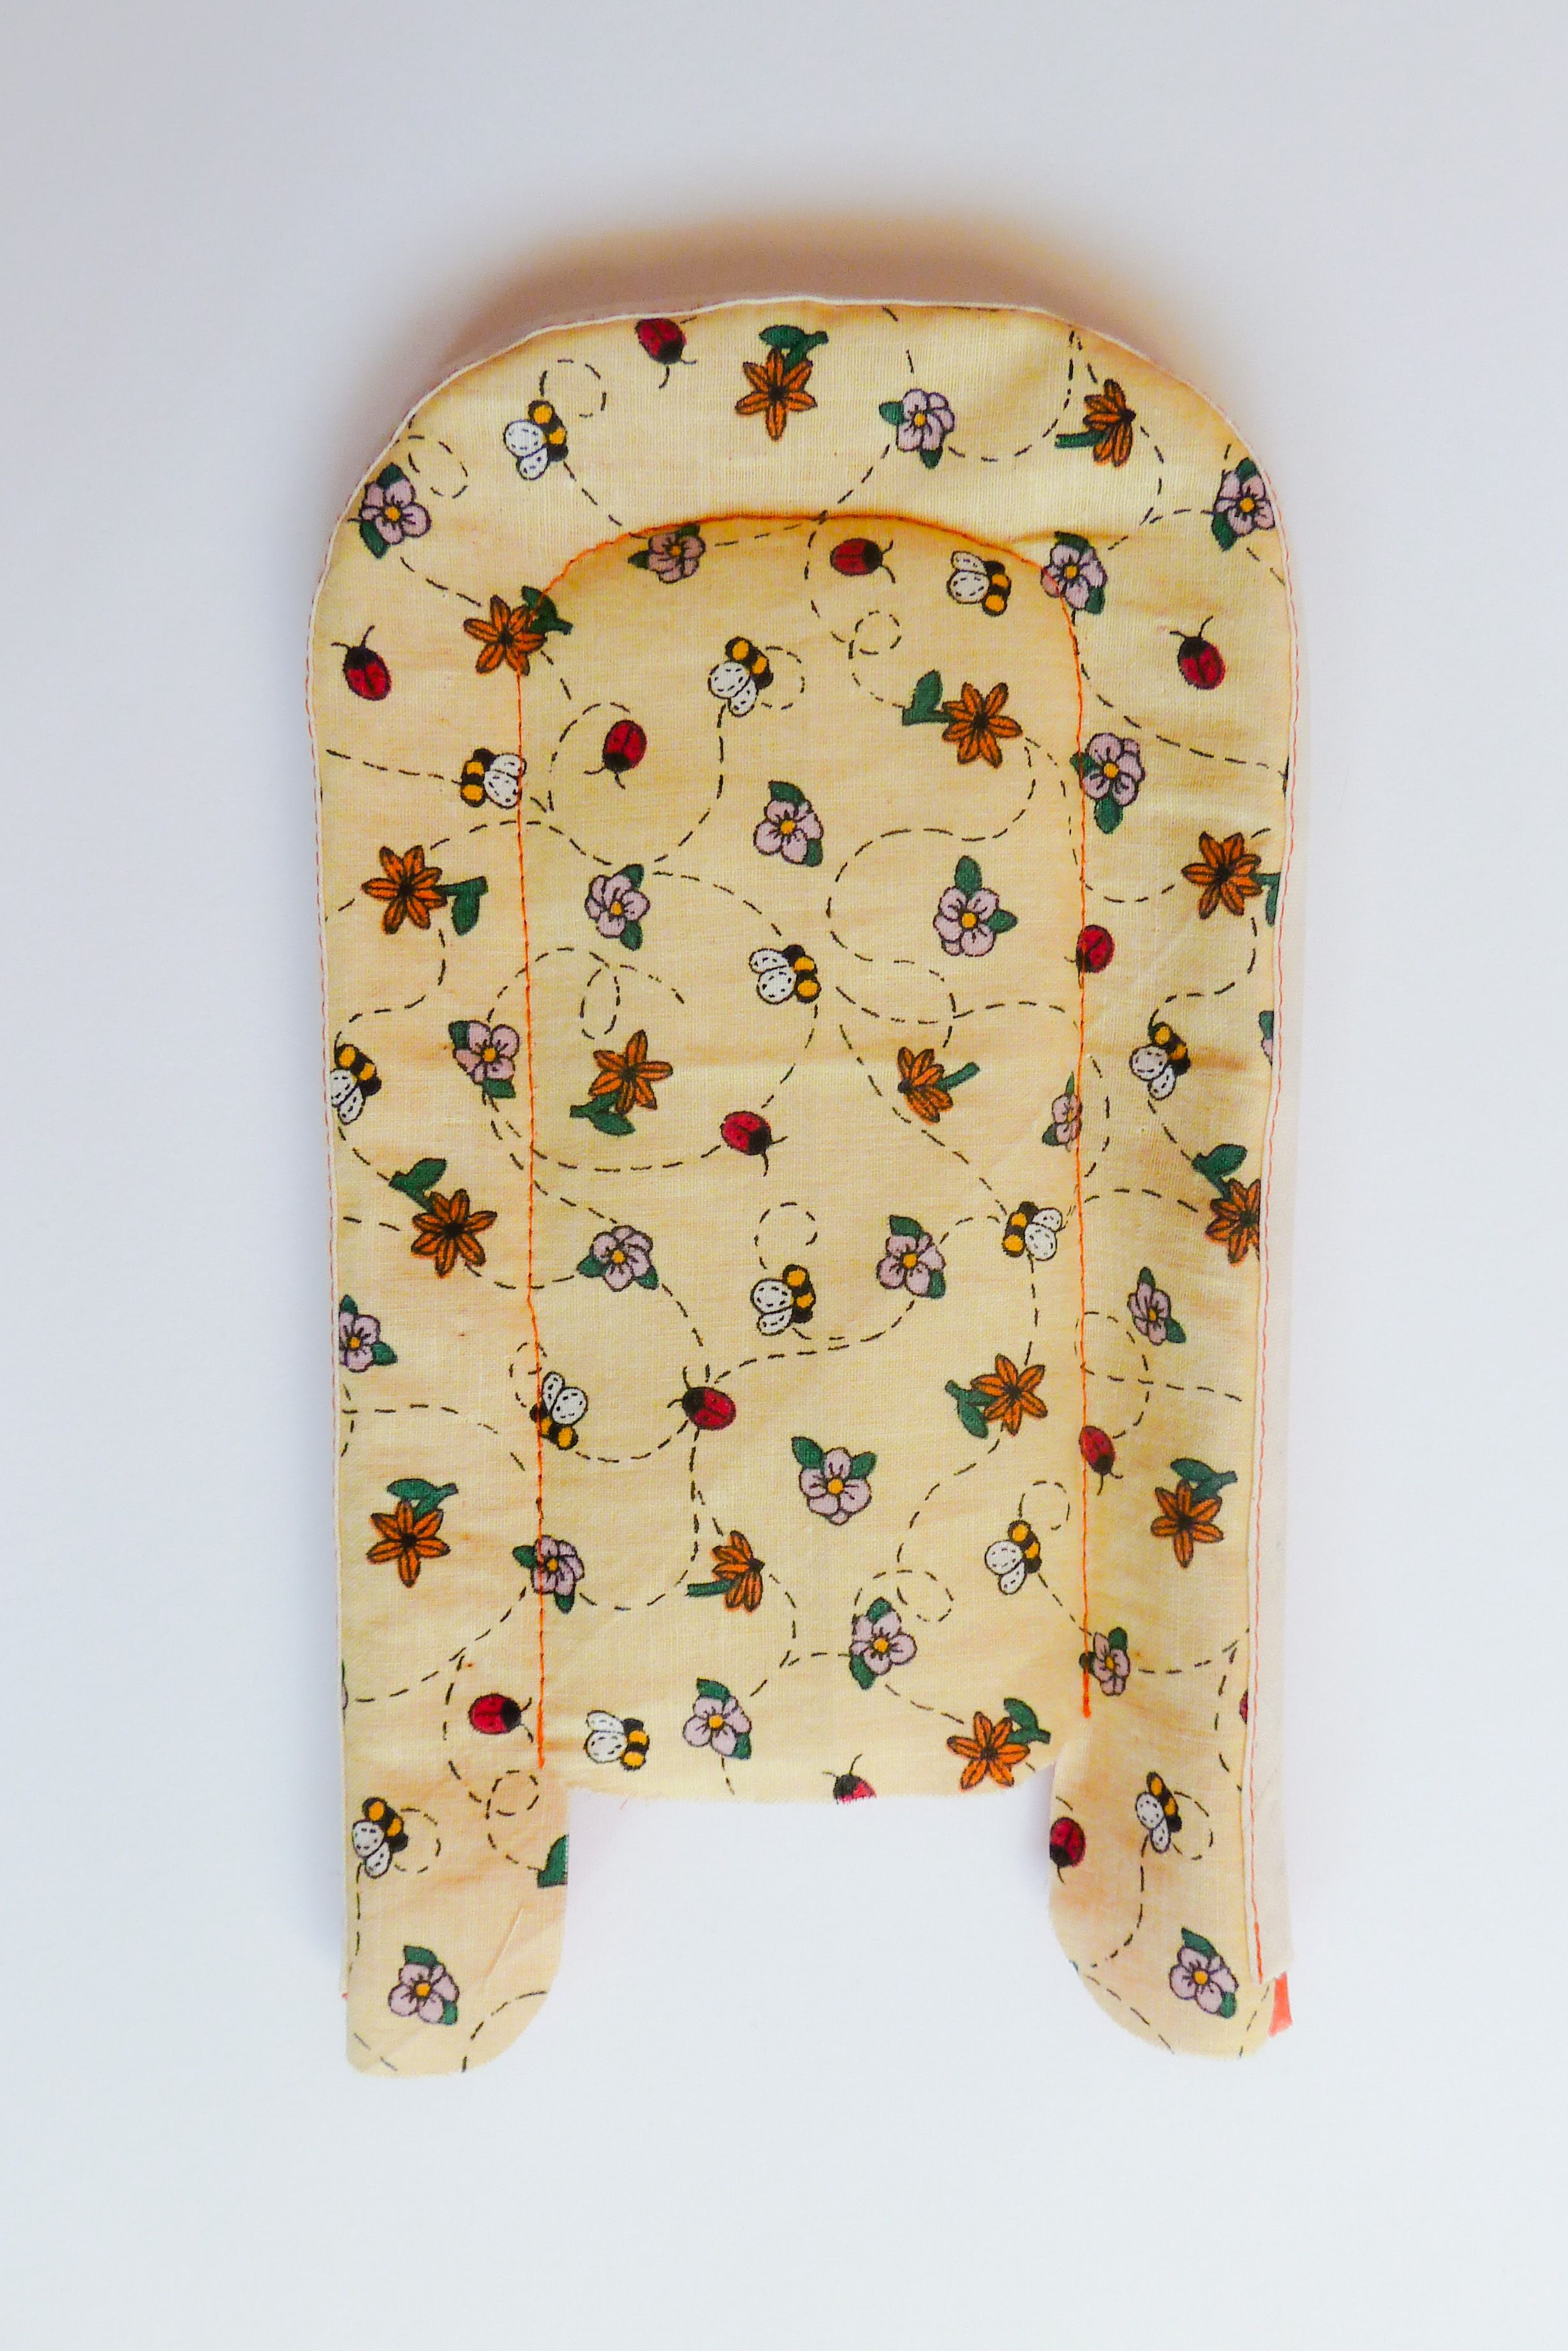
- Put the mattress inside the baby nest. Pin together through all of the layers (baby nest body and mattress) following the dotted line (inner line). Sew through all of the layers from the bottom edge of your nest to the other bottom edge. (See right photo below).


Bonus Sew-along Tip!
Optional – Make a little pocket to hold your drawstring cord.
We’re almost there, just a few more steps. Come back next week for the final part of the Scandi Baby Nest Sew-along! :)